
A printed master is the reference that every silicone cavity and every polyurethane part inherits. What decides the quality of the cast parts is how the master is compensated, finished, cured and checked before it goes into silicone.
Dimensional compensation depends on the silicone and PU system, not on the printer.
Every layer line and support mark on the master is copied into every casting.
Incomplete washing, drying or post-curing can inhibit platinum-cure silicone.
Critical dimensions should be measured on the finished master, before molding.
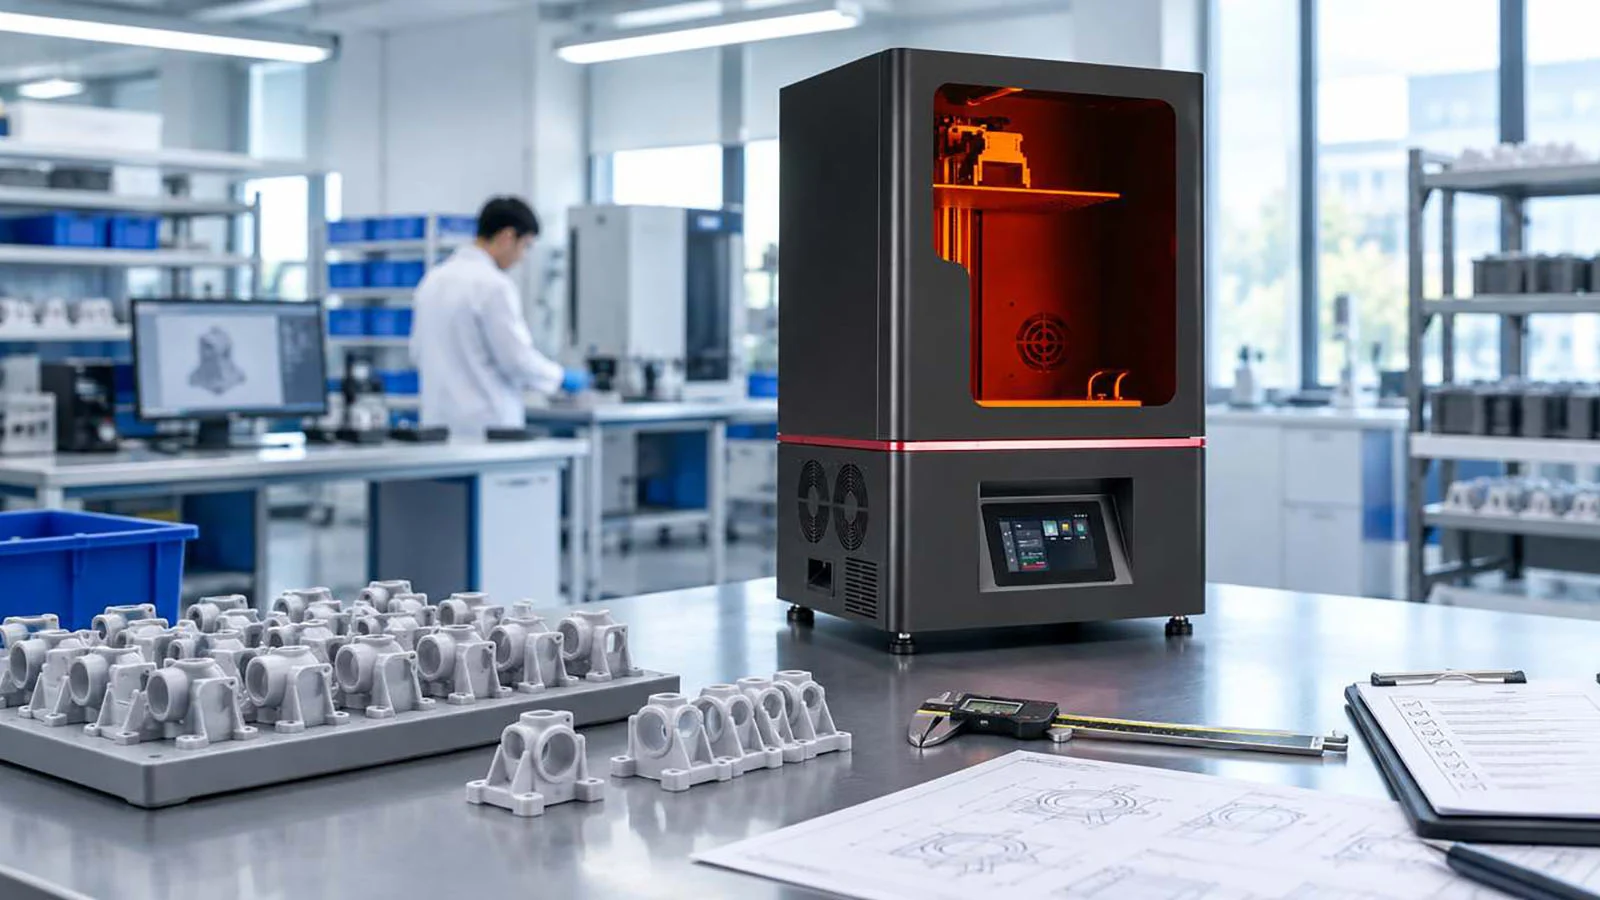
Resin 3D printing works well for polyurethane casting masters because laser SLA and LCD masked-exposure (MSLA) printers produce fine detail and surfaces that can be finished to a cosmetic standard within a short development cycle. The printer, however, only makes the first link in the chain. The silicone mold copies the master and each polyurethane part copies the mold, so dimensional errors, layer lines, support marks and uncured resin residue all travel downstream. A usable master needs dimensions adjusted for the specific silicone and PU system, a surface finished to the cast-part specification, complete washing, drying and post-curing so the silicone cures properly, and verified critical dimensions before molding. Control of those steps matters far more than print resolution.
Key takeaways
Treat the master as tooling: any error it carries repeats in every part cast from the mold.
Take shrinkage compensation from the technical data of the chosen silicone and polyurethane, then confirm it on first-off castings. One scale factor may not fit every feature.
Keep printer correction and casting compensation as two separate, documented steps.
Orientation and support placement decide how much finishing the cosmetic faces will need.
A clean, fully dried and fully post-cured master, plus a small compatibility test, prevents most silicone cure-inhibition failures.
Printing a large master in one piece avoids bonded seams that the silicone would faithfully reproduce.
Why the master sets the limit for every polyurethane part
In vacuum casting, also called urethane casting, the master is suspended in a mold box and encapsulated in silicone. Once the silicone cures, it is cut along a planned parting line, the master is removed, and the cavity is filled with a two-component polyurethane under vacuum. The process is valued because silicone reproduces fine detail extremely well. That is also why a weak master is expensive: nothing downstream corrects it, and the same defect appears on part one and part thirty.
It helps to look at the process as a chain of dimensional and surface transfers, each with its own source of change.
| Stage | What can change | How it is usually controlled |
|---|---|---|
| CAD model | Part not prepared for casting; no allowance for material shrinkage | Plan parting line, gates and vents; apply compensation from material data |
| Printed master | Process deviation, warpage, stair-stepping, support witness marks | Orientation, support strategy, validated print settings, measurement against CAD |
| Finished master | Material removed by sanding; thickness added by primer or coating | Protect critical features; re-measure after finishing |
| Silicone mold | Silicone cure shrinkage, cure inhibition, distortion of large or thin-walled molds | Silicone selection, compatibility test, proper mold box and support |
| Polyurethane casting | PU cure shrinkage, mold temperature effects, distortion during demolding or post-cure | Follow the PU data sheet, measure first-off parts, support parts during post-cure where needed |
The practical consequence: when a cast part is out of tolerance, the cause can sit in any of five places. A master that has been measured and recorded before molding removes one of them from the investigation.
Shrinkage compensation comes from the material pair, not a rule of thumb
There is no single scale factor for polyurethane casting masters. Polyurethane systems differ widely. At least one commercial ABS-like vacuum-casting resin, Sika's PX223 HT, lists essentially zero linear shrinkage after post-curing in a silicone test mold, while other systems shrink measurably. Addition-cure (platinum) silicones cured at room temperature typically show very little shrinkage of their own; other silicone types and heat-accelerated cures can behave differently. Many PU systems are also cast into a preheated mold, so the thermal state of the silicone during cure becomes part of the result.
Published work shows why a single percentage can mislead. A 2017 study in Progress in Additive Manufacturing on PU parts cast in silicone molds from additively manufactured masters measured larger maximum deviations in the radial direction than in the linear direction, and the result depended on the PU system and curing conditions. Holes, bosses and long flat walls in the same part may therefore need different treatment.
A workable sequence keeps the steps traceable:
Print the master to nominal first. Measure it after washing, drying and post-curing, and correct any printing deviation in the print setup, not in the casting allowance.
Apply casting compensation from data. Use the shrinkage figures from the technical data sheets of the exact silicone and polyurethane that will be used, and record the factor applied.
Cast and measure first-off parts. Measure the features that matter for fit and function, after the PU has completed its recommended post-cure.
Adjust the next master revision. If deviations are not uniform, compensate features locally in CAD instead of rescaling the whole model.
Folding printer error and casting shrinkage into one "fudge factor" may work once, but it breaks the moment the resin, the silicone, the PU grade or the part size changes, and nobody can tell which part of the factor was responsible.
Surface finish: a cast part can only be as good as its master
The silicone records the master's surface at a level of detail most inspectors would not notice on the master itself. Layer lines on shallow slopes, support witness marks, sanding scratches and dust in a primer coat all appear in the castings, and on gloss or transparent PU grades they become obvious.
Orientation and supports decide the finishing workload
Orient the master so cosmetic faces carry no supports and so that large, gently sloped surfaces are not at the angles most prone to visible stair-stepping. Supports belong on faces that will be hidden, cut away or easy to finish. Thinner layers reduce stepping but increase build time; on many masters it is more efficient to accept a moderate layer height and finish the few faces that matter.
Finishing removes and adds material
Sanding rounds sharp edges and can thin small features, while primer and clear coat add thickness. Mask or avoid holes, mating faces and datum features, and measure them again after finishing. If a feature must stay crisp, it is often better to leave it unsanded and orient the print so it comes off the printer clean.
Match the master finish to the PU grade
Transparent PU parts need a polished, haze-free master, because any texture on the master scatters light in every casting. Matte or textured parts are more forgiving of fine layer lines but expose uneven texture. Decide the target finish before printing, since it affects orientation, layer height and how much material the finishing steps will remove.
A clean, dry, fully cured master protects the silicone
Platinum-cure silicones, widely used in vacuum casting for their low shrinkage and stability, are sensitive to cure inhibition. Uncured photopolymer on the master surface, residual solvent and some coatings can leave the silicone tacky or under-cured where it touched the master, which ruins exactly the cavity surface that matters. Tin-cure silicones are much less prone to this, but differ in handling, shelf life and dimensional behavior.
The controls are straightforward: wash thoroughly, let the master dry completely before post-curing, post-cure all surfaces including recesses, apply any sealer or release agent the silicone supplier approves, and run a small test pour with the actual silicone on an offcut or test coupon printed and processed the same way. A step-by-step mold-making procedure is covered in our guide to silicone mold making with a resin 3D printed master, and drying is discussed in more detail in when resin prints are dry enough to cure.
Two further checks are easy to miss. If the silicone is cured or degassed at elevated temperature, the master resin must stay dimensionally stable at that temperature, so compare the cure schedule with the resin's heat resistance data. And if the same master will be used for a second or third mold, it has to survive demolding without cracking thin features or picking up residue that will affect the next pour.
Design features the mold needs, not just the part
A master for polyurethane casting is a part model with mold logic added. Before printing, resolve:
Parting line. Place it along edges where a fine witness line is acceptable and where the silicone can be cut cleanly.
Gates and vents. Plan where PU enters and where air escapes. Some shops print gate and vent features onto the master or as separate locating features; either way, their positions should be agreed with whoever runs the casting.
Section thickness. PU systems have recommended casting thicknesses; some rigid grades list a maximum section of only 5–10 mm. A master copied from an injection-molded or machined design may need local coring.
Sharp edges and thin standing features. They tear silicone during demolding and shorten mold life. A small radius on non-functional edges helps both the mold and the part.
Undercuts and draft. Silicone tolerates undercuts that hard tooling cannot, and draft is not strictly required, but deep undercuts and tall vertical walls make demolding harder and increase wear.
Hollowed masters. If the master is shelled to save resin, plug drain holes before molding and make sure the shell is stiff enough for demolding forces.
Choosing the printer and resin for master production
Both laser SLA and LCD masked-exposure printers are used for masters. The more useful questions are whether the master fits in one piece, how consistently the process reproduces the geometry, and how much finishing the output needs. A master that has to be split and bonded leaves a seam the silicone will reproduce, so build volume is a real selection factor for housings, panels and trim parts. Large flat masters also bring warpage risk; see how to print large resin parts without warping.
Pixel size and screen resolution describe the imaging system. They do not state the dimensional accuracy of a finished master, and they say nothing about cast-part tolerance. The only reliable evaluation is to print a representative master, finish it, measure it, and ideally cast from it.
For the master resin, the usual priorities are rigidity, low shrinkage during printing and post-curing, a surface that sands cleanly, and adequate heat resistance if the silicone cure involves heat.
Eternal M2
An industrial LCD masked-exposure (MSLA) printer with a 353 × 198 × 400 mm build volume, aimed at prototypes, functional testing and larger industrial models. It fits masters for handheld devices, small housings and component families where several masters can share one build. View Eternal M2.
SLA400
A large-format laser SLA system with a 400 × 400 × 350 mm build volume. Its application range includes automotive and appliance appearance parts and mold trial work, which makes it relevant when a master would otherwise have to be split and bonded. View SLA400.
When casting from a printed master is the right route
Polyurethane casting is not always the best next step after a printed prototype. The comparison below is about fit, not superiority.
| Route | Usually fits when | Watch for |
|---|---|---|
| Resin parts printed directly | Very small quantities, frequent design changes, photopolymer properties are acceptable | Each part is printed and post-processed individually; long-term properties depend on the photopolymer |
| PU cast from a printed master | Tens of parts in a specific PU grade: rubber-like to rigid, colored, transparent or flame-retardant | Limited mold life (suppliers commonly quote roughly 20–50 parts per mold); manual work per casting; compensation must be validated |
| Hard tooling (injection molding) | Higher volumes in the production material | Tooling lead time and cost; design changes become expensive |
Common mistakes with printed casting masters
Scaling the whole master by a generic percentage instead of using the silicone and PU data for the actual materials.
Measuring the master before finishing, then sanding and coating it afterwards.
Molding a master that still has a slightly tacky surface or trapped solvent.
Bonding split masters and expecting the seam to disappear after filling.
Treating the printer's XY pixel size as if it were the master's tolerance.
Leaving gate, vent and parting-line decisions to the person pouring silicone, after the master is already finished.
Master release checklist before pouring silicone
Silicone and PU grades confirmed; compensation applied and recorded.
Master washed, completely dried and post-cured on all surfaces.
Cosmetic faces free of support marks, layer steps and sanding scratches to the agreed finish.
Critical dimensions measured after finishing and recorded against CAD.
Compatibility test with the actual silicone completed on a sample processed the same way.
Parting line, gates and vents agreed with the casting operator.
Thin features and edges checked for tear risk; drain holes plugged on hollow masters.
Master resin heat resistance checked against any heated silicone cure.
Limitations and validation
A printer specification sheet describes build volume, imaging resolution and process settings. It cannot predict the dimensions of a polyurethane part, because that result also depends on the master finish, the silicone, the PU system, mold temperature, post-cure, part geometry and how and when the part is measured. Compensation that works for one material pair and part size should not be assumed for another. The first castings from every new mold deserve a first-article inspection, and later castings should be checked periodically, because mold wear and absorbed material gradually change the cavity.
FAQ
Can an LCD (MSLA) resin printer make masters for vacuum casting?
Yes. LCD masked-exposure and laser SLA printers are both used for casting masters. The deciding factors are build volume, consistency, surface quality after finishing and the measured dimensions of the finished master, not the imaging technology alone.
Does the master need to be printed oversize?
Only by the amount the chosen silicone and polyurethane actually require. Some PU systems list near-zero linear shrinkage after post-cure in silicone; others shrink measurably. Use the data sheets, then confirm on first-off parts.
How many polyurethane parts can one silicone mold produce?
Vacuum-casting suppliers commonly quote roughly 20 to 50 parts per mold. The real number depends on the PU system, part geometry, undercuts, release practice and the surface quality required.
Can the same printed master be used for more than one mold?
Often, if it comes out of the first mold undamaged and clean. Inspect thin features and critical dimensions again, and remove release-agent residue before the next pour.
Evaluate a master for your casting project
If you are planning polyurethane castings from a printed master, send YIDIMU the CAD or STL file, the part dimensions, the planned PU grade and quantity, critical features and fits, and the required surface finish. That information is enough to discuss master orientation, printer and resin choice, and how the master should be finished and checked. Submit your model and requirements.