
3D Model / CAD
Start with the actual geometry and the features that control the decision.
APPLICATIONS
Start with the part and the decision it needs to support. Then match the printer, compatible resin, build strategy, post-processing and inspection workflow around the application.
7 APPLICATION PATHS
Use the application that is closest to the real engineering, laboratory or production task. Each page connects the part requirement to printing, materials, post-processing and validation.
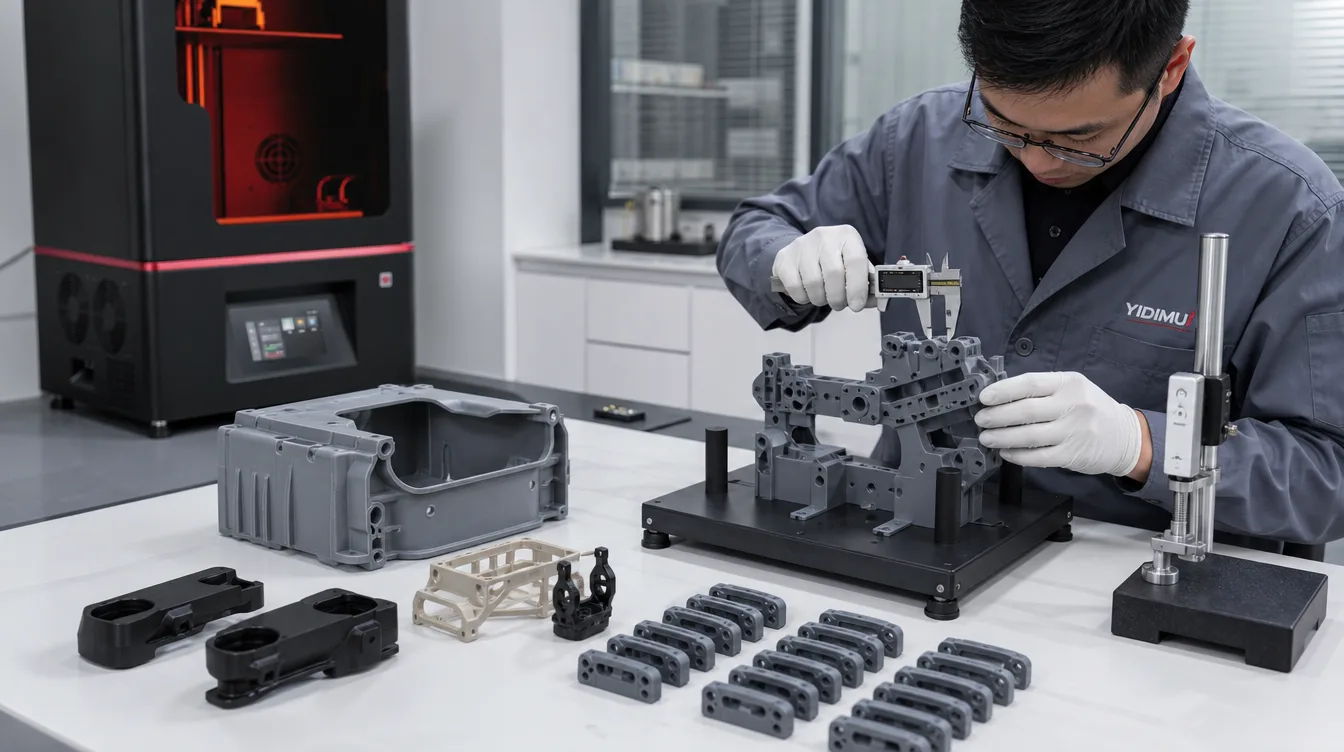 Production aids
Physical positioning tools, checking fixtures and engineering prototypes for fit, assembly and application-specific evaluation.
Explore application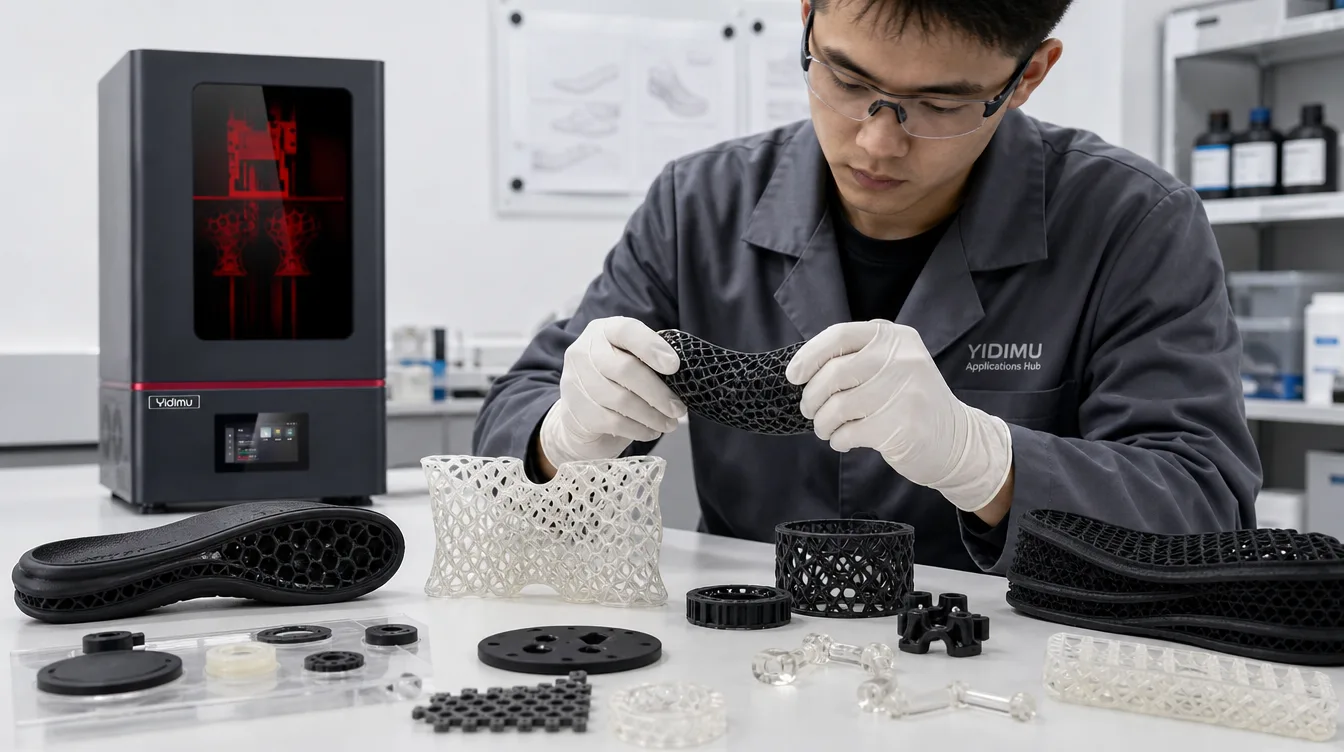 Flexible structures
Evaluate flexible lattices, footwear structures and elastomer parts as a combination of geometry, material and post-processing.
Explore application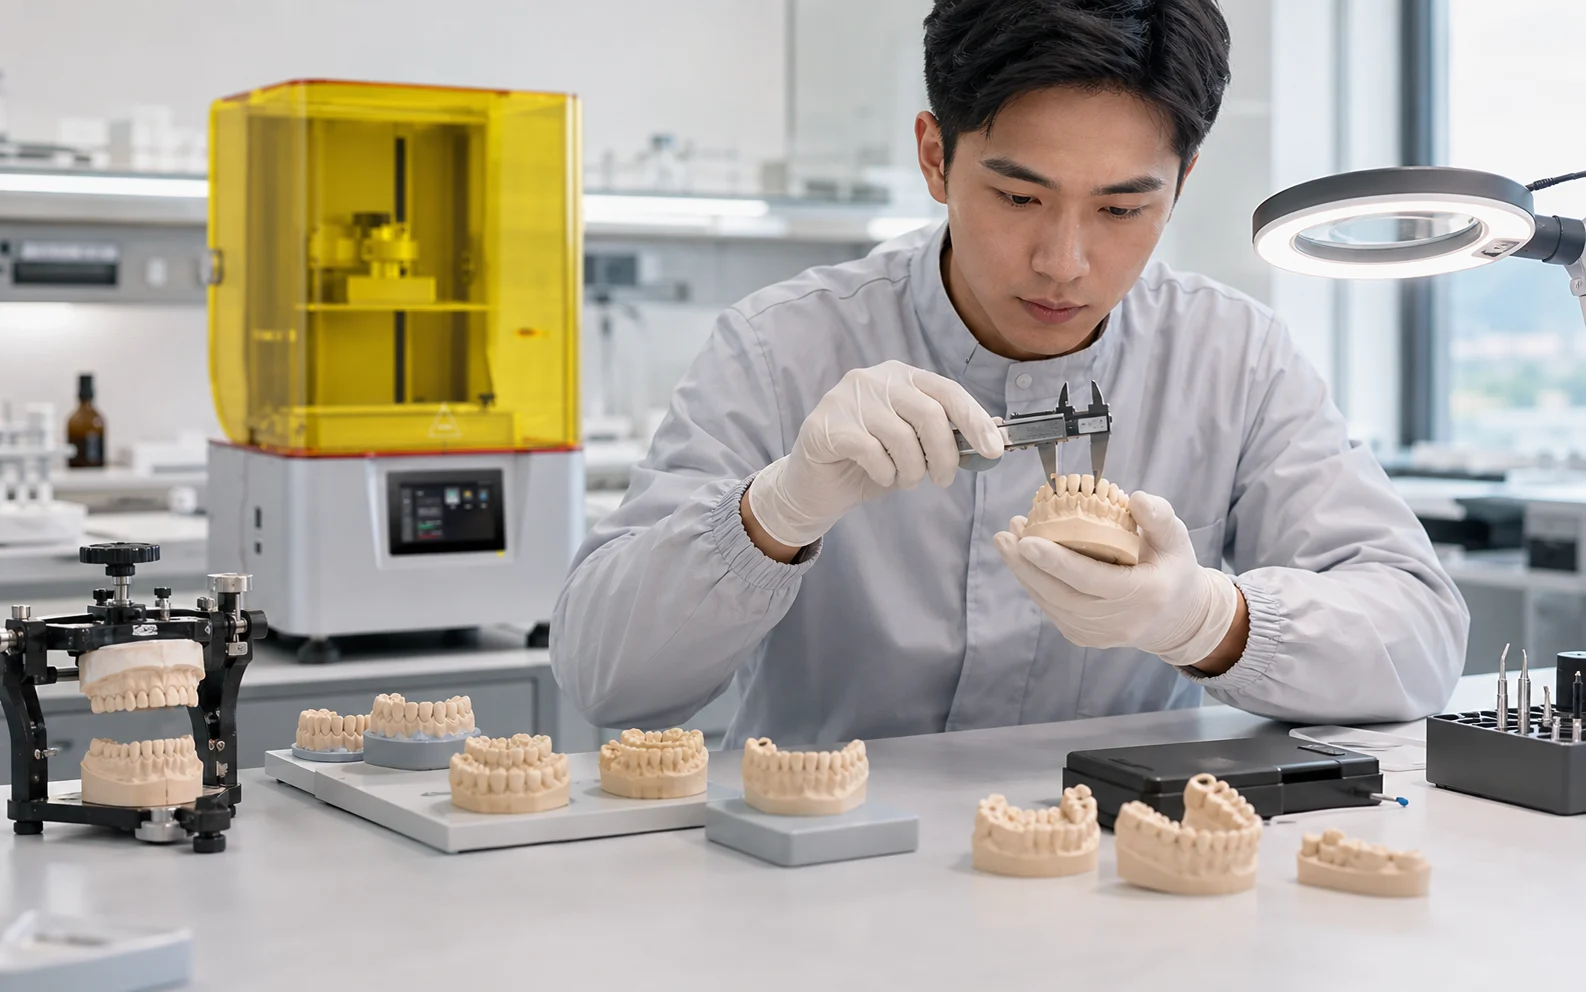 Dental laboratory
Plan dental model workflows around build layout, compatible resin, washing, complete drying, UV post-curing and final inspection.
Explore application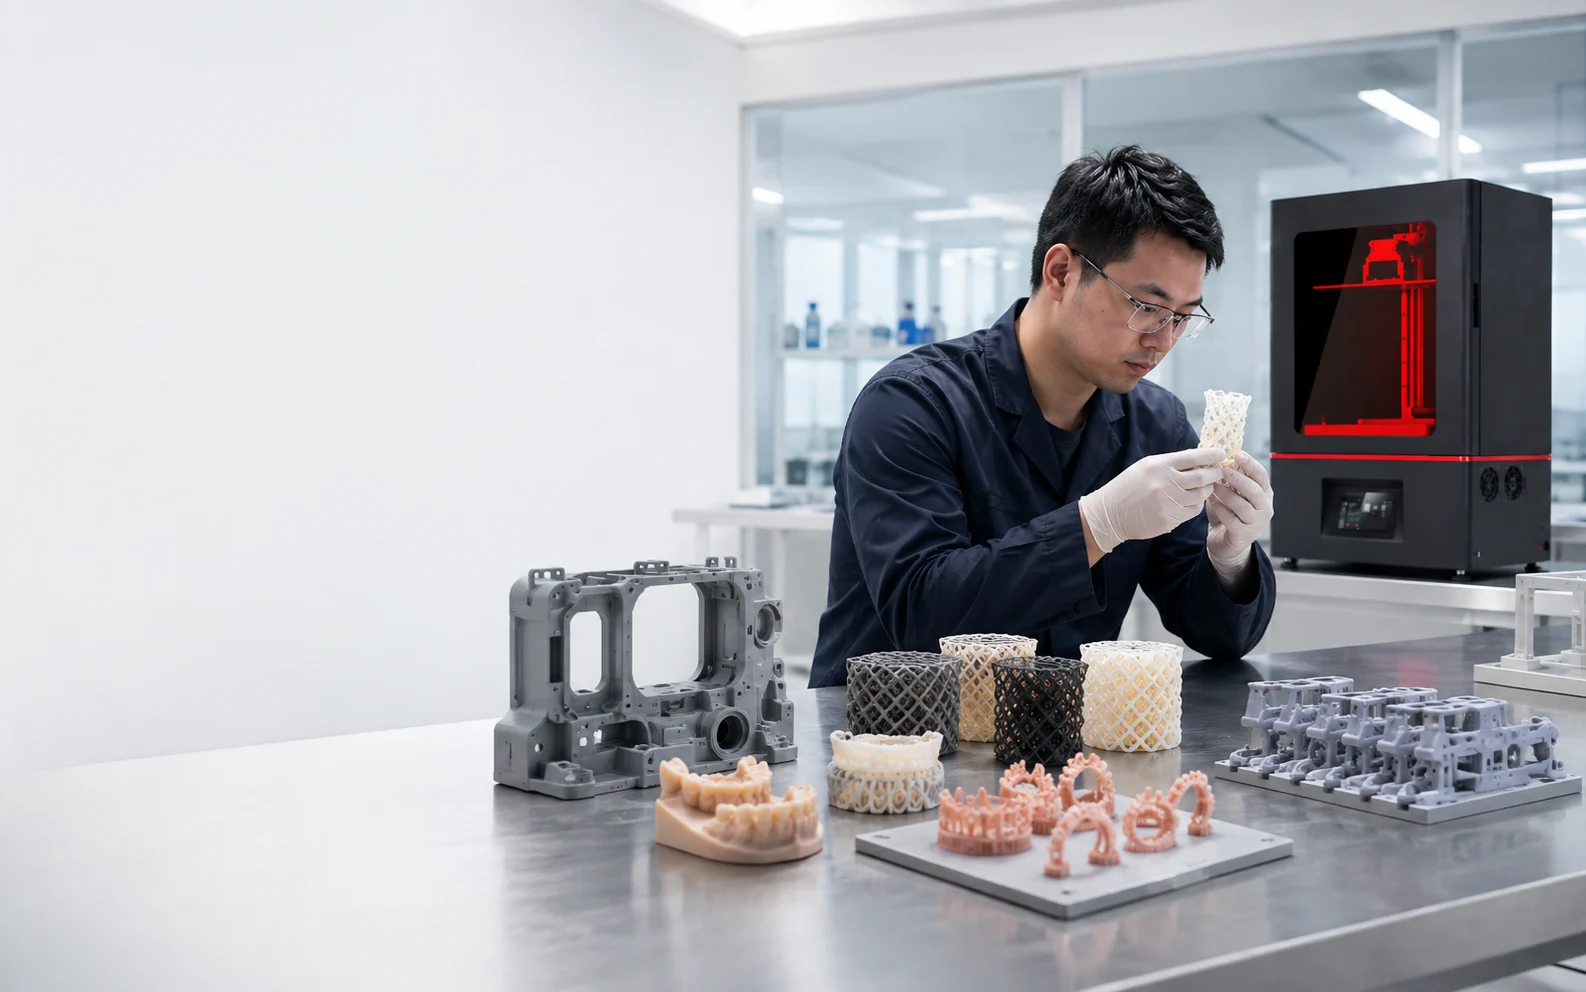 Product development
Turn CAD into physical prototypes that can be reviewed, measured, assembled and compared during product development.
Explore application
Low-volume workflowPlan repeated builds around part layout, post-processing capacity, inspection and an agreed process—not print speed alone.
Explore application
Engineering validationEvaluate critical geometry, dimensions, interfaces and assembly relationships against the requirements that control the engineering decision.
Explore application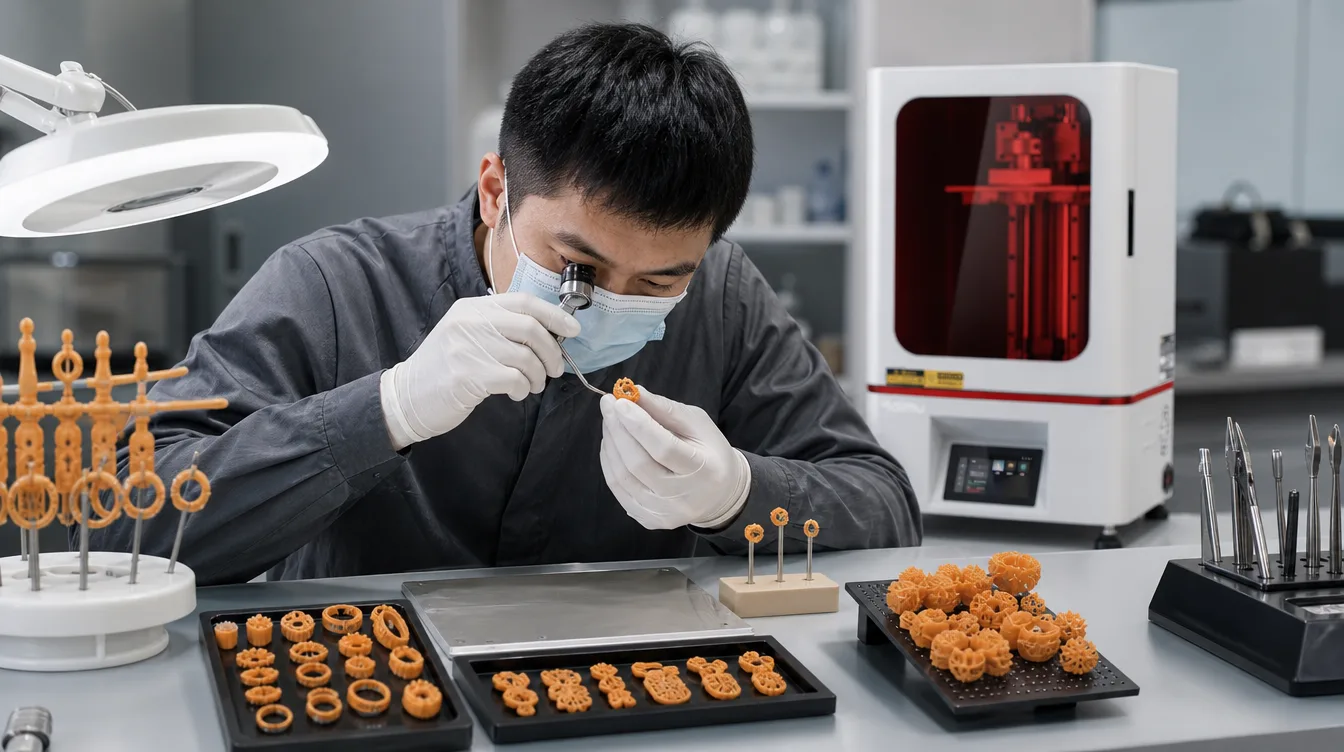 Precision models
Create detailed design models and casting-oriented patterns for inspection and validated casting preparation when a compatible material and process are used.
Explore applicationCHOOSE BY GOAL
You do not need to begin with a printer model. Choose the decision or workflow you need to support, then evaluate the equipment and material around it.
COMPLETE WORKFLOW
Professional resin printing is a connected workflow. Printer selection matters, but the finished result also depends on the resin, orientation, support strategy, post-processing and inspection criteria.
Start with the actual geometry and the features that control the decision.
Define fit, dimensions, flexibility, surface, quantity or other project-specific requirements.
Match usable build area, geometry and compatible material to the application.
Plan the build around critical surfaces, support access, drainage and finishing.
Print using the validated material and process settings for the selected workflow.
Remove residual resin and allow complete drying according to the material process.
Apply the required post-cure where specified for the material and application.
Remove supports and finish accessible areas without damaging critical features.
Measure the features and conditions that matter to the real requirement.
Compare the finished part with the agreed application, assembly or workflow criteria.
Important: final dimensional or application evaluation should be made after the required material-specific post-processing is complete. Some materials may require a different sequence or curing condition, so the applicable technical process takes priority over a generic workflow.
APPLICATION FIRST
Use the application to narrow the system family, then evaluate the actual part envelope, geometry, material compatibility, build layout and downstream workflow.
For engineering prototypes, industrial models, jigs and fixtures, validation parts and low-volume builds.
For flexible lattices, cushioning, footwear structures and elastomer parts where a compatible photopolymer workflow fits the requirement.
For dental model and orthodontic-model laboratory workflows using compatible materials and the required post-processing process.
COMPLETE SYSTEM
Finished-part performance and usability depend on the interaction between equipment, material, processing and inspection. Evaluate the complete chain.
Part envelope, oriented geometry, usable build layout, exposure architecture and repeatable operation.
Rigidity, flexibility, wavelength compatibility, casting compatibility where applicable and the actual application requirement.
Washing, complete drying, required UV post-curing, support removal and finishing affect the final evaluation state.
Critical dimensions, fit, interfaces, surface condition and application-specific acceptance criteria complete the workflow.
Resolution labels are not finished-part tolerances. 8K, 12K, 16K, pixel size and layer thickness describe parts of the printing system or process; they should not be converted directly into a universal dimensional-accuracy claim for a finished part.
REPRESENTATIVE PART
A representative part can reveal the questions that specifications alone cannot answer: usable orientation, support access, surface condition, fit, flexibility, critical geometry, build layout and the practical post-processing sequence.
TECHNICAL RESOURCES
Use the technical resource center and current product-category pages for deeper equipment, material, post-processing and selection information.
Selection, process, inspection and application-focused technical resources.
Browse resources → MaterialsReview current photopolymer resin categories and match material documentation to the application.
View resins → WorkflowConnect printing with washing, drying, UV post-curing and supporting equipment.
View equipment → SystemsCompare current YIDIMU product families after narrowing the application requirement.
Explore products →START WITH YOUR PART
Share the model, dimensions, intended use, quantity, material direction and the features that matter most. YIDIMU can help evaluate the application, printing system and workflow before equipment selection.