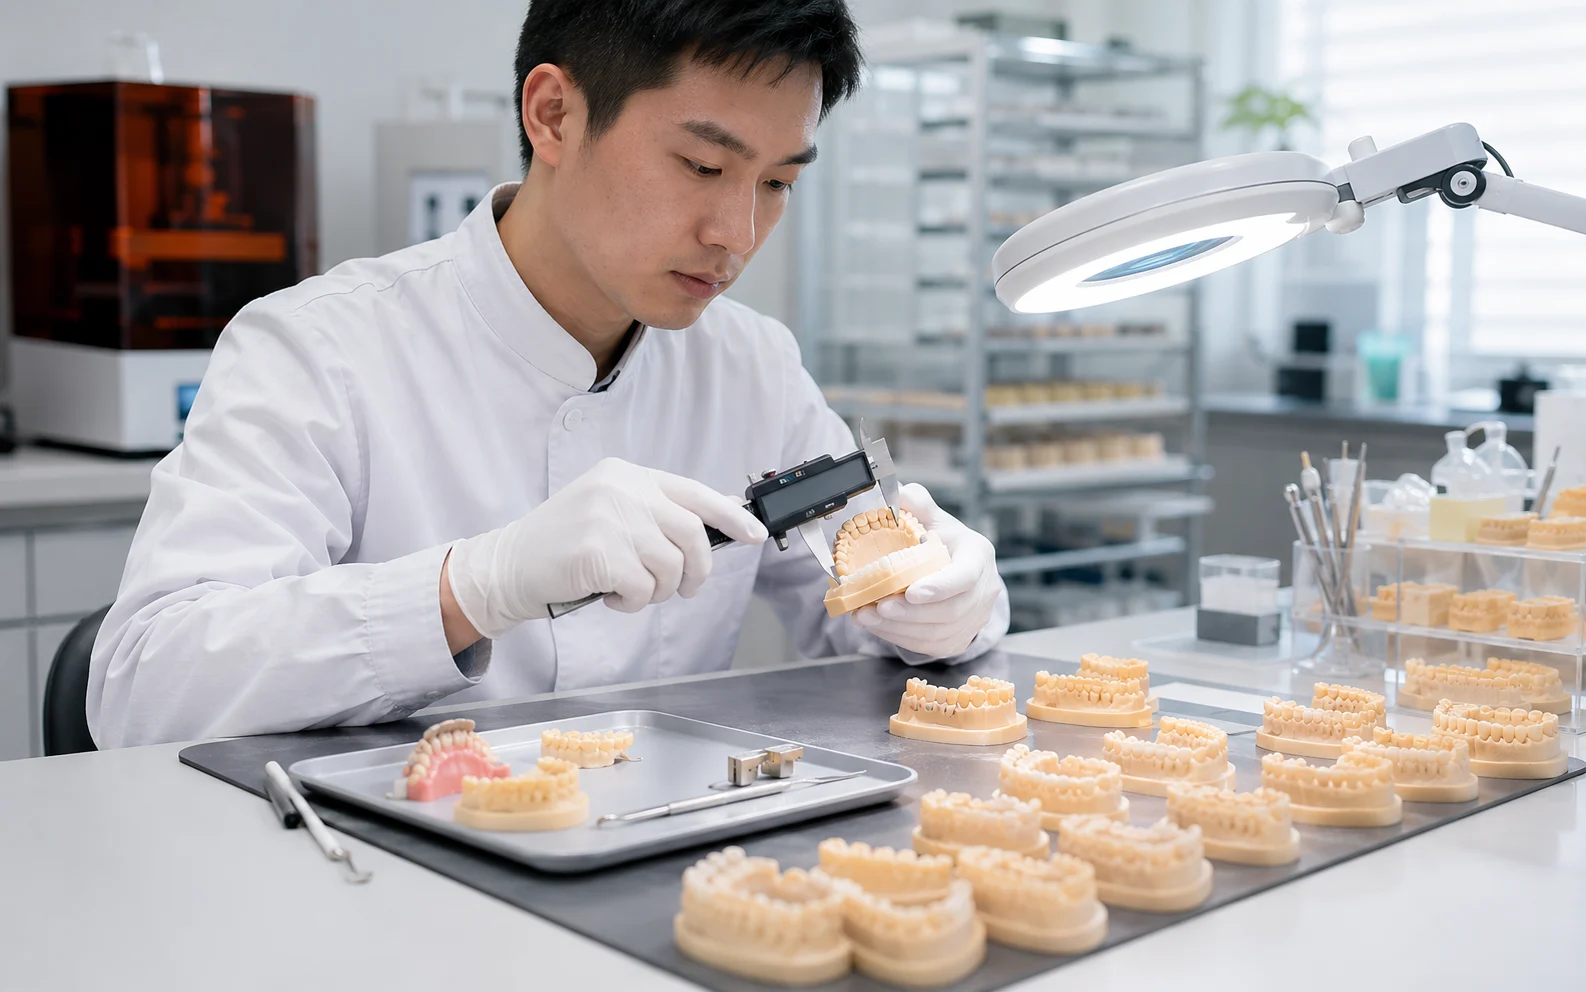
YIDIMU dental resin 3D printer with finished dental models in a bright digital dental laboratory

Dental Laboratory Workflow

Dental Models & Laboratory Production

A repeatable dental printing workflow depends on the digital model, printer, compatible resin, build layout, post-processing and final inspection.

This page focuses on model-based dental laboratory production. Uses outside this scope must be evaluated separately against the current documentation for the specific printer, material and process.

What Dental Labs Print

Model-based workflows where geometry, build planning and finished-part consistency matter.

YIDIMU currently positions its dental resin systems around dental models, orthodontic models, detailed laboratory models and batch model production. The useful question is not only whether a model prints, but whether the complete workflow produces a repeatable finished model for the laboratory task.

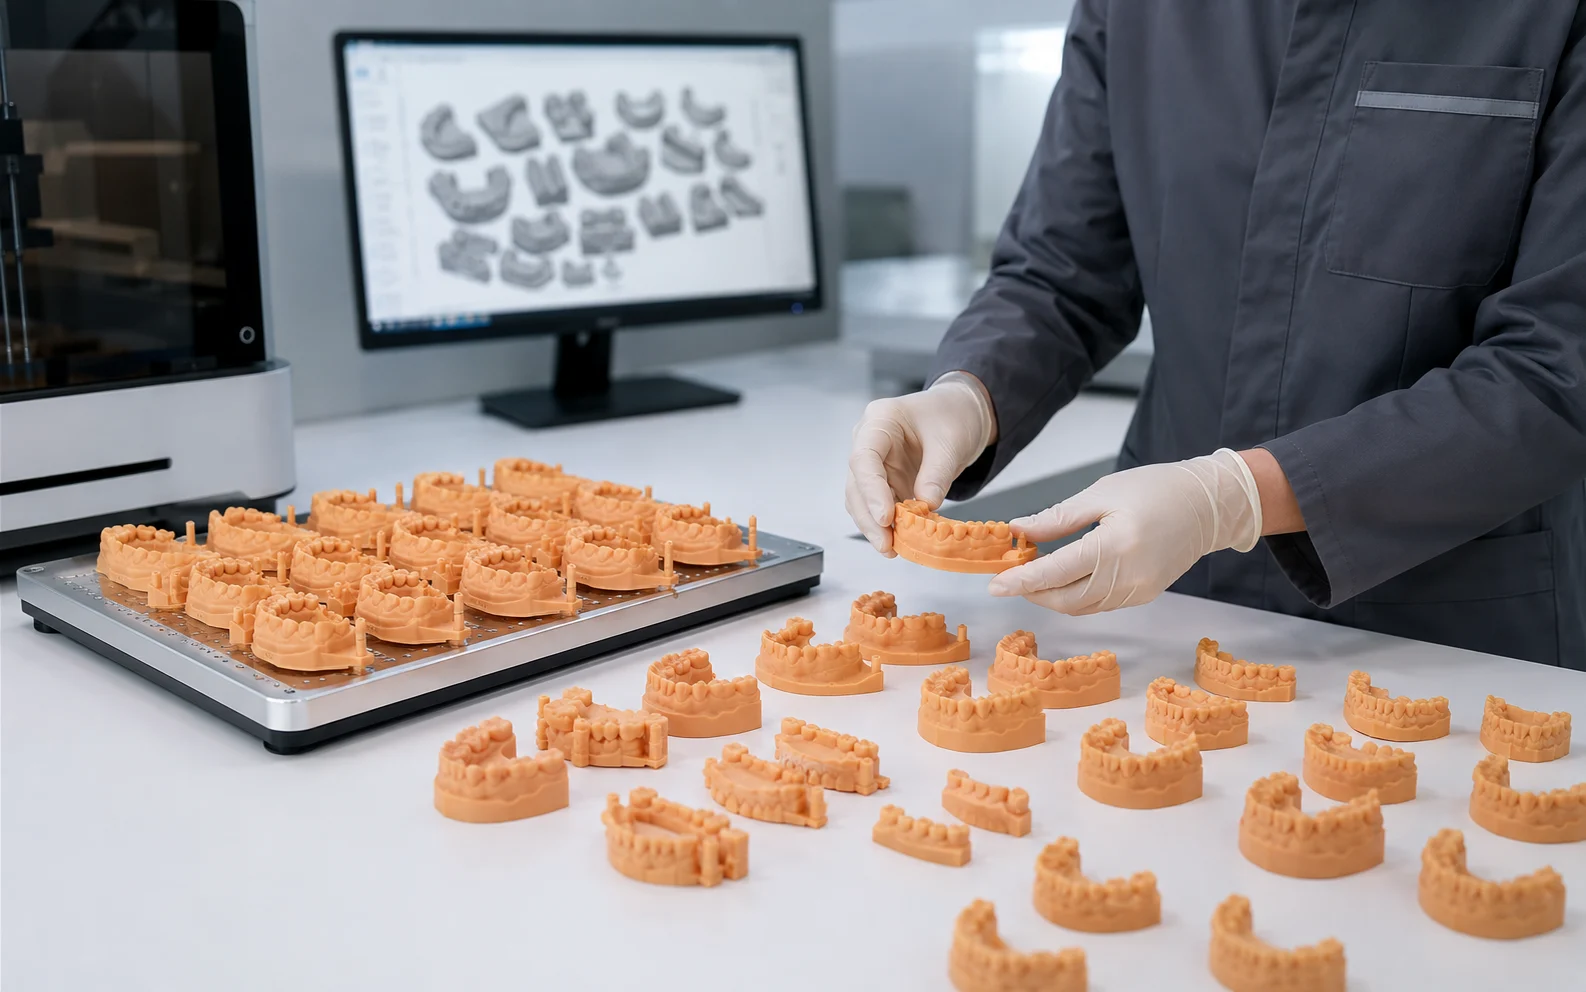
Rows of completed resin 3D printed dental and orthodontic models prepared for laboratory review
Dental ModelsPhysical resin models used for laboratory review, model-based planning and controlled downstream work.
Orthodontic ModelsDetailed arch models produced from digital files for orthodontic laboratory workflows and repeat handling.
Study / Working ModelsModel-based parts where tooth form, edges, surfaces and identifiable features need to remain clear after post-processing.
Detailed Laboratory ModelsFine-geometry models evaluated after the complete wash, dry, cure and finishing sequence.
Multi-Model Build LayoutsMultiple representative models arranged on one platform with attention to orientation, spacing, supports and downstream handling.
Batch Model ProductionRepeated builds planned around accepted models, post-processing capacity, operator flow and inspection rather than nominal printer speed alone.
Application scope: this page is limited to dental model and laboratory model workflows. Suitability for any other end use must be confirmed from the current documentation for the exact printer, resin and process before adoption.

From Digital Model to Finished Dental Model

Treat the printer, resin and post-processing steps as one controlled laboratory workflow.

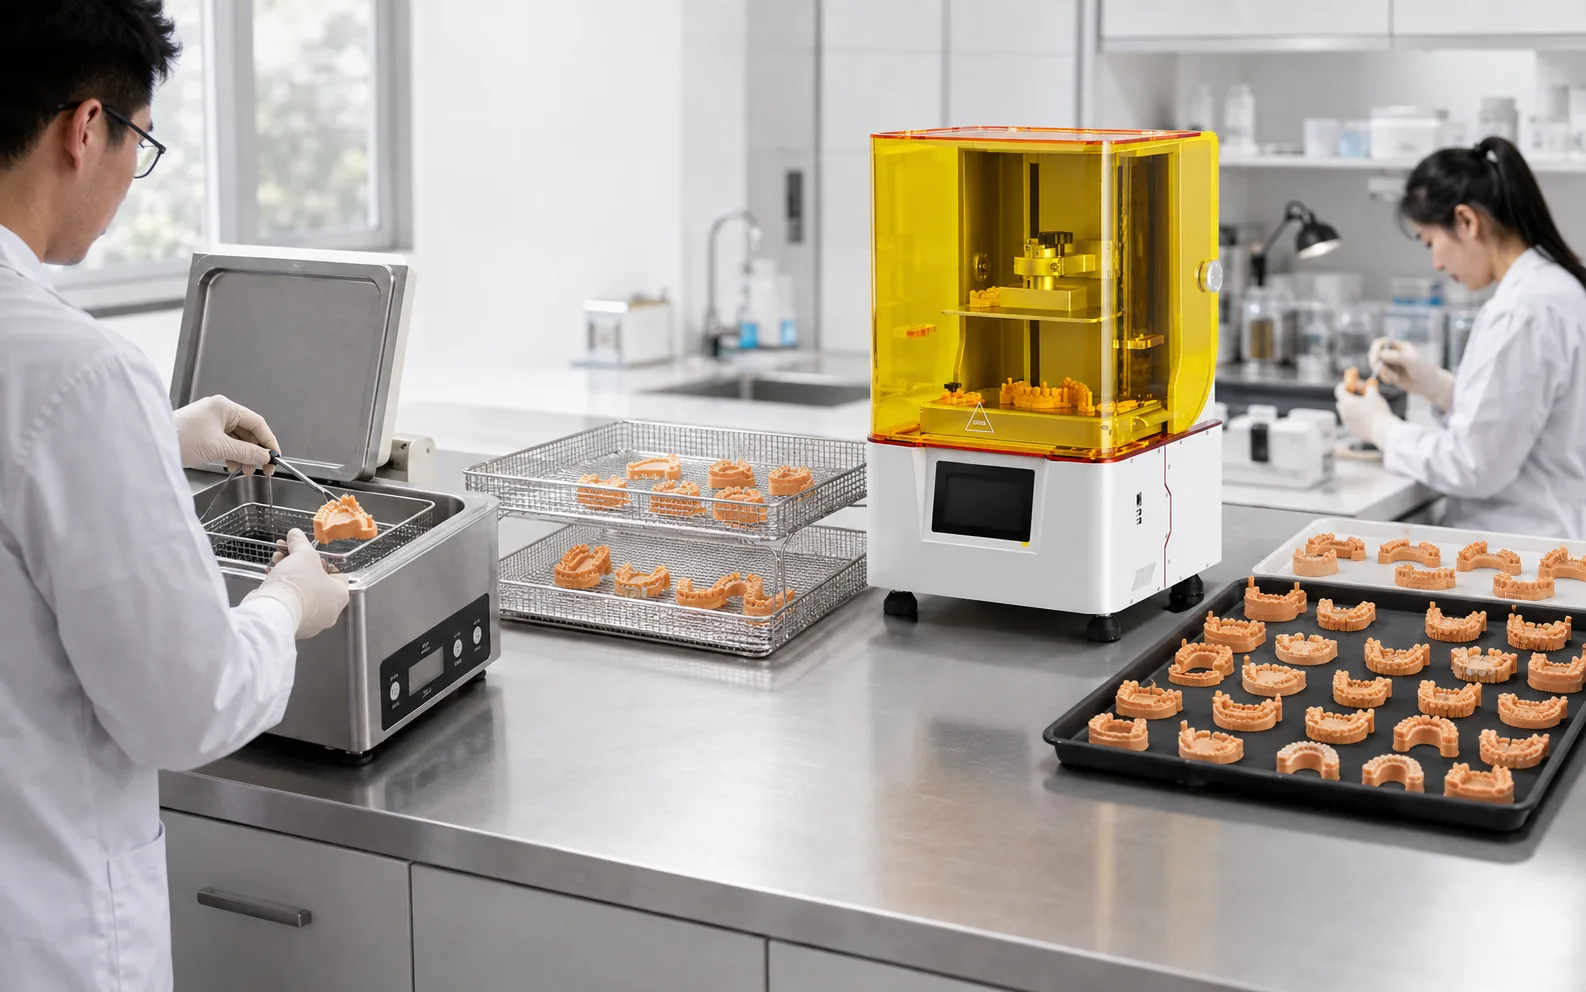
The part that reaches inspection is the finished model after the required cleaning, complete drying, UV post-curing and finishing—not the part at the moment the build ends.

  1. 01Digital Scan / CAD FileUse the controlled model revision and confirm the geometry that must be reproduced.
  2. 02Model PreparationRepair, label, trim or prepare the file according to the laboratory workflow.
  3. 03Build LayoutPlan orientation, spacing, supports and usable platform area around the real models.
  4. 04Printer & Resin SelectionUse current model-specific and material documentation before setting the process.
  5. 05PrintingRun the validated model, resin and layer settings for the intended laboratory task.
  6. 06WashingRemove uncured surface resin using the process specified for the selected material.
  7. 07Complete DryingAllow the model to dry completely before the next controlled step.
  8. 08UV Post-CuringUse the documented curing route for the material and required finished condition.
  9. 09Support Removal / FinishingFinish the model at the appropriate point in the validated sequence.
  10. 10Visual & Dimensional InspectionReview critical features, surface condition, dimensions and repeatability criteria.

The exact support-removal, washing and post-curing sequence can vary by resin and validated process. Follow the current material documentation instead of assuming one universal sequence.

Dental resin 3D printing post-processing workflow with washing, complete drying, UV curing and model staging

Why Workflow Matters

Model quality comes from the complete process—not from a resolution label by itself.

Screen resolution can describe part of a printing system, but it does not independently prove dental-model accuracy, fit, surface quality or production repeatability. Evaluate the actual model geometry and the process that creates the finished part.

01
Model geometry

Arch form, thin edges, small features, undercuts and local geometry can change support needs and process sensitivity.

02
Orientation

Orientation changes platform footprint, oriented height, support strategy, surface exposure and total layer count.

03
Support placement

Keep supports away from critical model features where practical and plan for the finishing required after removal.

04
Resin compatibility

Confirm the selected model resin against current technical documentation, printer wavelength/process and representative testing.

05
Layer settings

Layer thickness and exposure settings affect the process; use validated settings rather than a generic profile assumption.

06
Build layout

More models on a platform can improve utilization, but dense nesting can alter support access, drainage, handling and build height.

07
Washing & drying

Overloaded or incomplete post-processing can compromise the finished surface and create rework before inspection.

08
UV post-curing

The selected curing route is part of the material process and must be included when defining the finished inspection state.

09
Critical features

Define which dimensions, edges, contacts, seating areas or other model features actually control laboratory acceptance.

10
Final inspection

Inspect after the agreed workflow is complete and compare repeated representative builds against the same acceptance criteria.

Do not read “8K” or “14K” as a stand-alone accuracy guarantee. Pixel count must be interpreted together with build area, pixel size, optics, motion, resin behavior, model preparation, post-processing and the dimensions of a representative finished model.

Dental Production Planning

Plan accepted laboratory output across the whole production cell.

Production planning should begin with representative model files and the lab’s actual queue. Build capacity, printer throughput and accepted laboratory output are different measurements, and the slowest downstream step can limit the complete process.

Single Model

Optimize the model, not the platform count.

For a single representative model, orientation can prioritize controlled build height, support access, critical surfaces and a repeatable inspection state.

Multi-Model Layout

Balance nesting density with the complete workflow.

Adding models to a build can improve platform utilization, but it also changes spacing, supports, oriented height, unloading, washing, drying, curing and inspection workload.

  • Build-area utilizationValidate the usable layout with real models, spacing and supports instead of dividing the nominal platform area by a model footprint.
  • Part orientationCompare platform density with build height, support requirements, surface condition and the critical features that must pass inspection.
  • Post-processing capacityMake sure washing, complete drying and curing capacity can receive each completed print without creating an uncontrolled queue.
  • Operator workflowAccount for loading, unloading, resin checks, part removal, finishing, labeling, cleaning, inspection and maintenance time.
  • InspectionDefine the model features and acceptance criteria before the trial so throughput is counted in accepted finished models, not raw prints.
  • RepeatabilityUse the same representative files, orientation, resin, settings and post-processing route across repeated builds when comparing a workflow.

YIDIMU Dental Systems

Compare Y8 and D1 around the actual model mix and build plan.

YIDIMU currently lists Eternal Y8 and Eternal D1 as dental resin printer options. The facts below are screening specifications from the current product pages; they do not replace printer-and-resin compatibility review or representative workflow validation.

Dental Resin Printer

Eternal Y8

A compact mask-based vat photopolymerization system positioned by YIDIMU for detailed dental models, precision parts and professional workflows.

  • 228 × 128 × 235 mmPublished build volume
  • 10.3-inch 8K7680 × 4320 display
  • 29.7 μmPublished XY pixel size

Dental Resin Printer

Eternal D1

A 10.1-inch light-curing system currently listed by YIDIMU with a larger Z build envelope than Y8 and a 405 nm light source.

  • 223 × 126 × 290 mmPublished build volume
  • 10.1-inch 14K13320 × 5120 display
  • 405 nmPublished light-source wavelength

For dental model resin, YIDIMU currently publishes dedicated yellow and grey model resins. Confirm the current resin documentation, exposure settings, printer match and post-processing method for the selected workflow before production.

Validate the Workflow

Use representative dental models before equipment or process decisions are finalized.

A sample should answer the questions that matter to the real laboratory workflow: can the chosen printer, model resin, build layout and post-processing route reproduce the required model features consistently in the finished condition?

Technician wearing clean gloves inspecting finished resin 3D printed dental models in a bright dental laboratory
  1. Detail. Review tooth morphology, edges and small features that matter to the model-based laboratory task.
  2. Surface. Inspect the final washed, dried, cured and finished surface rather than the fresh build.
  3. Critical dimensions. Define which measurements actually control acceptance and use a suitable inspection method.
  4. Fit-related model features. Check interfaces, seating areas and mating features that matter to the laboratory model workflow.
  5. Build layout. Repeat the representative orientation, support and multi-model arrangement intended for normal production.
  6. Post-processing. Validate washing, complete drying, curing and finishing capacity together with the printing stage.
  7. Repeatability. Compare more than one representative build when stable repeated output is part of the decision.

Start With a Representative Model

Validate the Dental Model Workflow Before You Scale It.

Share a representative dental model, approximate dimensions, model type, expected quantity, critical features and current post-processing requirements. YIDIMU can use that information to discuss a printer, model-resin direction, build layout and representative validation approach.