
Industrial Resin 3D Printing Guide
How to Print Large Resin Parts Without Warping
Printing a large resin part successfully is not only a question of whether it fits inside the build volume. Warping can develop during printing, washing, drying or UV post-curing, so geometry, orientation, supports and post-processing need to be treated as one controlled workflow.
- Reduce unnecessary stress from large cross-sections and unsupported spans.
- Design supports around the load path of the complete part.
- Provide drainage and cleaning access when hollowing large geometry.
- Wash, completely dry and UV post-cure under controlled conditions.
- Evaluate deformation only after the complete process is finished.
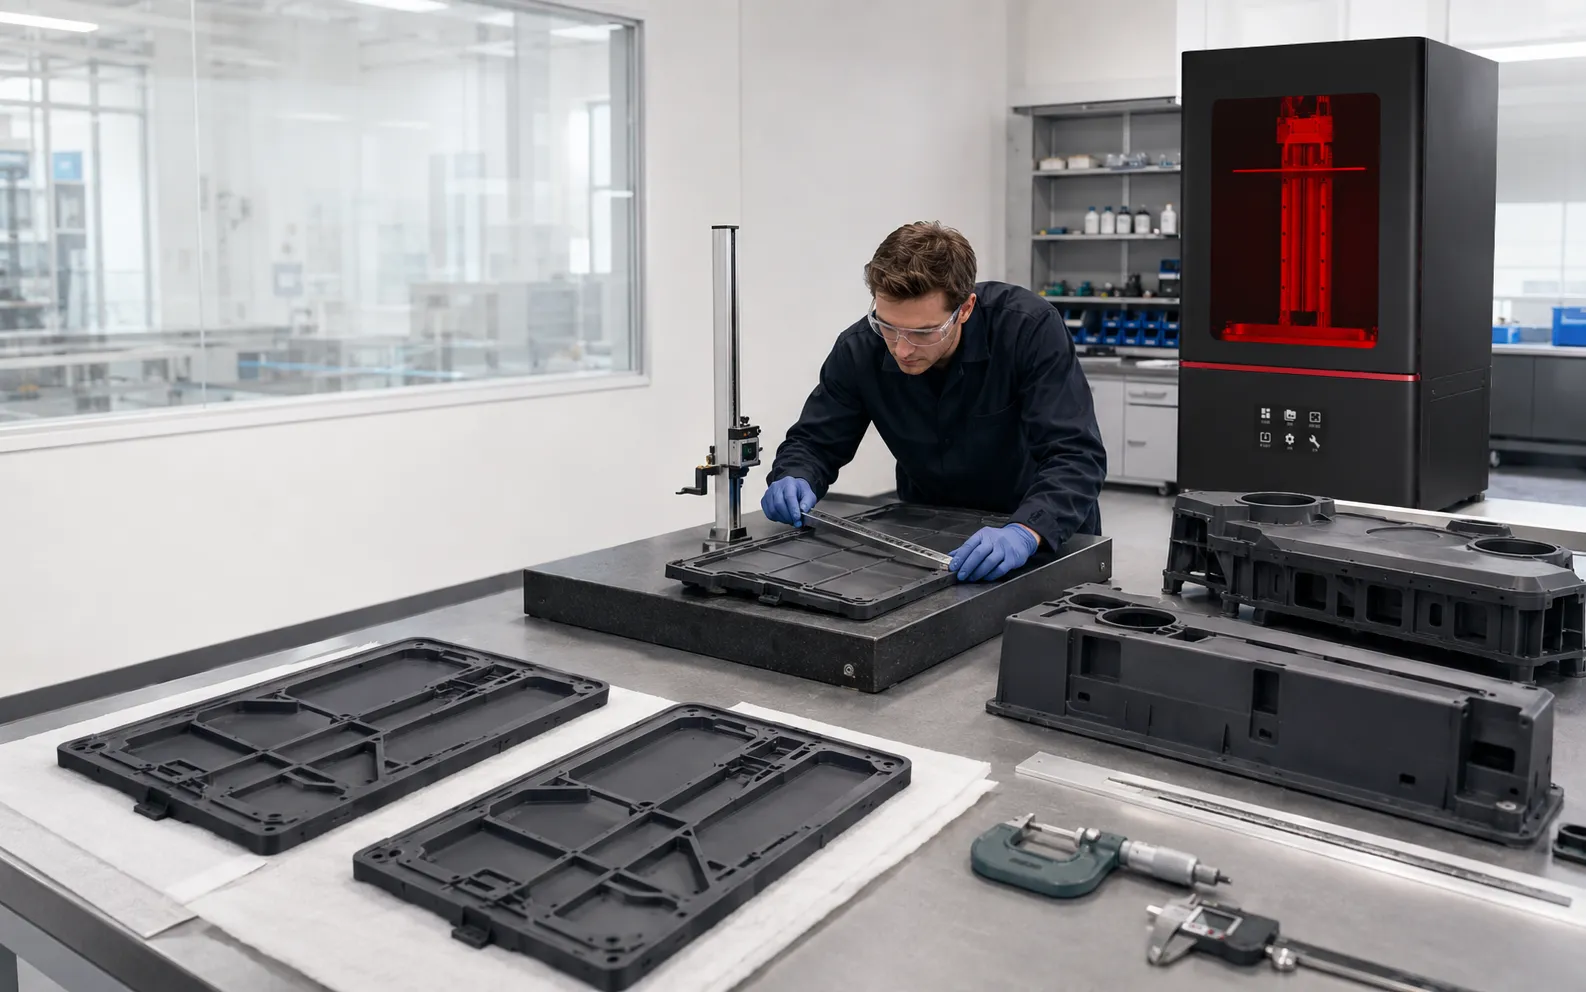
Direct Answer: How to Print Large Resin Parts Without Warping
To print large resin parts without excessive warping, control the complete process rather than trying to correct deformation with one slicer setting. Start with geometry that can be supported and cleaned reliably, choose an orientation that avoids unnecessarily large layer cross-sections, support long edges and load-bearing regions adequately, and use a validated printer-resin profile. After printing, follow the resin manufacturer's washing instructions, allow the part to dry completely and apply the specified UV post-curing process as uniformly as practical. Inspect flatness and critical dimensions only after the part has reached its intended final processed condition.
Large parts make process weaknesses easier to see. A support layout that works for a small model may allow a long panel to bend. A hollow design that looks efficient in CAD may trap liquid resin or wash fluid. A part that appears straight immediately after printing may change shape during cleaning or post-curing.
This is why preventing warping begins before slicing and continues until final inspection.
Why Large Resin Parts Warp
Warping is a change in the intended geometry of the part. It may appear as curvature, twisting, lifted edges, bowed walls or loss of flatness. With vat-photopolymerized parts, deformation can come from several stages rather than one single cause.
| Stage | Possible source of deformation | What to review |
|---|---|---|
| Printing | Insufficient support, large unsupported areas, separation forces or an unsuitable orientation | Layer sequence, orientation, supports, cross-sectional area and printer-resin profile |
| Washing | Uneven cleaning, retained wash fluid or inappropriate exposure to the cleaning process | Material instructions, cavities, drainage and wash procedure |
| Drying | Residual solvent or wash liquid remaining on surfaces or inside cavities | Drainage, airflow and complete drying before curing |
| UV post-curing | Non-uniform exposure, unsupported geometry or resin cure shrinkage | Material-specific cure conditions, positioning and part support |
| Inspection | Measuring the part at different processing stages | Consistent measurement timing and method |
The important engineering point is that a straight print coming off the build platform does not prove that the finished part will remain straight. The finished condition includes cleaning, complete drying, required UV post-curing, support removal and any additional finishing defined by the project.
1. Decide Whether the Part Should Really Be Printed in One Piece
Large-format resin printing can eliminate assembly seams, but printing the largest possible single piece is not automatically the safest strategy.
Before slicing, compare a one-piece build with an engineered split. Dividing a large enclosure, housing or panel may reduce unsupported span length, reduce difficult cross-sections, improve access for washing and UV curing, and allow individual sections to be positioned more favorably.
A single-piece build can still be preferable when seams would interfere with appearance, fit, internal channels or downstream inspection. The decision should be based on the final requirement rather than build volume alone.
For more background, see YIDIMU's large-format resin 3D printer guide for industrial parts .
2. Review the Geometry Before Adding Supports
Support generation cannot solve every geometry problem. Large parts deserve a CAD-level review before support placement begins.
Watch long, thin and flat regions
Long walls, thin panels and wide flat areas have relatively little stiffness compared with their span. If the application allows it, ribs, curvature, local reinforcement or changes in wall geometry can make the part less sensitive to deformation.
Do not add arbitrary thickness simply because a part is large. Wall design should remain compatible with the resin, printer, function, appearance and downstream requirements.
Avoid abrupt changes in section where practical
A large solid region connected directly to a thin wall creates a very different structural condition across the part. Where the design permits, smoother transitions and reinforcement around critical interfaces can help create a more manageable print.
Hollow parts only when they can be processed properly
Hollowing can reduce resin consumption and the cross-sectional area of some large parts, but it creates additional requirements. Liquid resin needs a path to drain, wash fluid needs access to internal surfaces, and the geometry must be capable of complete drying and the required post-cure treatment.
Avoid sealed cavities that cannot be cleaned or inspected reliably.
3. Use Orientation to Manage Loads, Surfaces and Cross-Section
Orientation changes much more than print height. It changes which regions appear first, the area exposed in each layer, the location of support marks, the length of support columns, drainage behavior and the forces acting on the developing part.
Large flat surfaces positioned nearly parallel to the build plane can create broad layer cross-sections. Tilting the part can often distribute the build over a more gradual layer sequence, although the appropriate angle depends on the actual printer, material and geometry.
A useful orientation balances several requirements:
- keep critical cosmetic or mating surfaces away from unnecessary support contacts;
- avoid large unsupported minima and long unsupported edges;
- manage layer cross-sectional area;
- maintain drainage from hollow or concave regions;
- keep the support structure practical to remove;
- leave enough build-volume clearance for the fully supported model.
There is no universal orientation that prevents warping for every large resin part. Compare alternative orientations in the slicer and review the layer sequence before committing to the build.
4. Design Supports Around the Load Path
More supports are not necessarily better. The important question is whether the support system restrains the regions that carry load as the part develops.
Start by identifying the earliest printed regions, long edges, broad overhangs, heavy sections and areas far from the main support structure. A large component can place substantial leverage on a small number of support contacts even when those contacts appear adequate on screen.
Support the structure before the detail
Establish a stable foundation for the main geometry first. Then add support for smaller overhangs and detail features. Thin decorative features should not be expected to stabilize the main body.
Protect critical surfaces
Support contact can leave local marks or introduce local distortion. Where possible, move contacts away from sealing faces, precision interfaces, visible exterior surfaces and inspection datums.
Do not remove structural support too early
Large parts may remain mechanically sensitive during post-processing. The appropriate timing for support removal depends on the resin and validated workflow. Follow the material and equipment instructions rather than assuming that immediate support removal is always preferable.
5. Freeze the Printer and Resin Process Before a Full-Size Build
Large parts consume more time and material, so a full-size model is a poor place to discover that the exposure profile or resin handling process is not stable.
Confirm the printer-resin combination using current technical documentation and representative test geometry first. Record the important process variables, including:
- printer and resin;
- resin batch where traceability matters;
- layer setting;
- exposure and movement settings;
- orientation and supports;
- build-platform position;
- environmental conditions where relevant;
- washing method;
- complete drying condition;
- UV post-curing procedure;
- measurement timing and inspection method.
Nominal screen resolution, XY pixel size or layer height should not be converted directly into a promised dimensional tolerance. Finished geometry is a system-level result.
YIDIMU's current resin materials section can be used to identify material directions, but processing and final suitability should be confirmed for the selected resin and application.
6. Control Washing and Complete Drying
Large parts are often harder to clean than small test coupons. Deep recesses, internal channels and hollow sections can retain uncured resin or wash fluid. Broad thin walls may also be more sensitive to handling during cleaning.
Use the washing process specified for the selected material. Avoid treating a longer wash as automatically safer or cleaner. Cleaning conditions that work for one resin should not be assumed to apply to another.
After washing, allow the component to dry completely before the next process step. Check holes, cavities, underside regions and internal drainage paths rather than judging dryness only from the most visible external surface.
7. UV Post-Cure Large Resin Parts Uniformly
UV post-curing is part of the finished-part process, not simply a cosmetic final step. Light exposure, heat where specified, part orientation and geometry can influence the final state of a photopolymer part.
Use the curing wavelength, time, temperature and handling procedure specified or validated for the exact resin. Do not copy a cure schedule from an unrelated material simply because both resins print at the same nominal wavelength.
For larger geometry, consider whether all required regions receive suitable exposure. Deep cavities, shadowed areas and large asymmetric parts may require a planned positioning or rotation procedure where supported by the material workflow.
If a long or thin component needs physical support during post-curing, any fixture should be designed around the actual geometry and validation requirement rather than used to force a badly warped print into nominal shape.
8. Measure Warping After the Complete Workflow
Visual inspection can detect severe curvature, but production decisions usually need measurable acceptance criteria.
Define critical features before printing. Depending on the part, these may include overall length and width, flatness-sensitive surfaces, mounting interfaces, hole positions, parallel faces or mating regions.
| Inspection item | Nominal requirement | Measurement method | Final result | Notes |
|---|---|---|---|---|
| Overall dimensions | Project drawing | Defined inspection instrument | Record actual value | Record build and processing condition |
| Flat surface | Project requirement | Defined flatness inspection | Record result | Identify location of deformation |
| Mating interface | Assembly requirement | Measurement or fit check | Pass / fail or measured value | Record assembly condition |
Use the same measurement stage when comparing builds. Measuring one part before post-curing and another afterward creates a process comparison rather than a meaningful part-to-part comparison.
Common Mistakes When Printing Large Resin Parts
- Printing the CAD model at the flattest possible orientation simply because it fits.
- Relying only on automatic supports without reviewing the layer sequence.
- Using a small calibration part as proof that a full-size housing will behave the same way.
- Hollowing a model without adequate drainage and cleaning access.
- Changing exposure, supports and orientation at the same time when troubleshooting.
- Leaving a large part in wash fluid longer without checking the material instructions.
- Beginning UV post-curing before the part is completely dry.
- Applying an unrelated resin's cure conditions.
- Inspecting only appearance instead of critical dimensions and flatness.
- Assuming a large build volume guarantees a successful one-piece print.
When Should You Split a Large Resin Part?
Splitting is worth considering when a one-piece orientation creates excessive support height, large cross-sections, inaccessible cavities, difficult cleaning, poor cure access or unacceptable risk to important surfaces.
Engineered splits can also place seams in low-risk locations and allow each section to be optimized separately. Alignment pins, joints or locating surfaces may be incorporated when suitable for the application.
Keep the model in one piece when the seam itself would create a larger functional, dimensional or cosmetic problem and the full-size workflow has been validated.
Relevant YIDIMU Systems for Large Industrial Resin Parts
Equipment should be selected from the oriented and supported part rather than from the original CAD dimensions alone. YIDIMU currently positions Eternal M1 and Eternal M2 for industrial resin-printing workflows involving engineering prototypes, larger models and multi-part layouts.
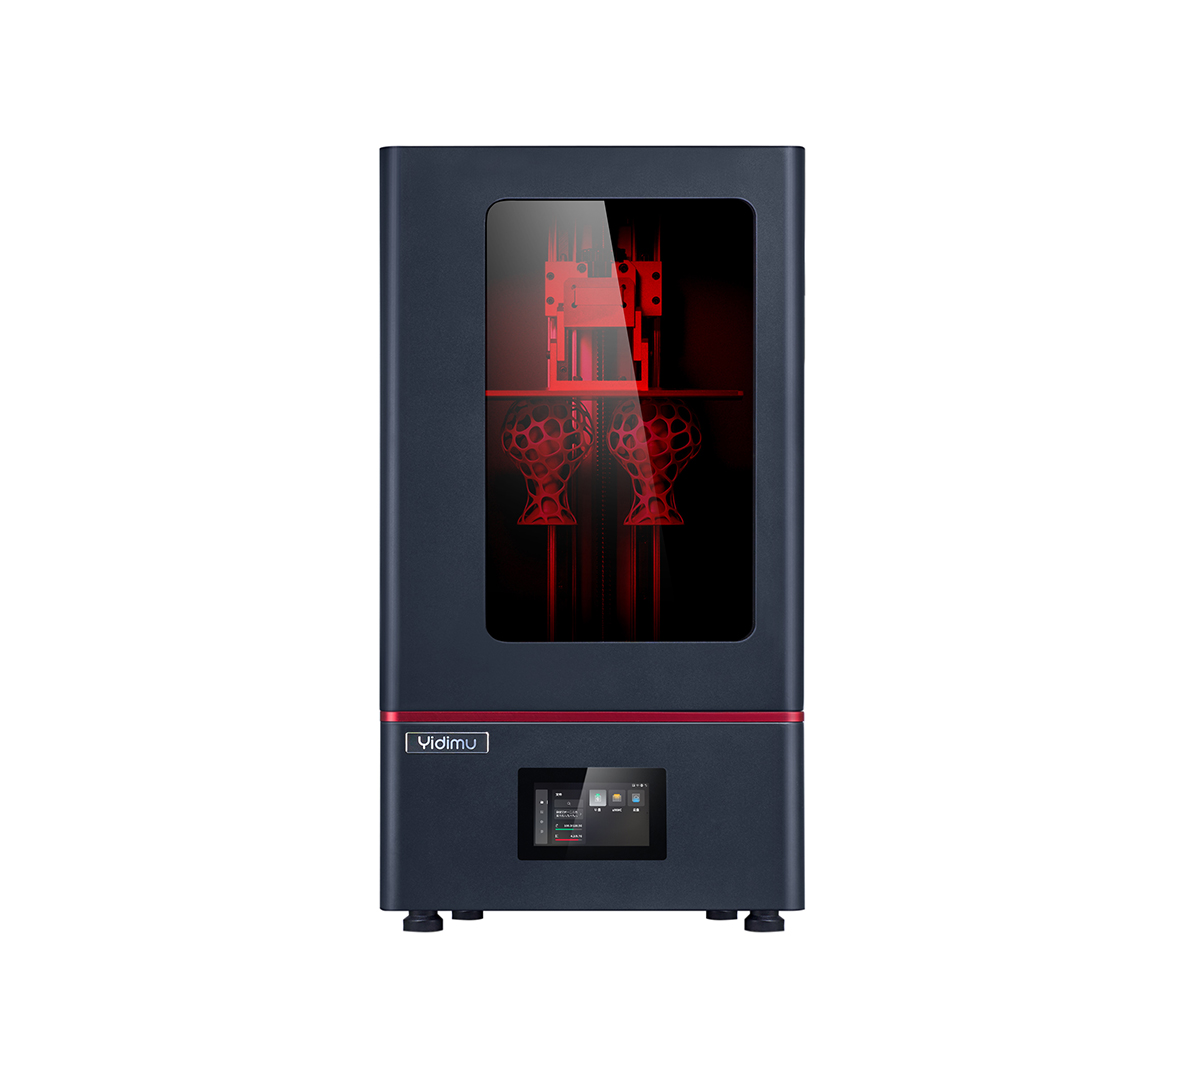
Eternal M1
Eternal M1 is a 13.6-inch industrial LCD resin system with a published 298 × 165 × 370 mm build volume. Practical suitability for a large part still depends on orientation, supports, material and post-processing requirements.
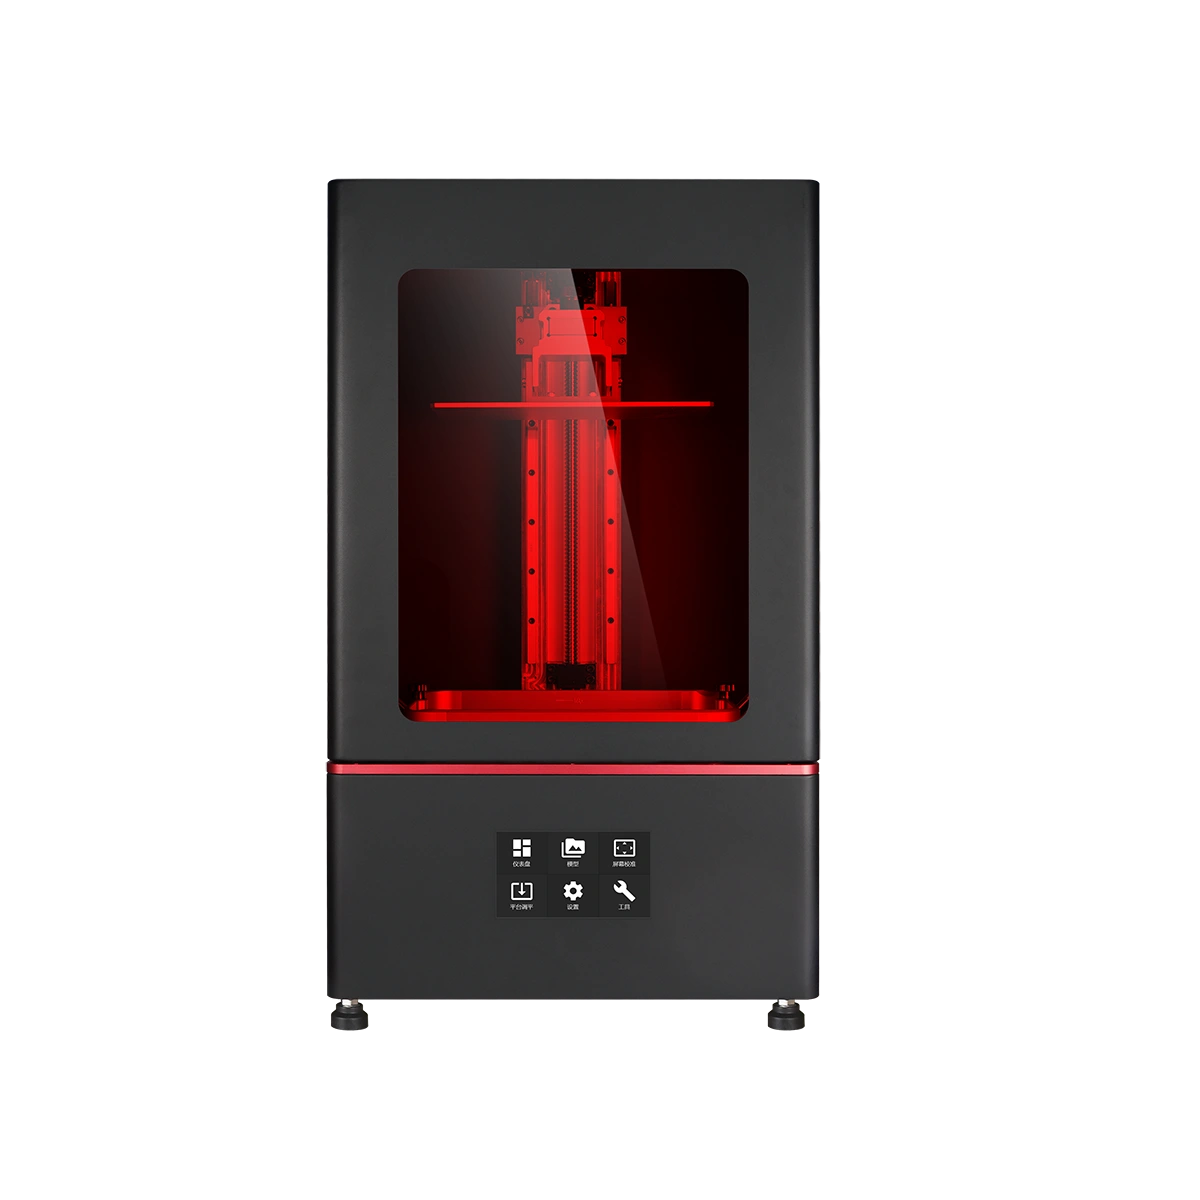
Eternal M2
Eternal M2 is a 16-inch 8K industrial LCD resin printer with a listed 353 × 198 × 400 mm build envelope, intended for evaluation with larger industrial prototypes, housings and multi-part layouts.
These specifications describe equipment and exposure-system characteristics. They do not establish a universal finished-part accuracy or anti-warping guarantee. Large representative parts should be validated under the intended workflow.
Practical Large-Part Anti-Warping Checklist
- Define critical dimensions, interfaces and flat surfaces.
- Decide whether one-piece printing or an engineered split is more practical.
- Check long thin sections, broad panels and abrupt geometry transitions.
- Confirm drainage and cleaning access for hollow geometry.
- Compare several possible build orientations.
- Review layer cross-sections and unsupported minima.
- Support primary load-bearing regions before minor details.
- Protect cosmetic, sealing and mating surfaces from unnecessary support contact.
- Use a validated printer-resin profile.
- Record material and build settings.
- Follow the applicable resin washing instructions.
- Confirm complete drying before post-curing.
- Use the specified or validated UV post-cure process.
- Measure after the complete workflow.
- Repeat representative builds when production consistency matters.
Limitations and Validation
No general article can provide one orientation angle, support density, wall thickness, exposure value or post-cure schedule that prevents warping for every resin part.
Results depend on the printer condition, resin formulation and batch, geometry, temperature, orientation, supports, exposure, layer strategy, build-platform condition, washing, complete drying, UV post-curing and inspection method.
A successful small coupon is useful for process setup, but it does not replace validation with a representative full-size component. For important engineering or production work, use the geometry, material, build layout and post-processing conditions that reflect the actual application.
FAQ: Printing Large Resin Parts Without Warping
Why do large resin prints warp after printing?
A resin part can change shape during printing, washing, drying or UV post-curing. Support conditions, resin behavior and uneven processing can all contribute, so troubleshooting should identify the stage at which the deformation first appears.
Should large resin parts be printed flat?
Not automatically. A large flat orientation can create broad layer cross-sections and may also place important surfaces in an unfavorable printing condition. Evaluate angled orientations and the resulting supports, build height, drainage and surface quality.
Will adding more supports always stop warping?
No. Support location and structural load path are more important than simply maximizing the number of contacts. Poor orientation or unsuitable geometry may remain problematic even with many supports.
Should a large resin part be hollowed?
Hollowing can be useful, but only when drainage, internal washing, complete drying and required UV exposure can be managed reliably. Sealed or inaccessible cavities should be avoided.
Can UV curing cause a resin print to warp?
Post-curing can change the final condition of photopolymer parts. Follow the material-specific cure procedure, allow the print to dry fully first and consider how large or asymmetric geometry is positioned during curing.
Does a larger industrial resin printer prevent warping?
No. A larger build envelope allows larger supported models to fit, but warping still depends on geometry, material, orientation, supports, process settings and post-processing. Equipment selection and process validation are separate questions.
Evaluate a Large Resin Part Before Choosing the Workflow
For a project-specific evaluation, provide the information that determines whether the part can be oriented, supported, processed and inspected practically:
- CAD, STL or representative model;
- overall dimensions;
- critical dimensions and flat surfaces;
- mating or assembly features;
- material requirements;
- surface requirements;
- expected quantity;
- acceptable splitting or joining locations;
- post-processing requirements;
- inspection and acceptance requirements.
Submit your model and printing requirements to YIDIMU or contact YIDIMU to discuss the printer, resin and post-processing workflow around the actual part.