

Pilot Builds
Produce a representative batch before committing to a wider production route.
SMALL-BATCH RESIN 3D PRINTING
Plan the complete workflow around build layout, repeatability, post-processing capacity and inspection—not printer speed alone.
APPLICATION FIT
Low-volume 3D printing is useful when the production task still benefits from digital flexibility, limited quantities or controlled design variation. The application, material behavior and final-use requirements still determine whether a printed resin part is appropriate.
Produce a representative batch before committing to a wider production route.
Run revised geometries without treating every change as a new tooling program.
Manage controlled variation where digital files change between customers, assemblies or projects.
Arrange related housings, brackets, covers or validation parts in planned multi-part builds.
Use resin printing for an interim quantity where geometry, material and delivery requirements make the route appropriate.
Repeat approved model, display, laboratory or engineering geometries under a defined workflow.
Consider selected parts when the material, service conditions and expected life have been evaluated.
Separate appearance, fit, temporary-use and final-use requirements before approving the process.
FROM SAMPLE TO WORKFLOW
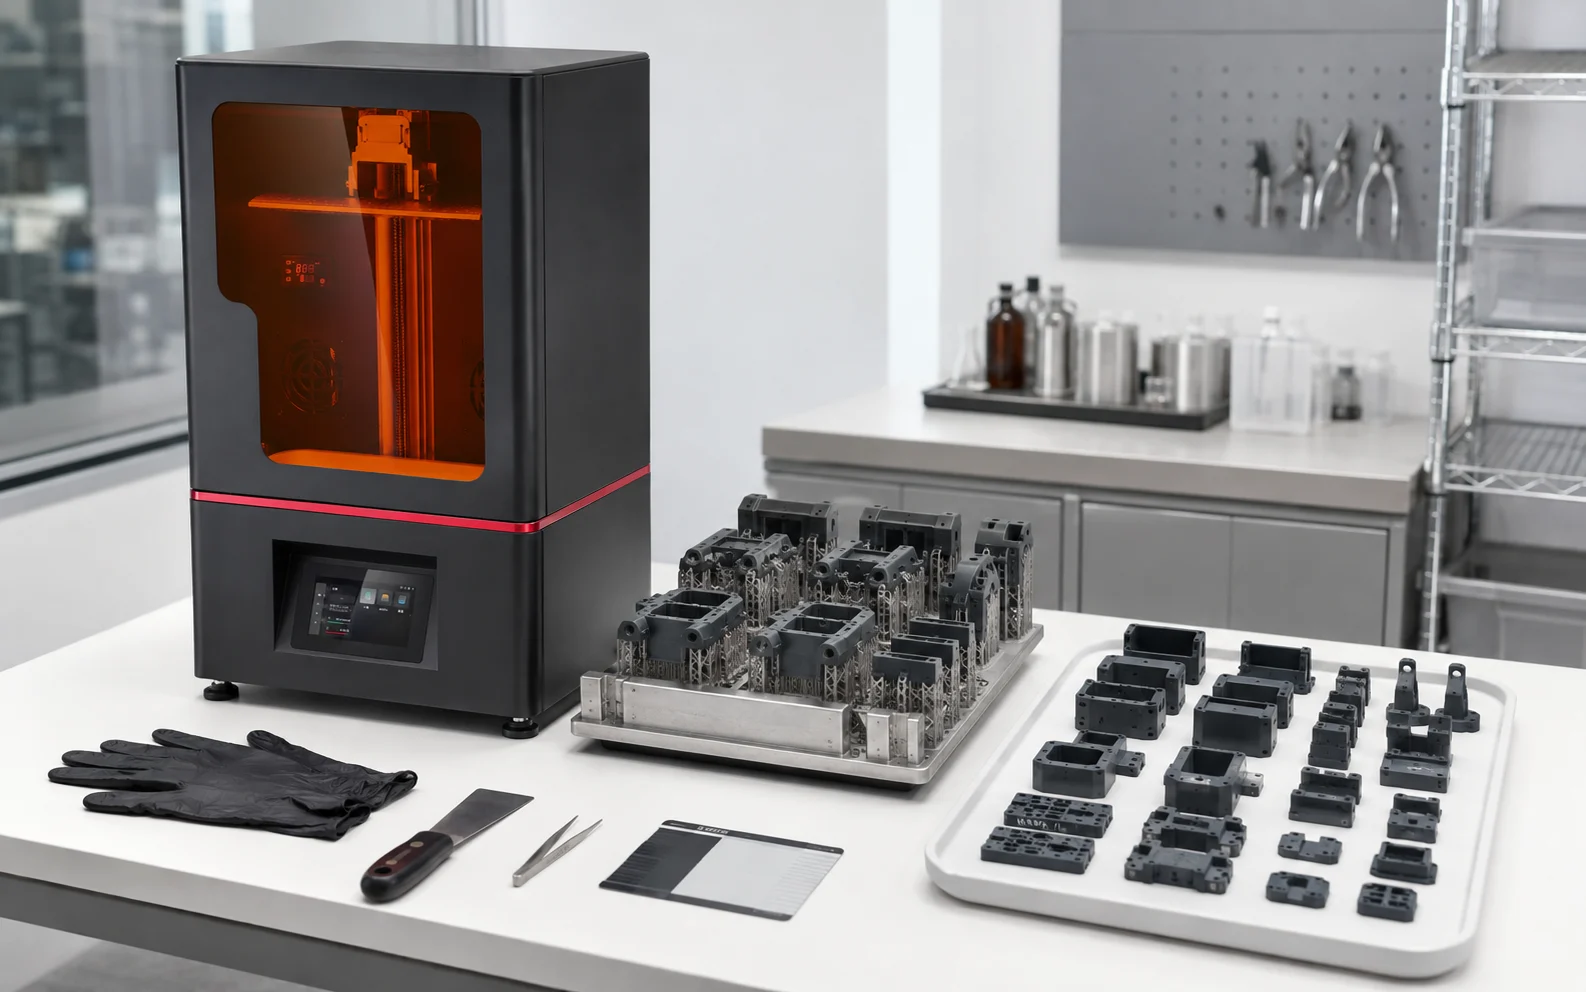
A successful sample proves that one configuration can produce an acceptable part. Moving to repeatable small-batch production requires a wider check: the layout, resin condition, support strategy, post-processing capacity, inspection method and batch documentation must work together.
TOTAL CYCLE
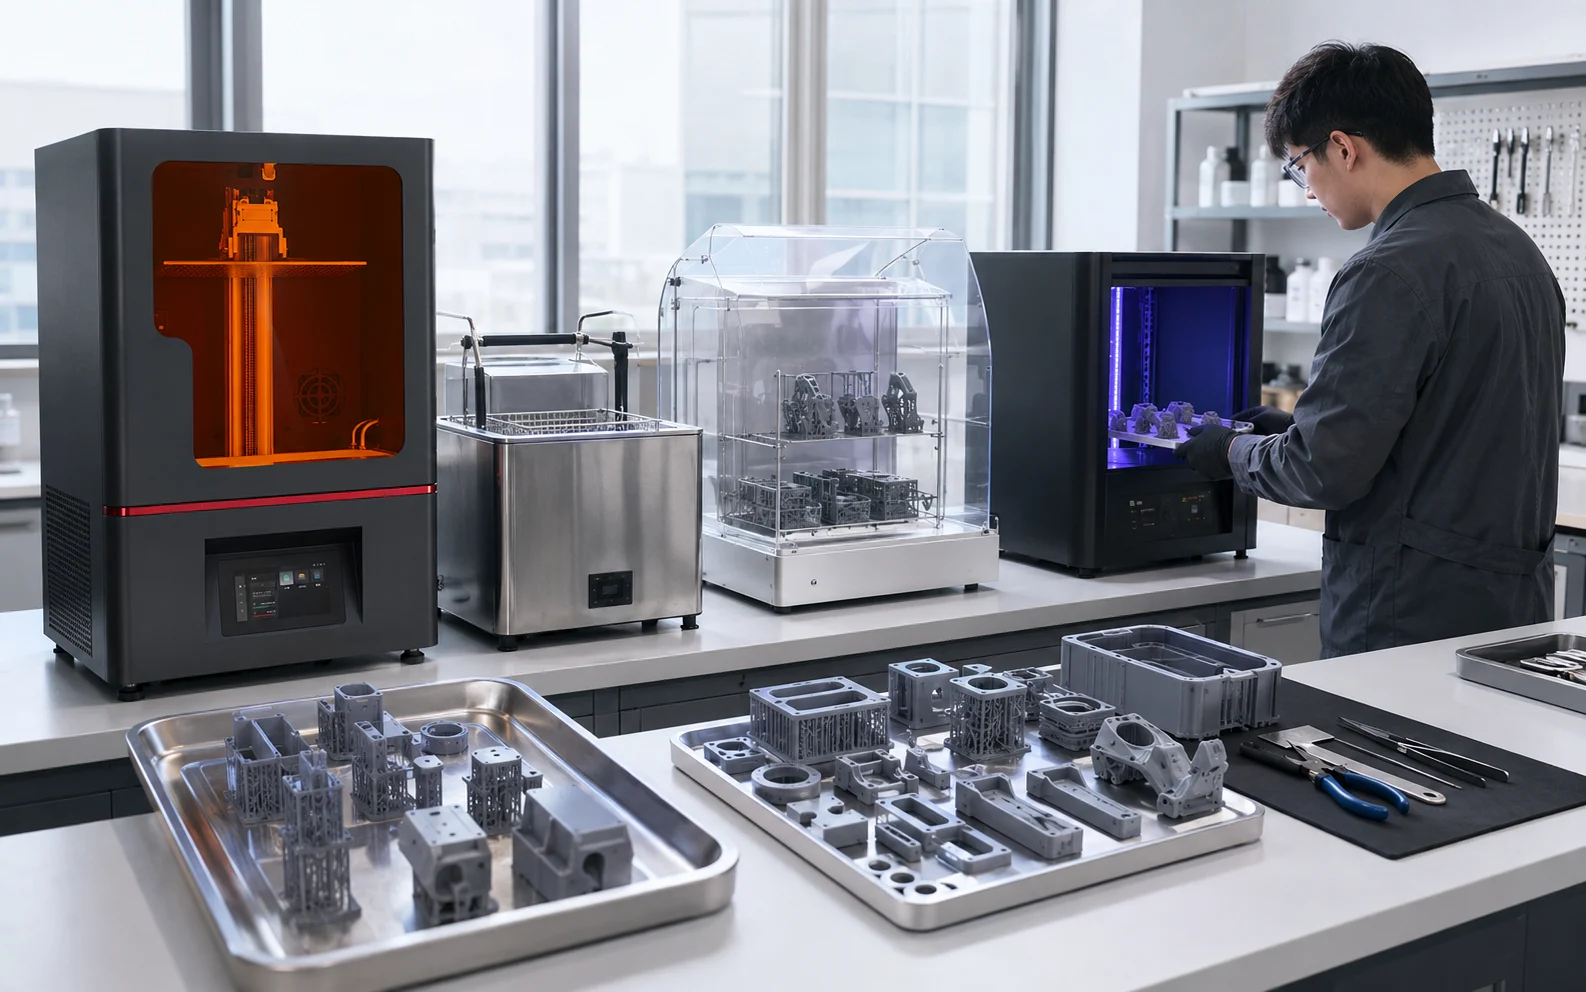
Print time is only one component of total production time. Washing, complete drying, UV post-curing, support removal, finishing, inspection and batch review all need enough capacity for the intended output.
BUILD LAYOUT & THROUGHPUT
Multi-part resin printing is a layout problem as well as a printing problem. A dense platform is not automatically an efficient platform if the arrangement increases failure risk, difficult support removal or downstream handling time.
Estimate quantity from the real oriented geometry and support footprint, not from part dimensions alone.
Leave practical separation for support structures, resin flow, removal and handling.
Balance critical surfaces, supports, cross-section, drainage and printed height.
Use a repeatable support strategy around critical faces, thin features and part removal.
Remember that taller orientation can affect print time even when the platform holds the same number of parts.
Compare usable layout space with the actual batch envelope and required edge clearance.
More parts in one build can increase the consequence of a failed build, so representative layouts should be tested.
Washing, drying, curing, support removal and inspection must be sized for the batch leaving the printer.
Actual production efficiency varies with part geometry, orientation, layer thickness, resin, build layout, print settings, washing, drying, UV curing, support removal, inspection and operator workflow.
REPEATABILITY & INSPECTION
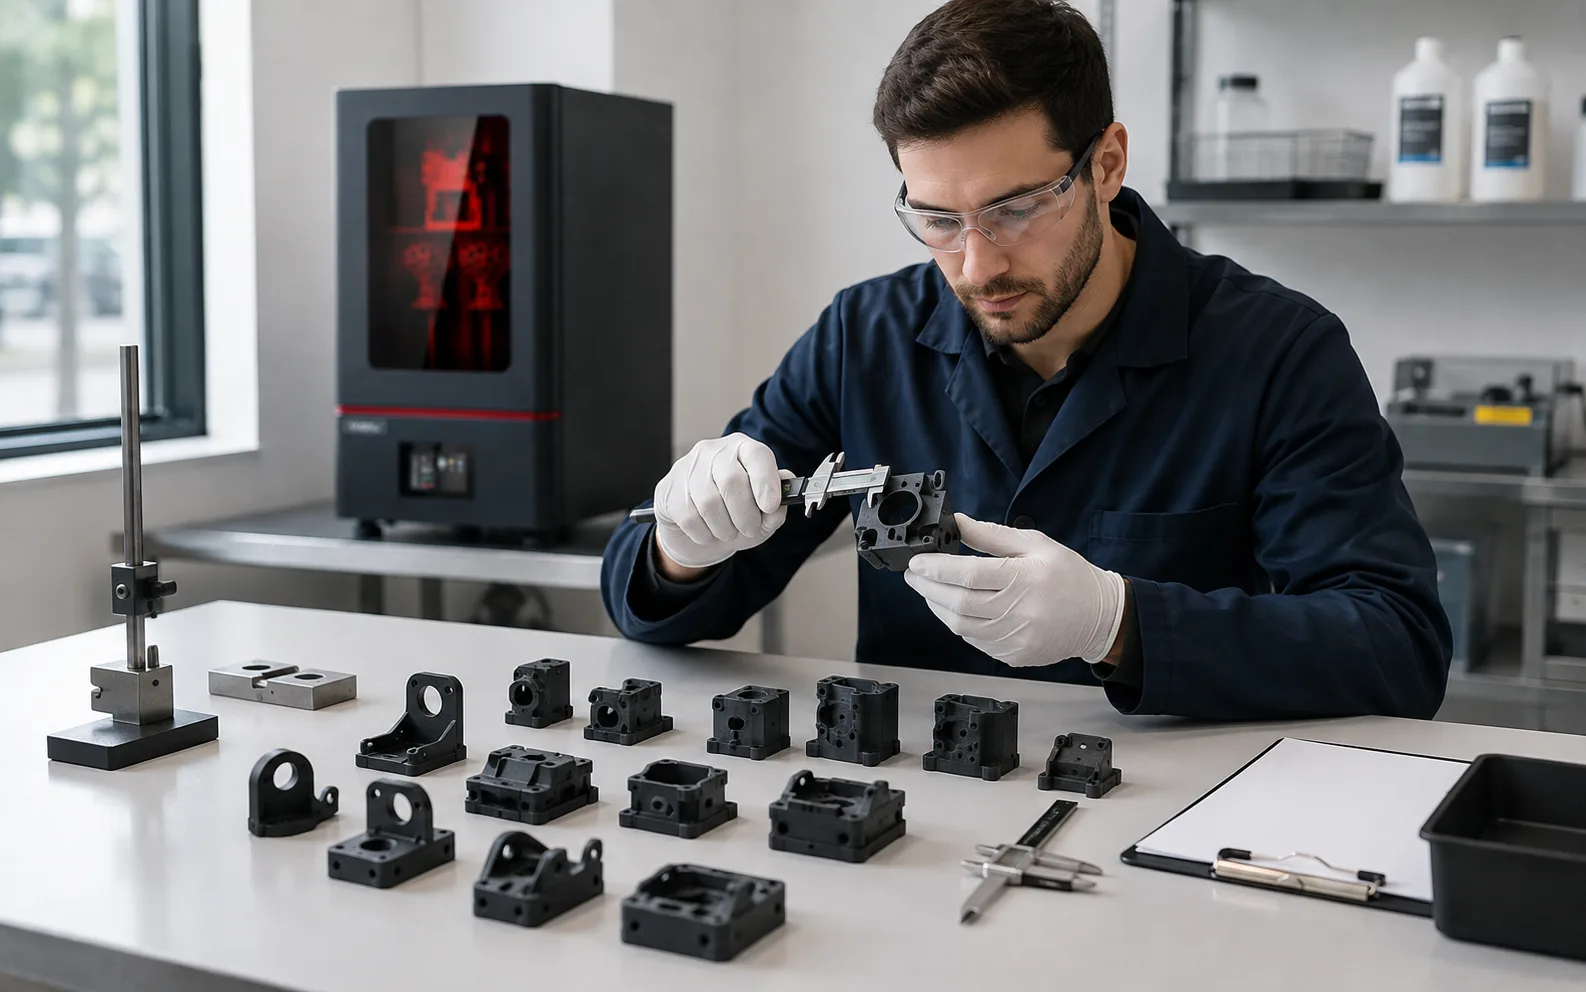
Repeatable resin 3D printing is easier to evaluate when the team agrees what will be checked and records the relevant process conditions. Inspection can be simple or detailed depending on the part; it should match the project rather than imitate a certification system the workflow does not use.
SYSTEM SELECTION
Compare the part envelope, number of parts, layout, resin, post-processing equipment and inspection requirement together. Nominal resolution alone does not determine whether a printer fits a small-batch workflow.
INDUSTRIAL RESIN
Evaluate M1 for industrial resin work where detailed engineering models, multi-part layouts and repeatable processing need to fit within the selected build and post-processing workflow.
LARGER INDUSTRIAL BUILDS
Consider M2 when the batch requires additional build envelope for larger parts, more layout options or mixed part arrangements, while still planning the complete processing and inspection cycle.
For flexible lattices, cushioning structures or elastomer components, evaluate the material behavior and dedicated flexible workflow separately rather than treating a rigid-resin batch as equivalent.
Explore Flex G2REPRESENTATIVE BATCH VALIDATION
A representative batch is more useful than a perfect isolated sample when the real question is whether the planned layout, material, post-processing and inspection approach can be repeated for the intended production task.
TECHNICAL RESOURCES
This application page focuses on project fit and workflow planning. Use the technical resources for deeper comparison of printing processes, system selection and total production considerations.