
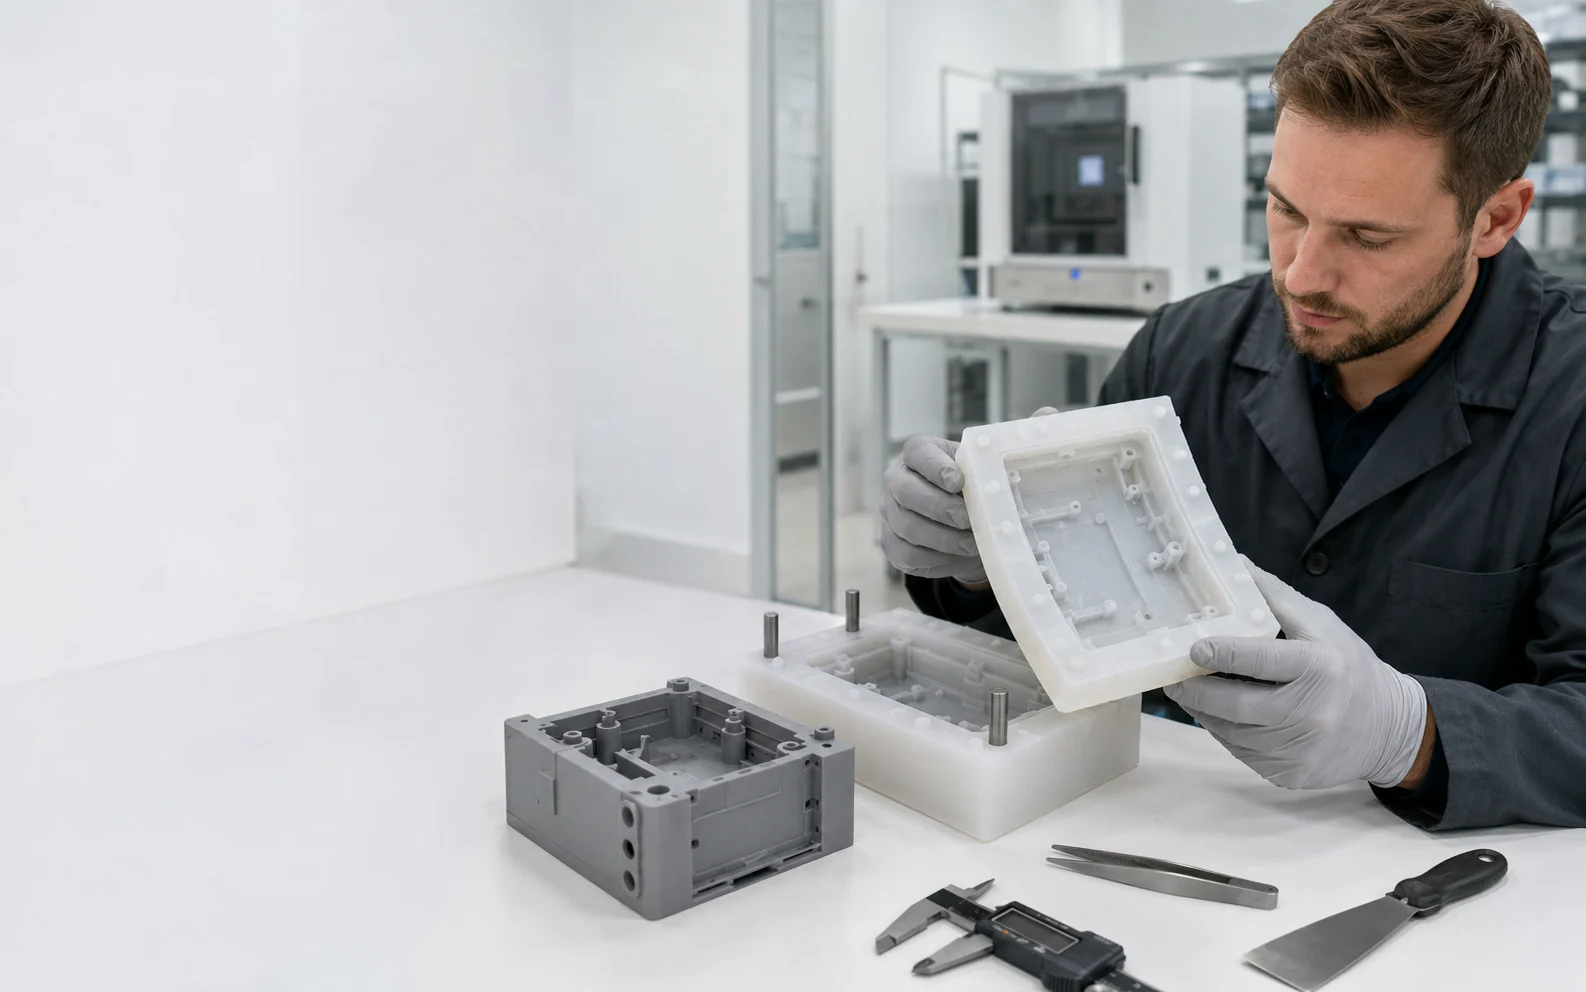
Silicone mold making with a resin 3D printed master is a practical indirect tooling workflow: print the positive master, remove residual resin, dry it completely, complete the required UV post-cure, finish the mold-facing surfaces, verify compatibility with the chosen silicone, and then build and pour the silicone mold around the master. The key risk is assuming that a visually finished resin print is automatically ready for silicone contact. Surface contamination, incomplete curing, coatings, mold-release products and the silicone chemistry can change the result, so a small compatibility test is a sensible control when the material combination has not already been validated.
Key Takeaways
- The printed part is the positive master; the silicone cures around it and becomes the negative mold cavity.
- Any layer lines, sanding marks, support scars or surface defects on the master can be reproduced in the silicone mold.
- Residual uncured photopolymer or cleaning liquid should not remain on the master before mold making.
- Platinum-cure silicone can be sensitive to cure-inhibiting contaminants, so resin-to-silicone compatibility must be verified rather than assumed.
- A coating or release agent may help in some workflows, but it also changes the replicated surface and must itself be compatible with the silicone system.
- The correct resin, washing method, drying condition, UV post-cure and silicone process should follow the relevant TDS, SDS, IFU or other formal technical documentation.
Silicone Mold Making With a Resin 3D Printed Master: Practical Workflow
This workflow is useful when a team needs a detailed master quickly but wants the flexibility of a silicone mold for subsequent casting. Instead of machining or hand-finishing every master, the CAD model can be revised and reprinted. The advantage is strongest during development, where surface details, logos, textures, draft, split lines or assembly geometry may still change.
Prepare the master geometry
Start with the final positive geometry that you want the silicone cavity to reproduce. Review undercuts, deep recesses, sharp internal corners and the intended demolding direction. If the master is difficult to remove from a flexible mold, revise the geometry, use a planned cut in the silicone, or design a multi-part mold strategy before printing.
Orient the print around the mold-facing surface
Support contact points should be kept away from the surfaces that define the final molded part whenever practical. A support scar on a hidden base may be acceptable; the same scar on a cosmetic texture, sealing surface or alignment feature can be transferred through the silicone into every casting.
Print, drain and wash the master
Remove liquid resin from the completed part using the washing process specified for the selected photopolymer. Pay particular attention to blind holes, grooves, embossed text, recesses and support-dense regions where uncured resin can remain. Do not move to mold making while the surface is still contaminated with liquid photopolymer.
Allow complete drying
The cleaning liquid should be fully removed before UV post-curing and before any coating, mold release or silicone contact. A part that looks dry at first glance may still retain cleaning liquid in holes, cavities or textured areas. Drying requirements depend on the cleaning system, resin, geometry and formal process instructions.
Complete the required UV post-cure
Follow the resin supplier’s documented post-curing procedure. Post-curing is part of the material process, not merely a cosmetic finishing step. When silicone compatibility is important, the master should not be treated as ready simply because it feels hard. The verified resin process and the actual silicone combination matter.
Finish the replicated surfaces
Sanding, polishing, filling or coating may be used when the required mold surface is smoother than the raw print. Work progressively and inspect critical dimensions after finishing. A thick coating can soften fine detail, change clearances and round sharp features, so surface treatment should be matched to the purpose of the mold.
Run a silicone compatibility test
If the resin, surface treatment and silicone combination has not been validated, apply a small amount of the intended silicone to a representative finished test piece or a non-critical area. Verify that the silicone cures normally at the interface and releases as expected. This is especially important for platinum-cure silicone systems, which can be sensitive to certain contaminants and incompletely cured materials.
Build the mold box and plan the parting line
Position the master so the silicone can fill around critical details without trapping unnecessary air. For a one-part open-face mold, support the master in a suitable box. For a two-part mold, define the parting line, registration features and any required vents or gates for the later casting process.
Mix, pour and cure the silicone to its instructions
Use the silicone manufacturer’s stated mix ratio, working method, degassing guidance, cure conditions and release recommendations. Avoid inventing a universal cure time or ratio: those values belong to the specific silicone formulation. Pour in a controlled manner and inspect complex features for trapped air.
Demold and inspect before production casting
After the silicone has completed its specified cure, remove the master carefully and inspect the cavity. Look for sticky or uncured interface areas, missing detail, trapped bubbles, tears, distortion, parting-line defects and surface transfer. Do not assume a visually intact mold is production-ready until the features that matter to the final part have been checked.
Why Cure Inhibition Matters With Resin 3D Printed Masters
The most important compatibility issue is not whether the master was produced by resin 3D printing in general, but whether the specific finished surface is chemically compatible with the selected silicone. Some platinum-catalyzed silicones are particularly sensitive to substances that interfere with their cure. A failure may appear as a soft, tacky or uncured layer exactly where the silicone touched the master.
Thorough washing, complete drying and appropriate UV post-curing reduce avoidable contamination, but they should not be treated as a universal guarantee for every resin and every silicone. When a combination is not documented, the process should include a small test. If a barrier coating is considered, verify that the coating has cured completely, does not inhibit the silicone and does not change critical geometry or surface texture beyond the acceptable limit.
Surface Quality: The Master Becomes the Mold Surface
Silicone reproduces surface features very effectively. That is useful for fine textures and small design details, but it also means defects can propagate through the workflow. Layer lines, stair-stepping on shallow slopes, sanding scratches, support marks, filler edges and dust can appear in the mold cavity and then in cast parts.
Decide what the mold actually needs before polishing the entire master. A fit-check casting may only require clean dimensions and readable features. A cosmetic prototype may require more finishing on visible faces. A textured product may need the print to preserve deliberate texture rather than eliminate it.
Protect critical dimensions during finishing
Finishing removes or adds material. Sanding can reduce wall thickness or feature height; primer and coatings can increase dimensions. For masters with mating features, sealing lands, channels, locating bosses or controlled gaps, measure the finished master at the points that matter rather than relying only on the original CAD dimensions.
Process Decisions Before You Pour Silicone
| Decision | What to evaluate | Risk if ignored | Practical control |
|---|---|---|---|
| Master orientation | Critical cosmetic and dimensional surfaces | Support scars transferred into the silicone | Move support contact away from replicated surfaces where practical |
| Cleaning | Grooves, holes, recesses and support-dense regions | Residual liquid photopolymer at the interface | Use the resin-specific washing process and inspect difficult areas |
| Drying | Residual cleaning liquid in hidden geometry | Contamination under coatings or silicone | Allow complete drying before the next process step |
| Post-cure | Resin-specific required cure conditions | Unstable or chemically active surface | Follow the formal resin post-curing documentation |
| Surface finishing | Required texture, detail and dimensional tolerance | Visible defects or dimensional change | Finish only as much as the application requires and inspect afterward |
| Silicone compatibility | Resin, coating, release agent and silicone chemistry | Sticky or uncured silicone at the master interface | Run a representative compatibility test before the full mold |
| Demolding strategy | Undercuts, parting line, deep recesses and mold flexibility | Tearing the mold or damaging the master | Plan mold cuts, split lines or multiple mold sections before pouring |
Relevant YIDIMU Systems for Printed Master Workflows
For a silicone-mold master, the printer should be selected around the actual master size, surface-detail requirement, resin process and the number of parts that need to be arranged in a build. The workflow does not require a flexible-material printer because the printed component is the rigid master, while the silicone provides the flexible mold.
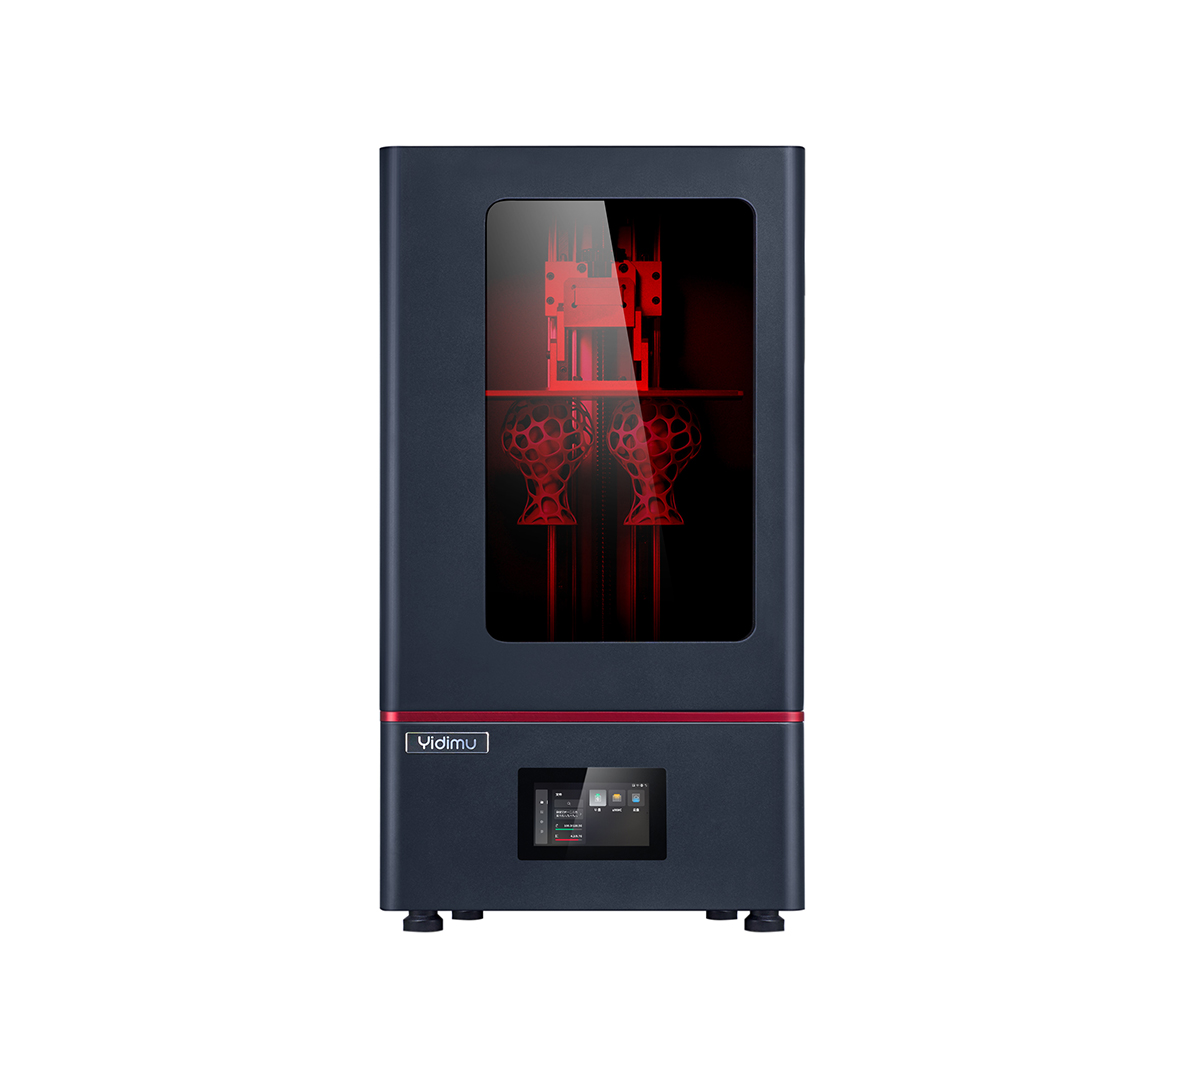
Eternal M1
An industrial resin 3D printing option to evaluate when the master fits the required build strategy and the project prioritizes detailed engineering or prototype parts. Confirm the latest printer and resin documentation before selecting the process for a specific master.
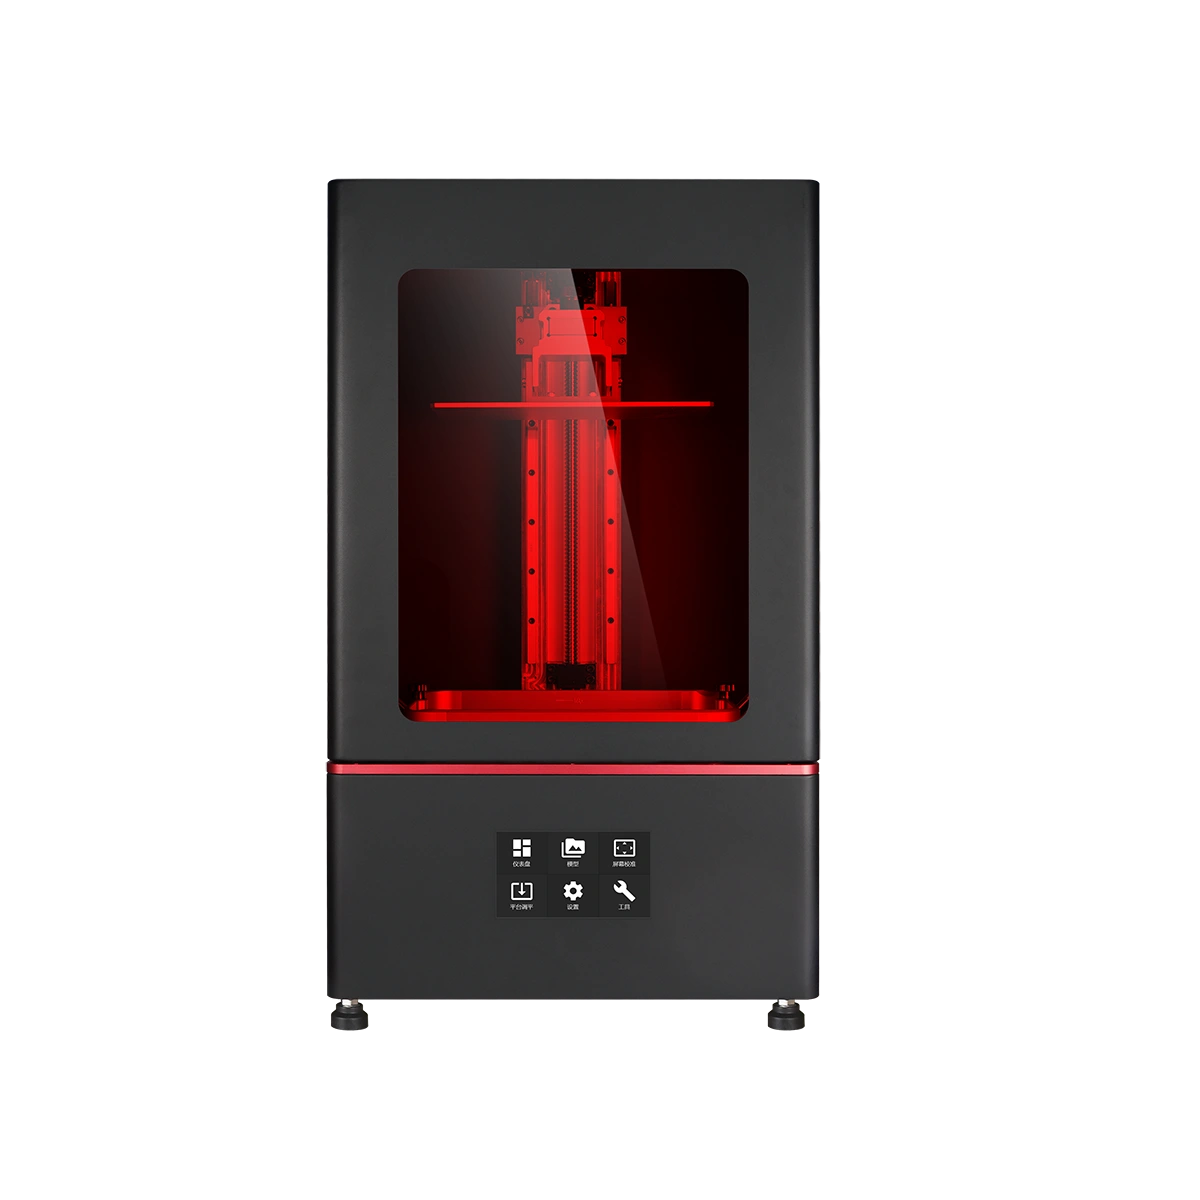
Eternal M2
A larger-format industrial resin 3D printing option to consider for larger masters or layouts with multiple masters. Final suitability depends on model dimensions, resin choice, orientation, support strategy and the complete post-processing workflow.
Practical Evaluation Checklist
Before committing a full mold, document the requirements that will determine whether the printed master is actually suitable:
- Overall dimensions: Can the master be printed without an unnecessary split, or is a joined master acceptable?
- Final use: Is the silicone mold for visual prototypes, casting trials, functional samples or repeated short-run casting?
- Critical geometry: Which edges, textures, holes, logos, grooves or sealing surfaces must transfer accurately?
- Undercuts and release: Can the master be removed without tearing the silicone or damaging fine features?
- Surface requirement: Which areas need sanding, polishing, filling or a controlled coating?
- Material behavior: Which resin documentation governs washing, drying and UV post-curing?
- Silicone chemistry: Is the chosen silicone known to be compatible with the finished master surface?
- Quantity: How many masters, molds and castings are needed, and where does repeatability matter?
- Dimensional verification: Which finished-master dimensions should be measured after post-cure and surface finishing?
- Mold inspection: What defects would make the silicone mold unacceptable before casting begins?
Limitations and Validation
A resin 3D printed master can be an efficient route to silicone tooling, but a parameter sheet cannot prove the quality of the final mold. The master goes through multiple transformations after printing: washing, drying, UV post-curing, support removal, sanding or coating, silicone contact and demolding. Each stage can affect the surface or dimensions.
If the mold will be used to approve a production design, validate the representative master and the first silicone mold under the real process conditions. For dimensional work, define the measurement method and inspection points before printing. For cosmetic work, inspect the areas that will be visible on the cast part. For repeated casting, also monitor whether the silicone mold tears, distorts or accumulates surface damage over the required number of cycles.
The safest workflow is controlled rather than generic: keep the printer, resin, wash process, complete drying step, post-cure procedure, surface finishing, coating or release agent, silicone formulation and cure process traceable. A change in any of these can justify a new compatibility check.
FAQ
Can I pour silicone directly onto a resin 3D printed master?
Sometimes, but direct contact should not be assumed to work for every resin and silicone combination. The master should be thoroughly washed, completely dried and post-cured according to the resin documentation. If compatibility is not established, test the actual finished surface with the intended silicone before the full pour.
Why does silicone stay sticky where it touches the resin print?
One possible cause is cure inhibition at the interface. Residual uncured photopolymer, incomplete post-curing, cleaning residues or another contaminant can contribute, and platinum-cure silicones can be particularly sensitive. Verify the material combination and the complete preparation process rather than adding more silicone over the failed area.
Should I sand the master before making the silicone mold?
Sand when the replicated surface must be smoother than the raw print or when support marks need removal. Do not sand automatically: every finishing step can change dimensions, round edges or remove intended texture. Finish the surfaces that matter and inspect them afterward.
Do I need a barrier coating on the printed master?
Not in every workflow. A compatible barrier can reduce direct contact between silicone and the printed resin, but it can also alter detail and dimensions. Use a coating only when the material process calls for it or when compatibility testing shows that it is needed.
Is a printed master better than printing the mold cavity directly?
They solve different problems. A printed master is useful when you want a flexible silicone mold that can release undercuts and then be used for casting. A directly printed rigid negative can be faster for suitable geometries, but rigid tooling has different release, durability and material-compatibility limits.
What information should I send for a master-printing evaluation?
Provide the model file, overall dimensions, intended silicone-mold use, quantity, critical surfaces, dimensional or fit requirements, preferred resin if already specified, expected surface finish and any known silicone or release-agent constraints.
Evaluate a Resin 3D Printed Master for Your Mold Workflow
Share the model file, overall dimensions, intended silicone-mold use, quantity, critical geometry, preferred material, surface requirement, dimensional or fit concerns and the silicone system you plan to use. YIDIMU can review the printing side of the workflow and help identify the information that should be validated before equipment or process selection.
Submit Project Requirements