
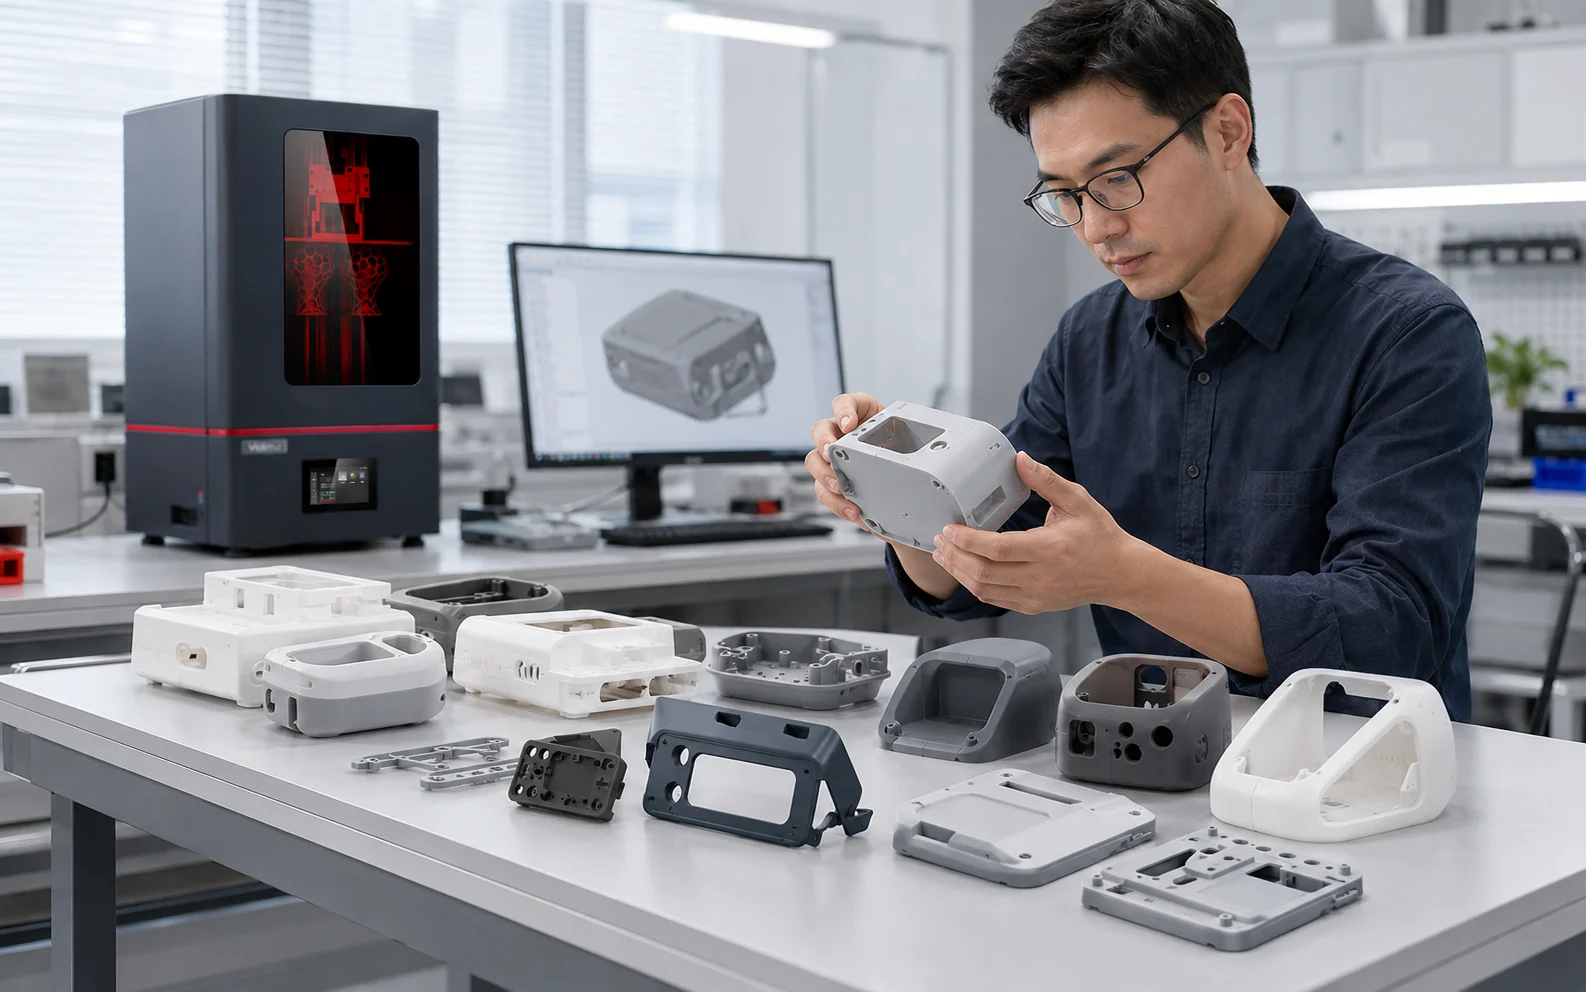
01 · APPEARANCE
Review the physical form.
Use an appearance prototype to examine shape, surface, proportion and the overall visual design in a real object rather than only on screen.

Product Development · Prototype Validation
Turn CAD models into physical parts that can be reviewed, measured, assembled and compared against the actual development requirements.
A resin prototype is a development tool. Appearance models, fit-check parts, assembly validation parts and functional prototypes should be evaluated against their specific purpose; they should not automatically be treated as final production parts.
These categories are not interchangeable. The required resin, geometry, post-processing, inspection method and acceptance criteria depend on what the team needs to learn from the physical part.
What Are You Trying to Validate?
A useful 3D printed prototype should answer a defined review question: how the design looks, how features mate, how parts assemble, or whether selected geometry-related interactions can be observed under suitable material and test conditions.
Use an appearance prototype to examine shape, surface, proportion and the overall visual design in a real object rather than only on screen.
Inspect mating features, holes, slots, interfaces and clearance against the CAD requirement, drawing or actual counterpart. Tight-fit decisions should be based on representative testing after the complete process.
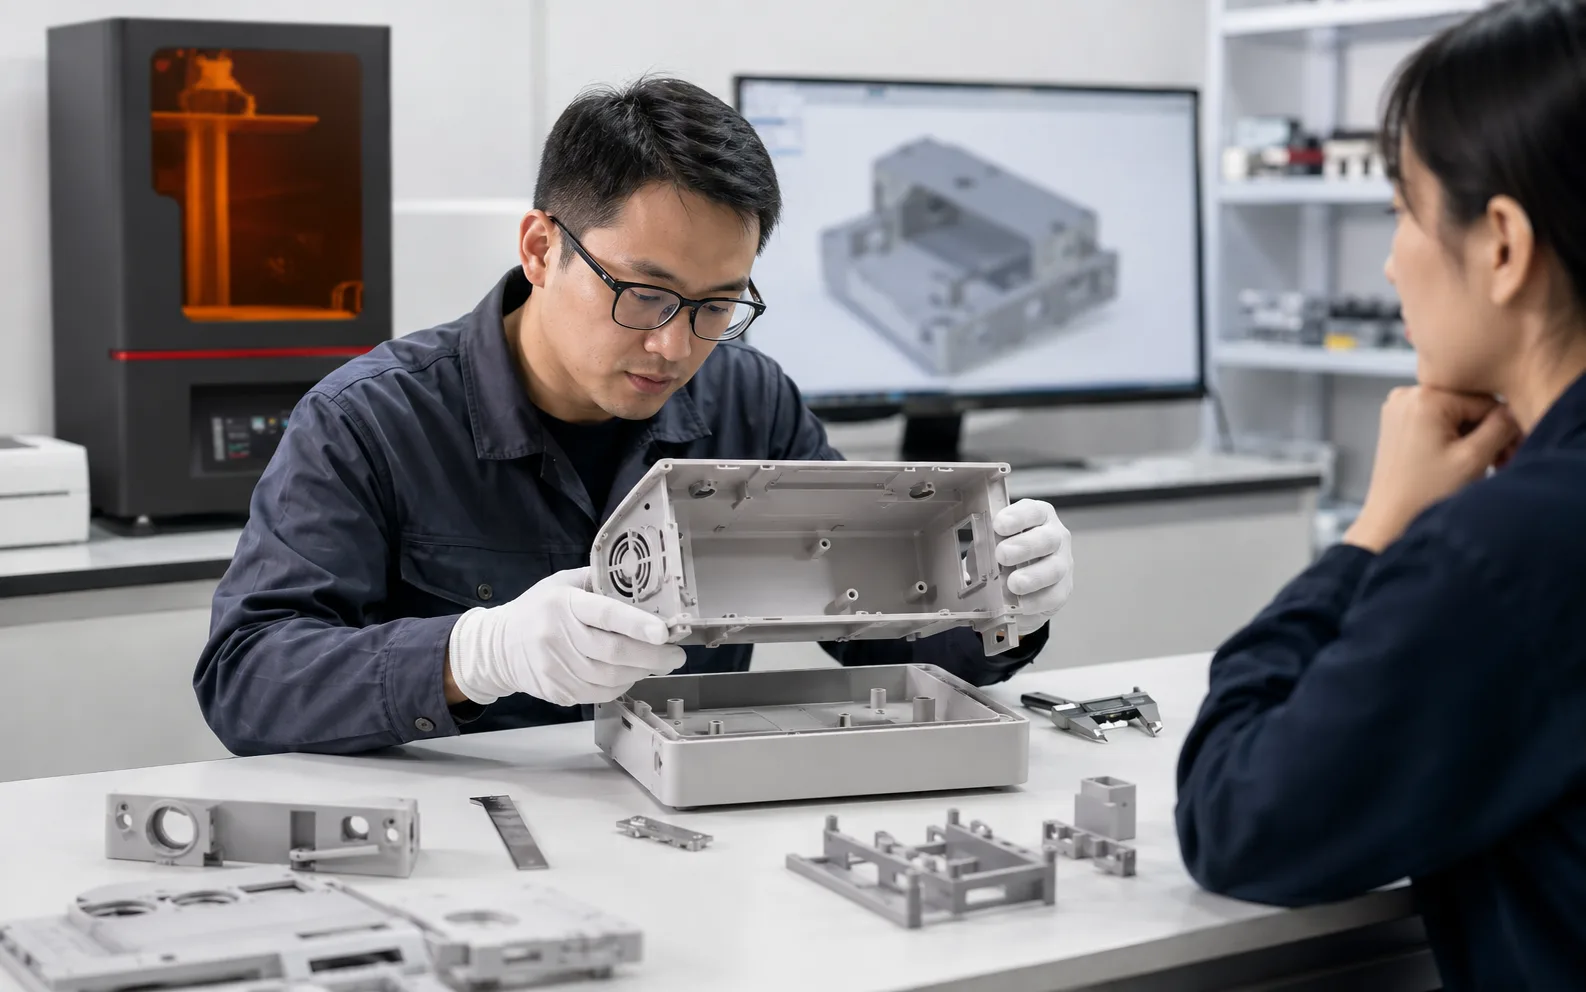
Assemble multiple printed components or combine a printed prototype with existing hardware to examine alignment, access, interfaces and the overall assembly sequence.
Where the resin, geometry and test conditions are appropriate, a functional prototype can help review geometry-related movement, access or interaction. It does not by itself validate final mechanical properties, production-material behavior or final-use durability.
Physical Prototype Review
Resin 3D printing is useful in product development because a digital design can become a physical representation that is reviewed before the next manufacturing stage. The value comes from the complete workflow and the quality of the review—not from printing alone.
A meaningful review uses the printed part in its fully processed condition. Orientation, supports, washing, complete drying, UV post-curing, support removal and finishing can all influence what the team sees and measures.
What Should Be Measured?
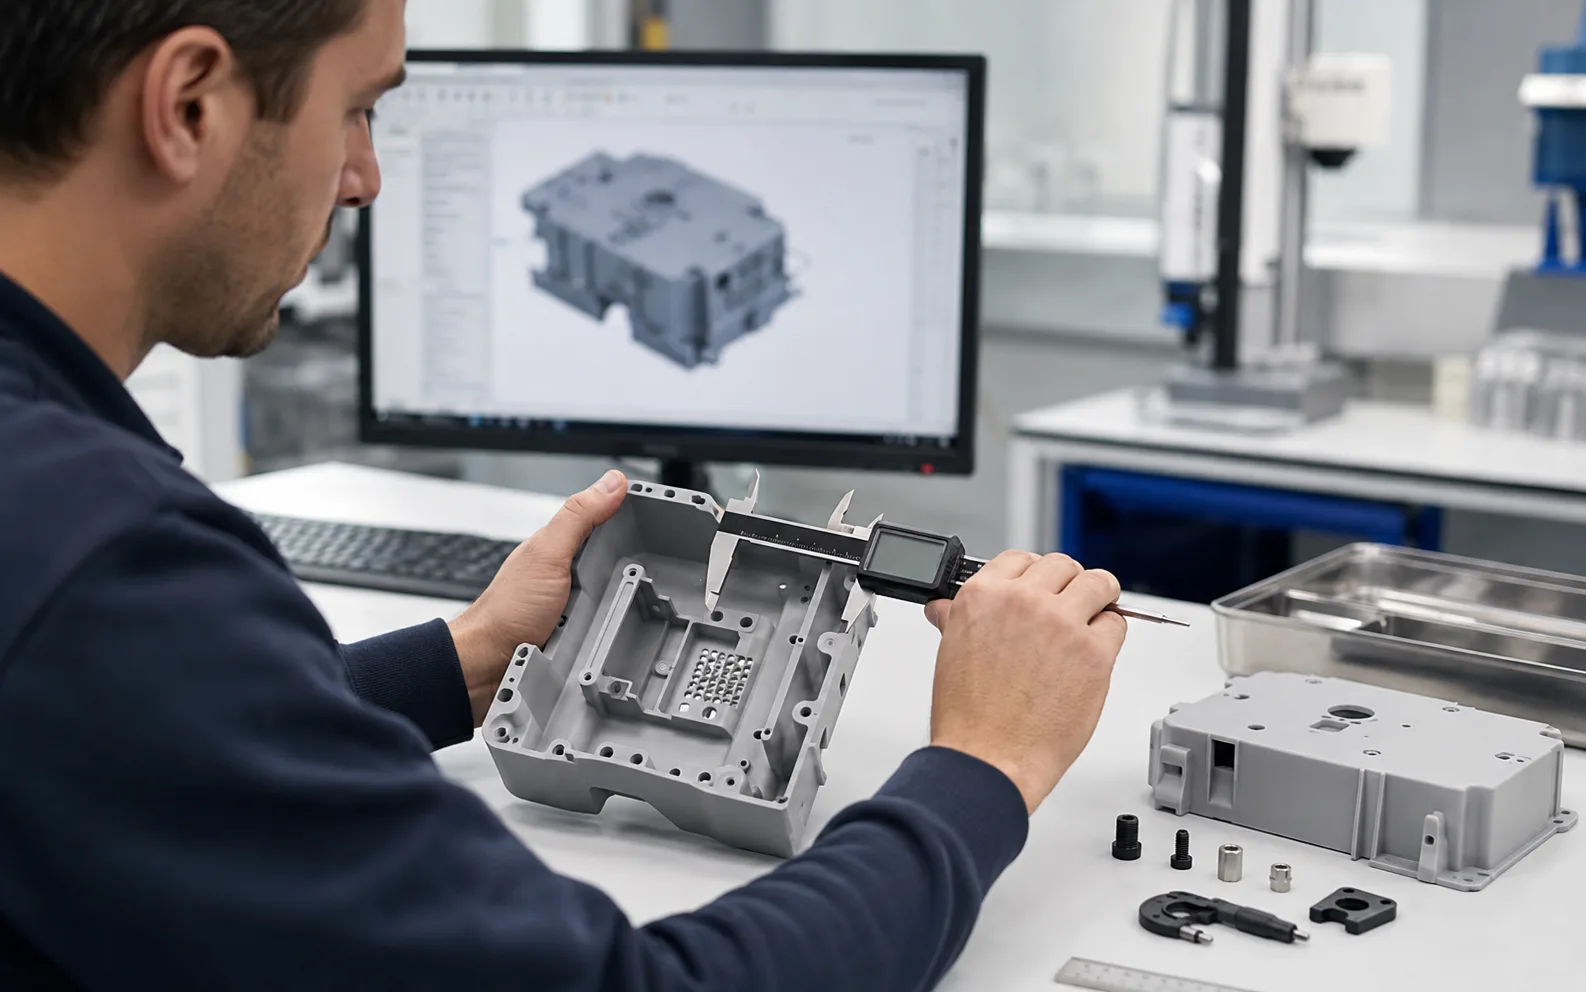
Inspection should focus on features that affect the next development decision, rather than applying one invented tolerance to every printed part.
Set acceptance criteria from the project. Use the drawing, CAD requirement, actual assembly condition or an agreed validation plan. Screen resolution, XY pixel size and layer thickness are printer characteristics; they are not a universal finished-part tolerance.
Printer & Resin Selection
For 3D printing product development, equipment selection should consider the part envelope, required detail, platform layout, resin requirement, post-processing workflow and the inspection method that will be used on the finished prototype.
Suitable to evaluate when prototype size, detailed geometry and multi-part layout fit within its build envelope. Current product documentation lists a 6480 × 3600 display and 46 μm XY pixel size.
Provides a larger build envelope for larger prototypes or more parts in one layout. Current product documentation lists a 7680 × 4320 display and approximately 46 μm XY pixel size.
Printer specifications describe equipment characteristics, not guaranteed finished-part dimensions. Actual output depends on geometry, resin, orientation, supports, exposure, post-processing, environment and the chosen inspection method. Confirm current material compatibility and technical documentation for the actual project.
Representative Sample Validation
A standard demo can show print quality, but it may not reveal the issues that matter in your design. A representative part lets the team compare the actual geometry, required surface condition, mating features, post-processing and inspection criteria.
Share the actual CAD/STL/OBJ or another available project file and the intended use.
Identify critical dimensions, interfaces, surface expectations and assembly questions.
Choose a printer, resin, orientation and support strategy appropriate to the review.
Wash, fully dry, UV post-cure, remove supports and finish as required before evaluation.
Measure, assemble and review the processed part against the agreed development criteria.
Compare current industrial systems, application samples and YIDIMU technical guidance.