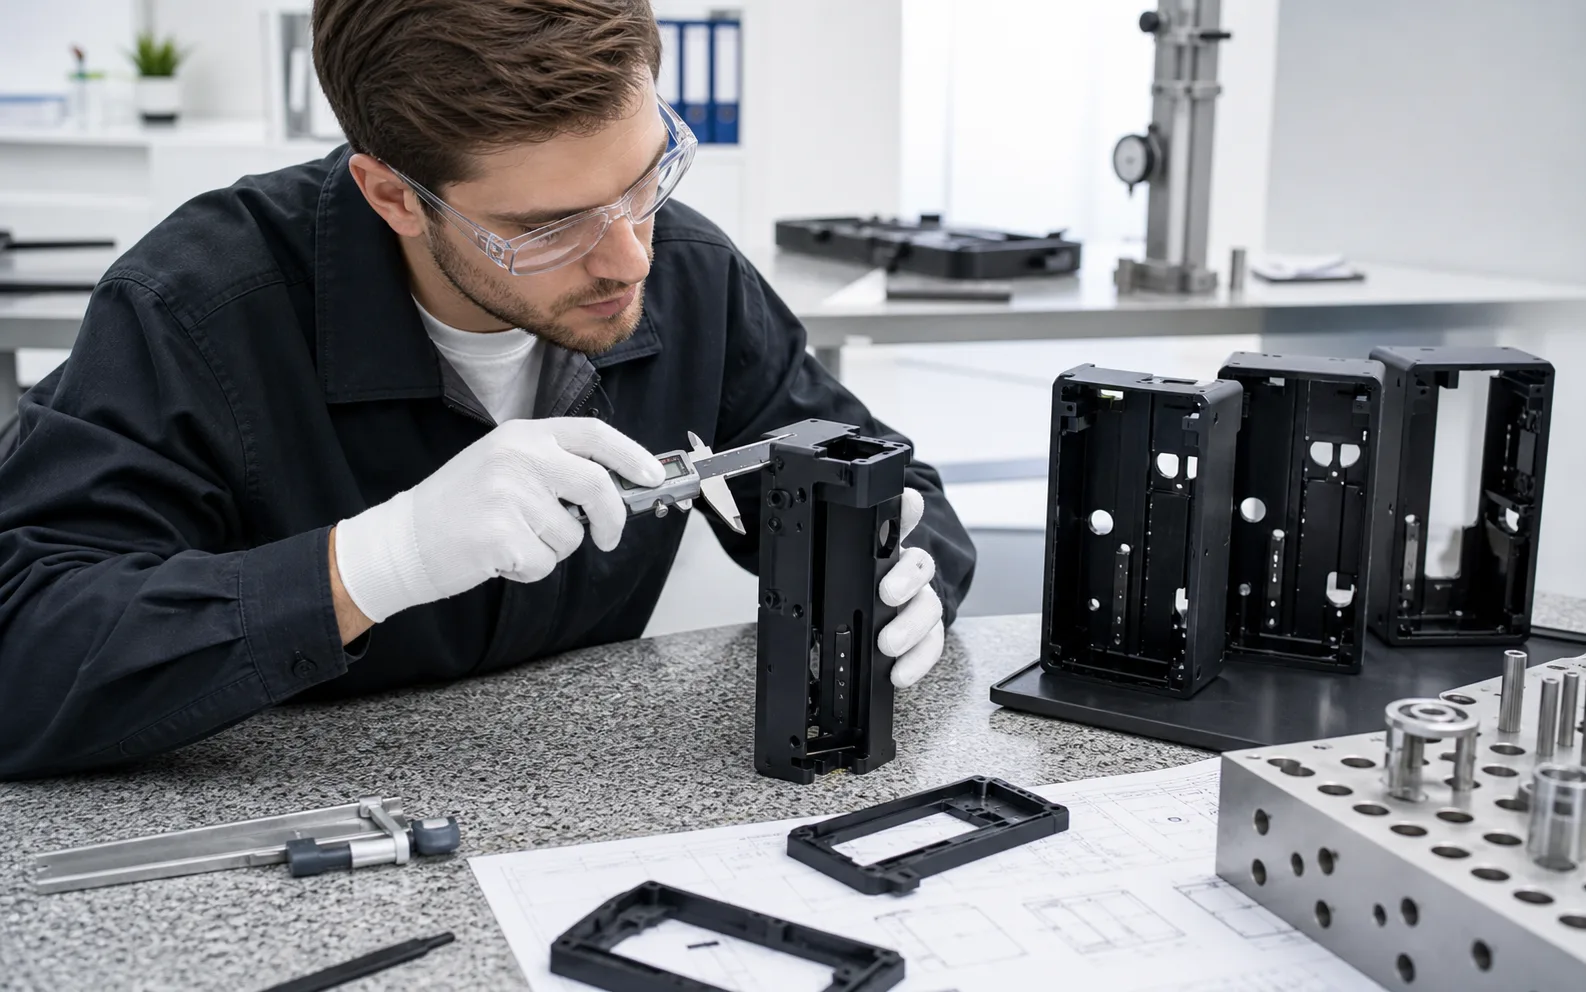
13.6-inch 7K monochrome LCD
Current YIDIMU information lists a 6480 × 3600 exposure display. Resolution is an exposure-system characteristic and should not be presented as a direct finished-part tolerance.
Eternal M1 · Industrial LCD Resin 3D Printer
A 13.6-inch 7K LCD resin 3D printing system for engineering prototypes, product development, large resin parts, jigs and fixtures, multi-part builds and suitable low-volume production workflows.
XY pixel size and display resolution describe the exposure system. They do not define a universal finished-part dimensional accuracy.
Application Fit
Build volume matters, but it is only one selection factor. The practical decision also depends on geometry, critical interfaces, resin requirements, build orientation, quantity, post-processing and the inspection method used on the finished part.
Compare industrial resin 3D printing systems →Physical models for dimensional review, interface checks and engineering decisions.
Appearance, fit, assembly and geometry-led functional validation before the next manufacturing stage.
Parts that benefit from the 298 × 165 × 370 mm build envelope when orientation and post-processing remain practical.
Positioning tools, checking fixtures and engineering aids where material and service conditions are appropriate.
Planned layouts of housings, brackets, covers and related engineering components.
Representative or controlled batches when resin, layout, post-processing, inspection and economics fit the project.
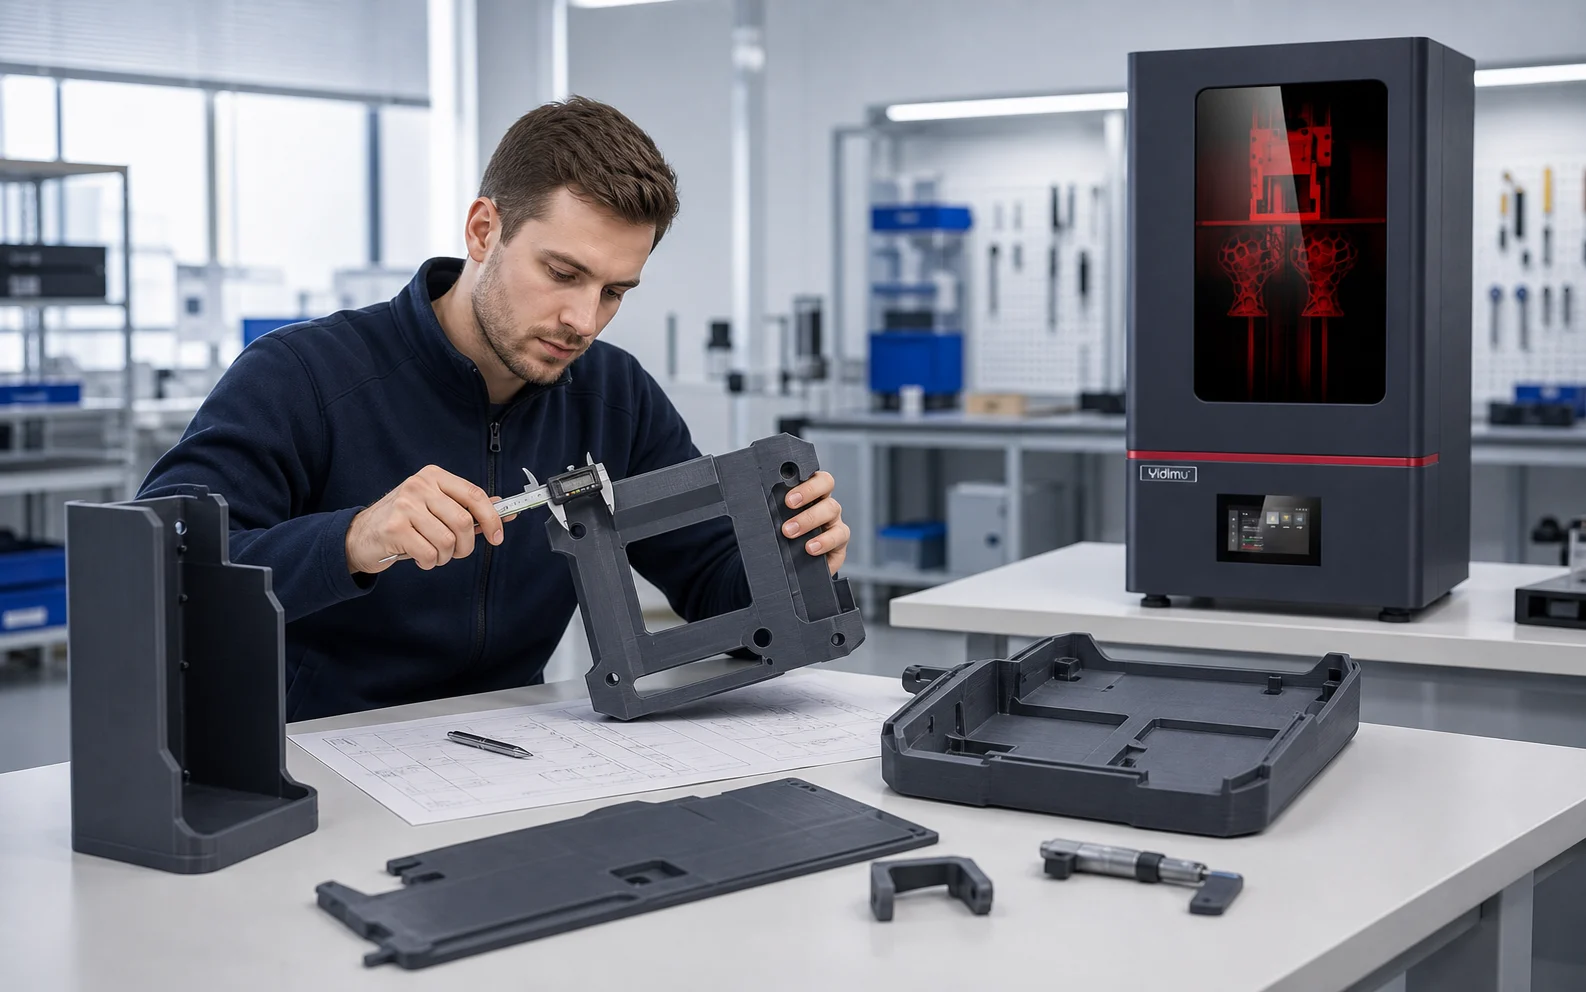
Build Around the Part
A useful equipment decision begins with the model and acceptance question, not a resolution label. Share the actual part where possible, then define the printer, resin and workflow around it.
Key System Features
The specifications below describe the M1 printing system. Actual printed results still depend on the resin, geometry, orientation, layer thickness, supports, exposure settings, environment, washing, drying, UV post-curing and inspection conditions.
Current YIDIMU information lists a 6480 × 3600 exposure display. Resolution is an exposure-system characteristic and should not be presented as a direct finished-part tolerance.
Use the full oriented model, support footprint and downstream handling requirements when deciding whether the build envelope is appropriate.
XY pixel size describes the nominal pixel pitch at the exposure plane. Finished dimensions require project-specific validation after the complete process.
The wavelength and light-source architecture guide resin compatibility and process setup; they do not by themselves establish surface finish or dimensional performance.
Layer thickness affects the build strategy and process time. Appropriate settings depend on the resin, geometry and validation requirement.
The supplied M1 reference sheet shows an enclosed cabinet architecture intended for a professional resin-printing workspace. Installation planning should use the latest formal product documentation.
Industrial Applications
The same printer can support different workflows, but each one needs its own material, build preparation, post-processing and inspection plan.
Dimensional geometry, interfaces, housings, brackets and other physical engineering models.
Appearance, fit, assembly and selected geometry-led functional checks during iteration.
Prototype shells and larger resin parts where orientation, supports, drainage and post-processing remain practical.
Mating features, holes, slots, interfaces and clearances reviewed against CAD or real components.
Positioning tools, checking fixtures and production aids evaluated for their actual load and service conditions.
Planned arrangements of related parts with attention to spacing, support strategy and downstream handling.
Controlled batches when geometry, resin, workflow capacity, inspection criteria and economics align.
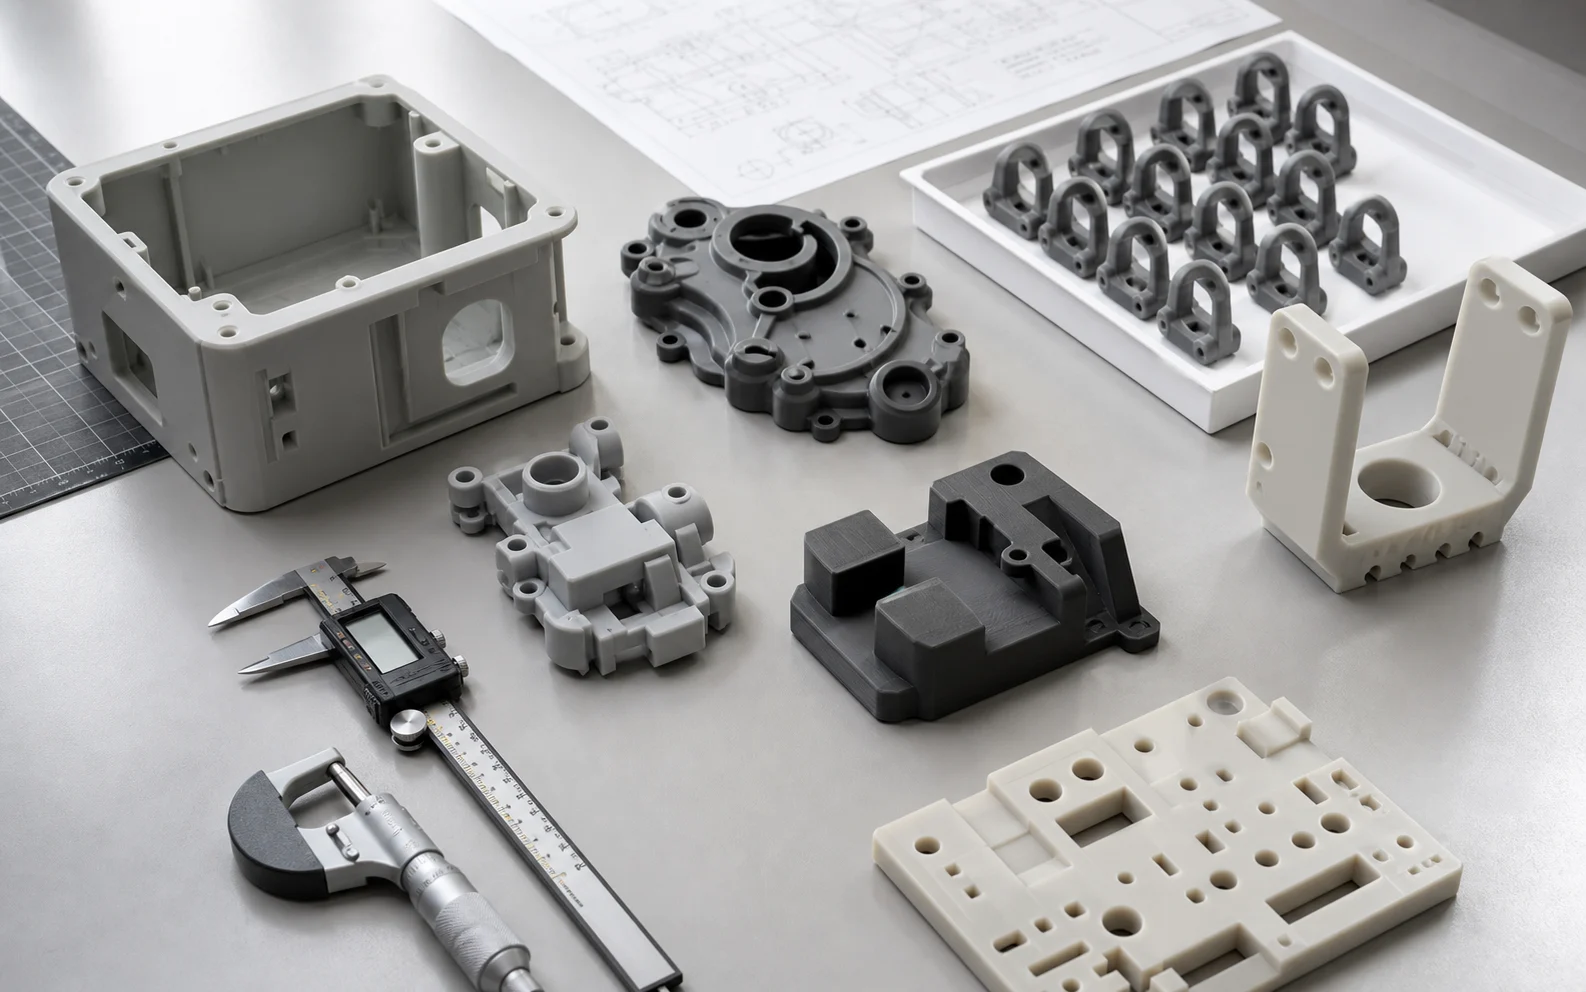
Representative Sample Validation
A generic demo part can show that a machine prints. A representative project model is more useful for checking the dimensions, interfaces, surfaces, resin handling and post-processing conditions that affect the real decision.
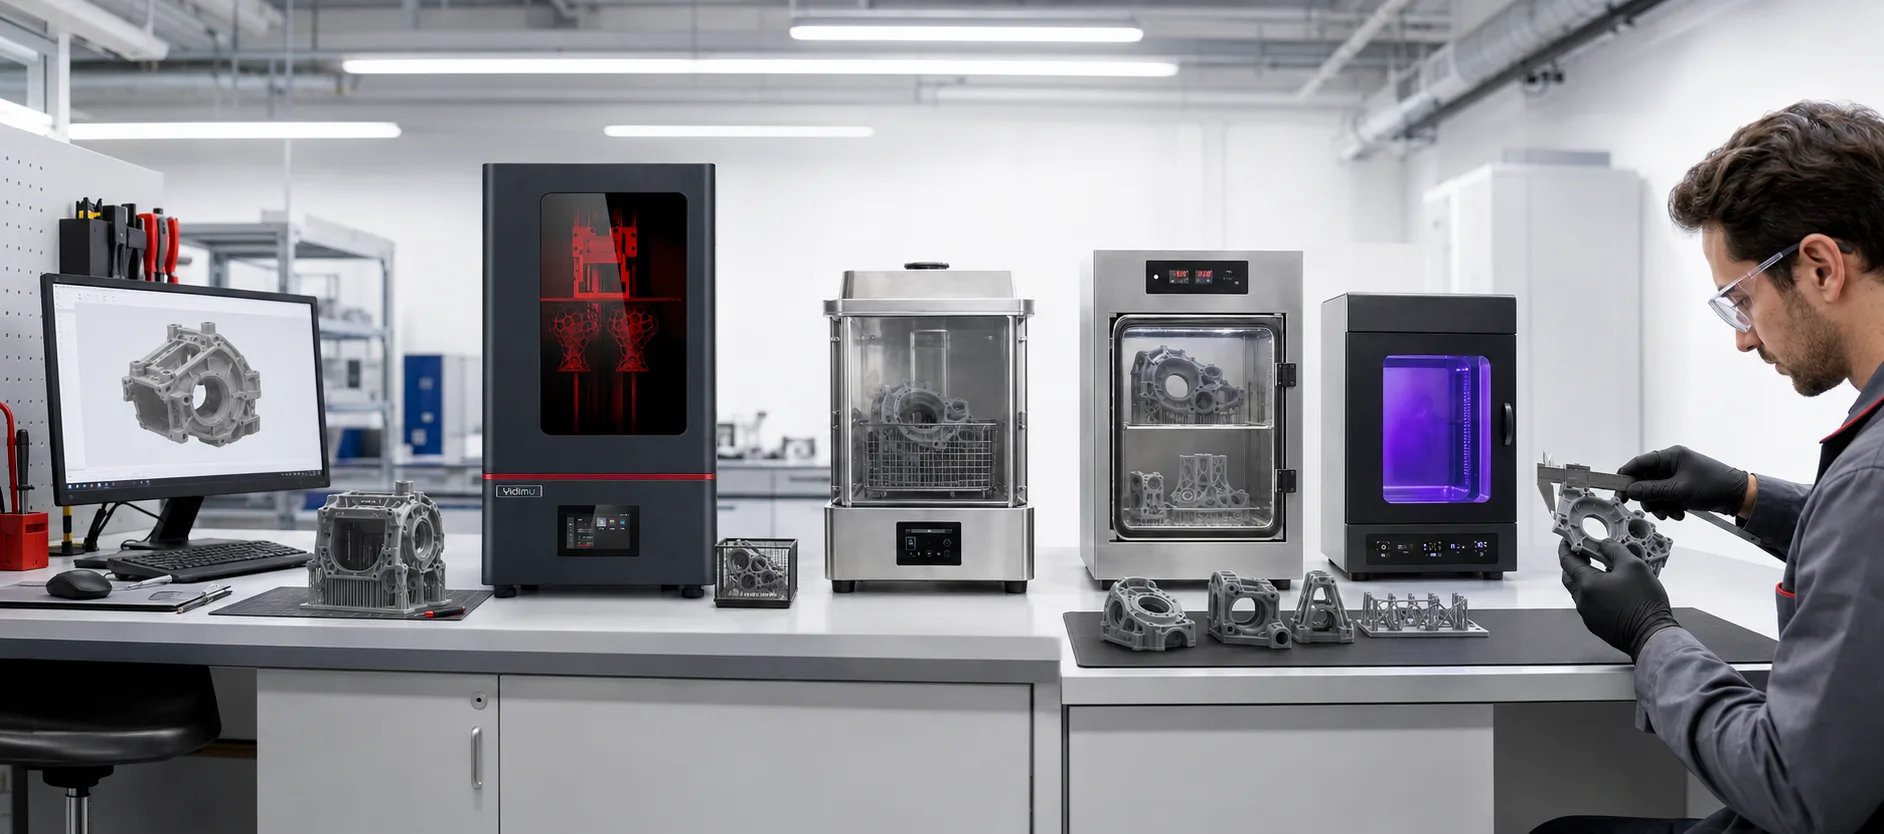
Complete Resin Workflow
For engineering decisions, evaluate the part after the complete resin workflow. Washing, complete drying and UV post-curing can influence the state in which the part is finally measured, assembled and reviewed.
Technical Specifications
The table keeps exposure-system specifications separate from finished-part dimensional performance.
| Printing technology | LCD vat photopolymerization |
|---|---|
| Build volume | 298(L) × 165(W) × 370(H) mm |
| Exposure screen | 13.6-inch 7K monochrome LCD |
| Display resolution | 6480 × 3600 Display resolution is not the same as finished-part dimensional accuracy. |
| XY pixel size / display accuracy | 46 μm Nominal exposure-plane pixel size; not a universal finished-part tolerance. |
| Published layer thickness range | 0.02–0.10 mm |
| Light wavelength | 405 nm UV |
Actual output varies with resin, geometry, orientation, layer thickness, support strategy, exposure settings, environmental conditions, washing, complete drying, UV post-curing, finishing and the measurement method. Confirm the latest formal product specification and validate representative parts for critical projects.
Materials & Post-Processing
Do not assume universal resin compatibility. Confirm current resin compatibility for the intended application, then validate printing, washing, complete drying, UV post-curing and inspection as one connected workflow.
Choose material direction according to the part's required behavior, appearance, geometry, printer compatibility and post-processing needs. Use technical documentation and representative testing before committing to a production workflow.
View resin materials →Washing, complete drying, UV post-curing, support removal, finishing and inspection determine the condition in which the part reaches engineering review or production evaluation.
View post-processing equipment →Why YIDIMU
YIDIMU / Shenzhen Yidimu Intelligent Technology Co., Ltd. is based in Shenzhen and develops professional resin 3D printing equipment alongside photosensitive resin materials, UV curing equipment and application-based support.
M1 and M2 platforms address different industrial build-size requirements and workflow needs.
Printer selection can be discussed together with current resin options and the intended printed-part requirement.
Customers can submit actual models and application requirements for sample-oriented equipment and workflow evaluation.
Current support routes cover troubleshooting, warranty and service, ordering, shipping and direct project communication.
FAQ
Start with the fully oriented model and planned support footprint, not only the CAD bounding box. M1 has a published 298 × 165 × 370 mm build volume, but practical fit also depends on orientation, supports, drainage, removal, washing, post-curing and inspection access.
Finished dimensions can be influenced by resin, geometry, orientation, layer thickness, support strategy, exposure settings, environmental conditions, washing, complete drying, UV post-curing, finishing and the measurement method. The 46 μm XY pixel size is an exposure-system specification, not a guaranteed finished-part tolerance.
Select resin according to the part behavior, geometry, surface requirements, post-processing method and intended use. Confirm current M1 compatibility for the specific resin and application, then validate a representative part before committing to the workflow.
Yes. Use the current Request a Quote / Submit Your Model page and share the representative model together with overall dimensions, critical features, material requirements, quantity, surface expectations and intended application.
Yes, where the geometry, resin, multi-part layout, post-processing capacity, inspection criteria and economics are appropriate. A representative batch is more useful than a single ideal sample when the real question is repeatable output.
Provide the model or key dimensions, intended application, material or part-behavior requirement, quantity, critical features, surface or fit requirements, destination and any relevant post-processing or documentation needs.
Start Your Project
Use the actual part to evaluate build size, resin direction, process setup, post-processing and inspection needs before choosing an industrial resin 3D printer.