
Cost of Quality in Low-Volume 3D Printing
Cost of quality in low-volume 3D printing is what you spend to prevent, find and absorb defects, spread over a run too short to dilute it. In a short resin run, fixed costs such as a pilot build, a checking fixture and a measurement program can outweigh the per-part inspection effort, and a single failed build can take out a large share of the order. The economical plan checks the few characteristics that can fail the application, samples by build position, and puts the remaining budget into prevention.
The cost structure here follows the standard four-category cost-of-quality model (prevention, appraisal, internal failure, external failure) and applies it to vat photopolymerization: LCD/MSLA, DLP and laser SLA. Actual figures depend on the part, the resin, the tolerance and who carries the risk of a bad shipment, so this article gives the cost structure and a planning method rather than a price. Whether resin printing suits a short run in the first place is a separate question, covered in our guide to resin 3D printing for low-volume manufacturing.
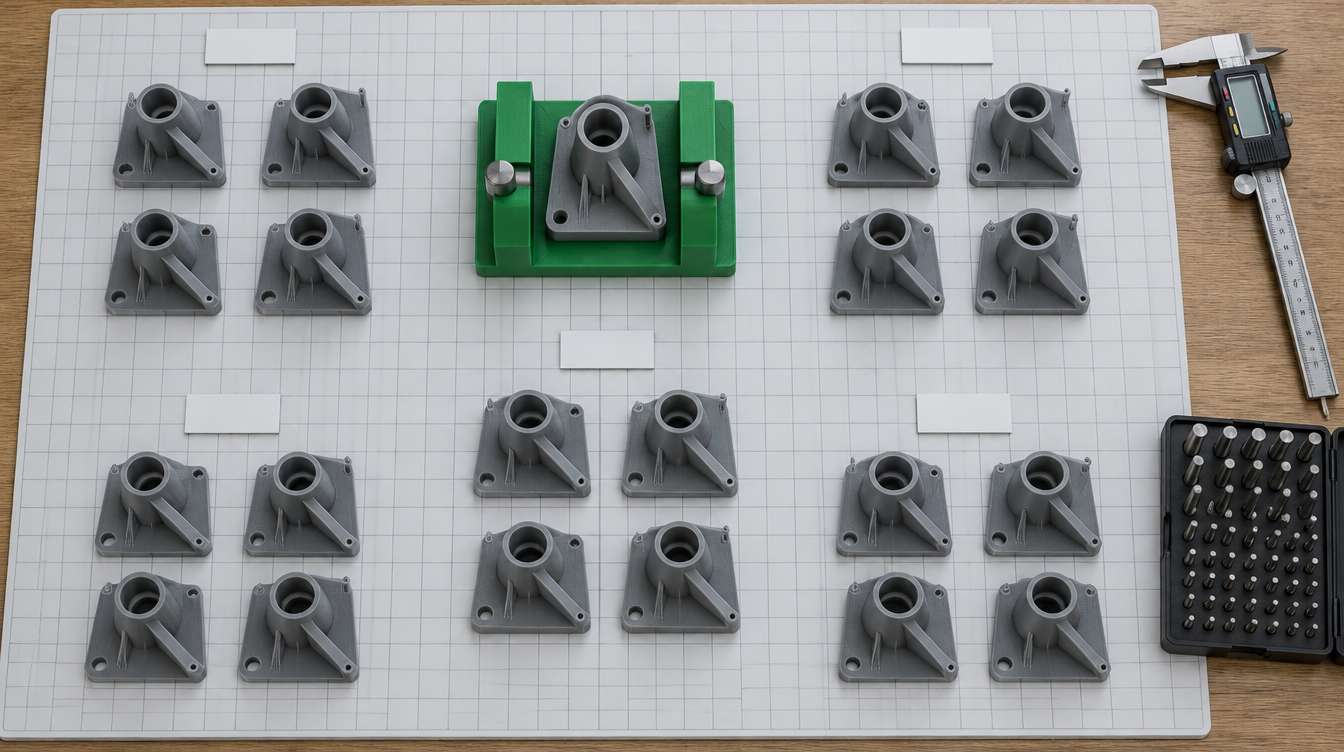
Why short runs change the quality math
A quality plan has a setup cost and a running cost, and a short run makes the setup cost dominant. A checking fixture, a scan alignment or CMM program, a first article report and one or two qualification builds cost about the same whether the order is 20 parts or 2,000. At 2,000 they vanish into the unit price. At 20 they can exceed the cost of printing the parts.
The usual statistical tools don't rescue you either. Control charts and capability studies need a history of measurements, and a short run ends before that history exists. Research on inspection planning for low-volume production, including additive manufacturing, makes the same point: without historical data, inspection has to be planned from estimated defect probabilities and the cost of each inspection option, not from process capability figures.
Resin printing adds a third factor: defects arrive in platform-sized batches. A peel failure, a support that lets go halfway through, or a contaminated vat doesn't cost one part. It costs every part on that platform, the resin, the machine hours and the delivery slot. On a long run that loss is a few percent of output. On a short run it can be a substantial share of the order.
The four quality cost buckets in a resin printing workflow
Each category behaves differently when the run is short. The table maps them to what actually happens on a resin printing job.
| Cost category | What it looks like in resin printing | How it behaves in a short run |
|---|---|---|
| Prevention | DFM review of the CAD, orientation and support strategy, a pilot build at production nesting, a written process sheet (resin, layer height, exposure profile, wash, post-cure), operator instructions | Almost entirely fixed per part number; reused on repeat orders if the process is frozen |
| Appraisal | First article measurement, checks during the run, final inspection, gauges or printed check fixtures, scan or CMM programming, reference samples for cosmetic acceptance | Setup is fixed and often the larger share; per-part checking time is small by comparison |
| Internal failure | Failed builds, parts damaged during support removal, warp found after post-cure, sanding or re-curing rework, reprints, schedule slip | Arrives in whole builds rather than single parts, so one event can dominate the run's cost |
| External failure | Rejection at the customer's incoming inspection, fit problems found at assembly, cracking in use, replacement shipments, investigation time | Per incident, and usually many times the value of the printed part |
The shift that matters for planning: in a long run, appraisal cost is mostly per part. In a short run it's mostly setup, which is why reusing the measurement method across repeat orders changes the economics more than shaving seconds off each check.
Where resin print failures actually cost money
Most expensive failures in short resin runs aren't random. They come from a handful of process steps that look harmless on a single good sample.
Post-cure movement
A part that measures correctly straight out of the wash can move during UV post-cure, especially long, thin or flat sections. Inspecting green parts tells you little about final shape. Measure after full cure, once the parts have returned to the temperature your measurements are referenced to, and use a cure fixture for geometries that are known to bow.
Wash solvent loading
As a wash bath accumulates dissolved resin, it cleans less effectively. The first parts of the day come out clean; later ones carry a residual film that leaves tacky surfaces and can partially fill fine holes or slots. That shows up as dimensional scatter that has nothing to do with the printer. A written solvent change interval is a prevention cost measured in minutes.
Platform position
Exposure conditions and peel forces are not identical across the build area, so parts nested at the edge and in the center of the same platform can differ. If every inspected part comes from the center, the sample hides the spread. A repeatability test across the platform shows whether position matters for your geometry before you commit to a nesting layout.
Support marks on functional faces
Supports placed on a sealing face or a datum surface turn every part into a rework job. The cost appears as internal failure, but the cause is an orientation decision, which is why orientation belongs in the prevention budget.
Late discovery
An undersized bore found at the printer costs a reprint. The same bore found when the customer tries to press in a bearing costs a reprint, a shipment, an investigation and some trust. The point of inspection planning is to move discovery earlier for the defects that are expensive to discover late.
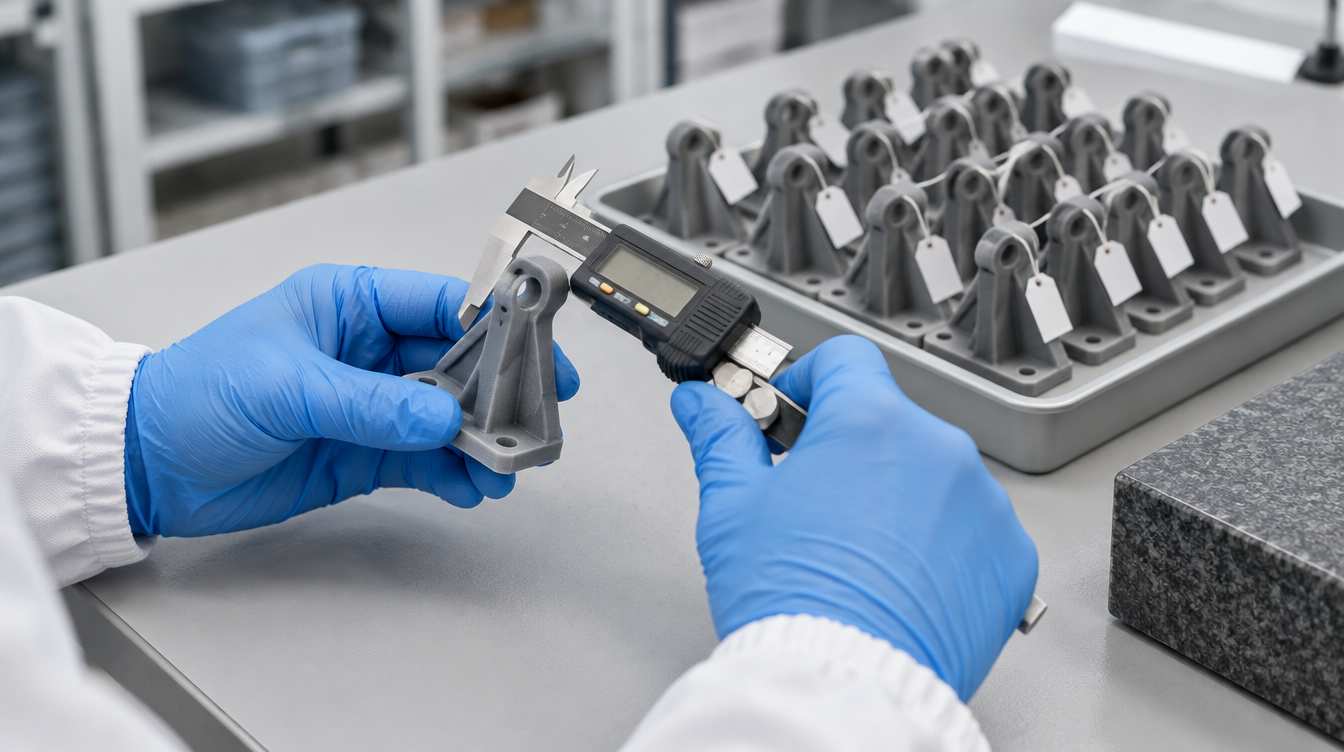
How much to inspect in a short run
Inspect fewer characteristics more thoroughly, and choose parts by build and platform position rather than at random. A practical sequence:
Classify the characteristics. Separate what affects fit, sealing or function from what is cosmetic. Drawings for printed parts often carry dozens of dimensions, but only a few decide whether the part works.
Estimate the escape cost of each. Ask what happens if a bad part ships: a part gets binned, or an assembly line stops. That answer, not the tolerance value alone, sets how hard to check.
Match the method to that cost. For critical features on a short run, checking every part is often cheaper than arguing about sample sizes, particularly with a go/no-go gauge or a printed check fixture. For secondary features, check parts from every build and from each platform zone. For appearance, accept against an agreed reference sample.
Build the measurement setup once. Keep the fixture, scan alignment or CMM program with the part number so a repeat order doesn't pay for it again. A structured first article inspection for resin printed parts is the natural place to create that setup.
Add a build witness. A small reference feature or coupon printed on each platform gives a quick signal that the build ran normally, so a bad build can be quarantined before every part on it is measured.
Write down the re-qualification triggers. A different resin formulation, a changed exposure profile or orientation, machine maintenance such as screen or film replacement, or a change to wash or cure all justify a fresh pilot build.
Formal sampling standards help less than people expect at this scale. ISO 2859-1 sampling schemes indexed by AQL are designed for a continuing series of lots; a one-off order fits the limiting-quality plans for isolated lots in ISO 2859-2 better. With small lots and tight quality levels, both can call for samples that approach the size of the lot itself, which is why many short runs end up with full inspection of critical features and sampling only for the rest.
Spend on prevention before the first production build
For a short run, the best return on quality money is usually spent before production starts. The controls that matter most are cheap:
A pilot build at the real nesting density, washed and cured exactly as production will be, then measured.
A frozen process sheet covering resin, layer height, exposure profile, orientation, supports, wash and post-cure.
Traceability per part: build ID, machine, platform position and resin lot. When something goes wrong, you quarantine one build instead of the whole order.
Resin handled at a controlled temperature, since viscosity and therefore recoat and peel behavior change with it.
Fixed solvent change and post-cure settings rather than operator judgment.
The method for proving that a frozen process holds from build to build is laid out in our guide to resin 3D printing small batch production.
Putting quality cost into the price per part
The useful number is cost per accepted part, with one-time quality costs spread over the run:
Cost per accepted part = (printing cost of all parts made + running inspection cost + scrap and rework cost) ÷ parts accepted + (prevention and inspection setup cost) ÷ run quantity
| Cost line | When it's incurred | How to allocate it |
|---|---|---|
| DFM review and pilot build | Once per part number | Over the first run; partly over repeat orders if the process stays frozen |
| Fixture, scan or CMM programming | Once per part number | Same as above |
| First article report | First run and after re-qualification triggers | Over the run it qualifies |
| Printing, wash and post-cure | Every build | Over all parts made, including rejects |
| Running inspection | Every build or every part | Per part |
| Failed builds and reprints | Per event | Expected rate from the pilot build, spread over accepted parts |
| Escape risk | After shipment | Usually carried in contract terms rather than the unit price |
This explains a common quoting gap. Two quotes for the same short run can differ mainly because one includes a qualification build and measurement setup and the other assumes the first build will be good. Ask which assumption each quote makes. For the printing side of the calculation, see the breakdown of industrial resin 3D printer cost per part.
Checklist before quoting or releasing a short run
Critical characteristics listed with tolerance and measurement method
Measurement point defined: after full post-cure, at a stated temperature
Pilot build completed at production nesting with normal wash and cure
Process sheet frozen and signed off
Inspection rule set per characteristic, sampled by build and platform zone
Traceability recorded: build ID, machine, position, resin lot
Re-qualification triggers written down
Agreement on who absorbs a failed build and how it affects the delivery date
What a dimensional quality plan won't tell you
Everything above controls shape and appearance. It says nothing about mechanical strength, impact behavior, creep under sustained load, heat resistance or aging under UV light, all of which depend on the resin and the cure and need their own tests on representative parts. Regulated applications, such as parts for medical or dental use, carry documentation and validation requirements that go beyond this method.
If you're planning a short run, send the CAD file, the drawing with its critical dimensions and the run quantity. A pilot build of your actual part shows where the failure costs sit before anyone commits to a price.
References
Author: [Name, title, one-line background] · Technical reviewer: [Name, title] · Last updated: [date]