
Does Dental Resin Color Affect Print Accuracy?
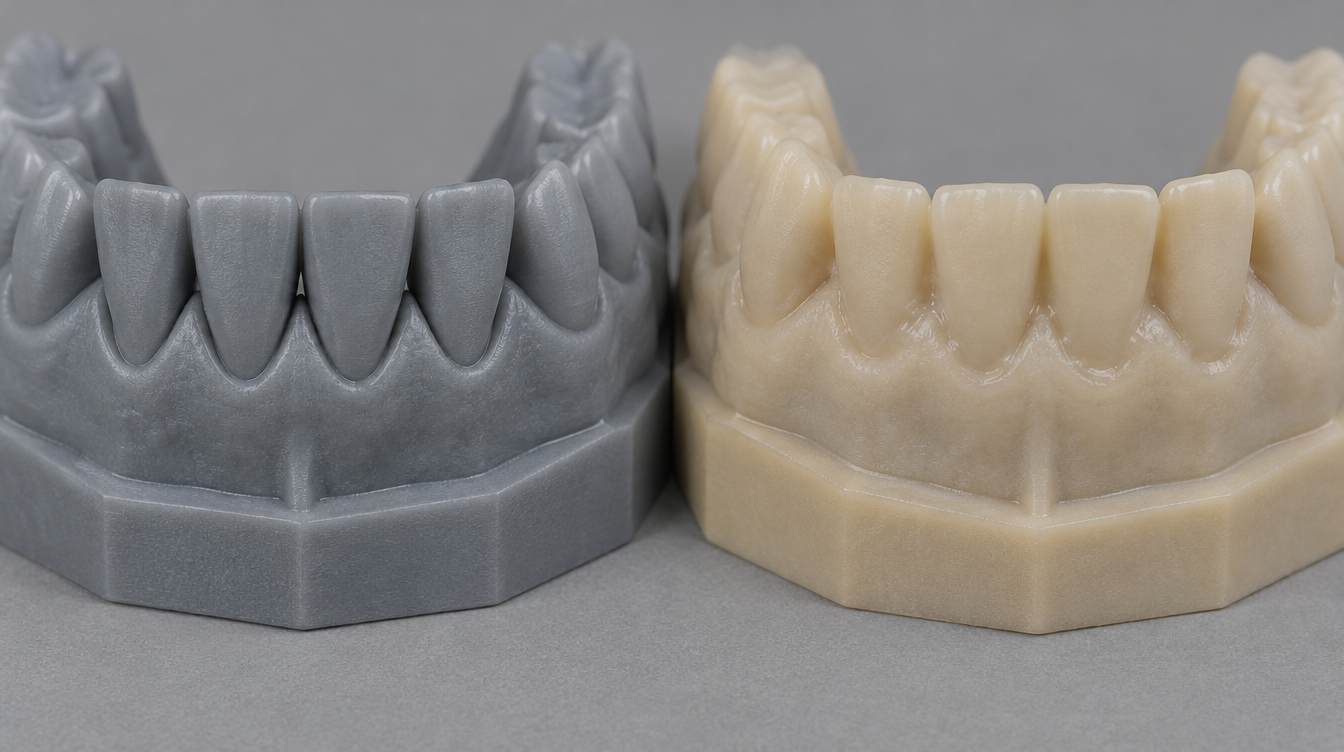
Yes, but indirectly. Color itself isn't an accuracy specification. The pigments and dyes that give a dental resin its color change how much 405 nm light is absorbed and scattered, which shifts both cure depth and lateral overcure. If you switch from a grey to a beige or yellow model resin and keep the old exposure, the same STL can print oversized, lose margin detail or close interproximal gaps. Once exposure is recalibrated for each resin, color is rarely the deciding factor.
This applies to vat photopolymerization dental printers, whether LCD masked exposure, DLP or laser SLA, running 385–405 nm model resins. It rests on how photopolymers absorb light, on published cure-depth studies and on the way dental labs qualify a new resin. It doesn't mean every grey or every beige resin behaves alike: two resins of the same color can need very different exposure.
Color changes how deep and how wide each layer cures
Two optical properties decide how a resin layer forms. Penetration depth (Dp) describes how far the curing light travels into the liquid before most of it is absorbed. Critical energy (Ec) is the dose needed to start gelation. The classic working curve links them: cure depth equals Dp multiplied by the natural log of the delivered dose divided by Ec. Change Dp or Ec, and the same exposure time produces a different cured thickness.
Colorants change both values. Opaque pigments, the particles behind most grey, black and white resins, absorb and scatter light. Dissolved dyes mostly absorb. Yellow and orange tints matter more than their appearance suggests, because a resin looks yellow partly by absorbing violet-blue light, the same band a 405 nm source emits. Clear and lightly tinted resins sit at the other end. They absorb little, so light penetrates deeper, and formulators add UV absorbers to keep each layer from curing too far.
Scattering is what moves XY dimensions. Light deflected sideways by pigment particles cures a thin rim outside the exposed pixels. That lateral overcure grows with dose, which is why parts drift oversized when exposure runs long.
The spread between resins is not small. In one materials study, commercial resins of different colors and compositions measured on the same DLP printer showed penetration depths from roughly 100 µm to more than 300 µm. A resin manufacturer's own test on a desktop LCD printer found that adding 2.5% black or grey pigment raised the exposure needed for a 0.1 mm layer from 5.5 s to 7.0 s. The same test found that most mechanical properties fell by about 10% when the pigment kept the part's interior from curing fully.
Where a color change shows up on a dental model
Lateral overcure acts roughly as a fixed offset at every edge, so it hurts small features first. On a full-arch model, the embrasures between incisors, the die ditch and narrow occlusal grooves usually show the problem long before arch width moves enough to register on calipers.
| What you see after a color change | Likely mechanism | First check |
|---|---|---|
| Dies, pins or margins measure slightly large; contacts feel tight | Lateral overcure from an exposure set for a more absorbing resin | Run an exposure calibration print; measure a known pin and hole |
| Embrasures, grooves or the die ditch partly fill in | Overexposure plus scattering from pigment particles | Step exposure down and reprint a narrow-slot feature |
| Cusp tips rounded, thin walls missing, supports breaking | Underexposure: the new resin absorbs more at 405 nm | Step exposure up; check first-layer adhesion |
| Cured skin on downward-facing surfaces or inside hollow models | Z print-through in a low-absorbing clear or lightly tinted resin | Reduce exposure; review orientation and drainage holes |
| Model measures well off the platform but fails after curing | Different formulation shrinkage or post-cure response | Measure the same features before and after UV curing |
| Noisy, patchy deviation map on a scan comparison | Optical scanning of a translucent, dark or glossy surface | Re-measure with scanning spray or a contact method |
Most of these symptoms trace back to exposure, not color as such. Color is simply the reason the old exposure stopped being right.
A new color is usually a new formulation
Labs rarely change only the color. Swapping a grey model resin for a beige one from another supplier usually changes the monomer blend, filler content, viscosity and photoinitiator package at the same time. Polymerization shrinkage and post-cure behavior can shift along with them. That's why a model that measures well off the build platform can still move during UV curing, a problem covered in our guide to dental model dimensional accuracy after curing.
Studies that isolate color are scarce. One that did compared five colors of the same plant-based resin on a desktop vat printer and measured the parts with a coordinate measuring machine. Color had a statistically significant effect on length, width, flatness and straightness, and it mattered more than support density. Green, blue and violet parts came out slightly short, while black and clear came out slightly long.
The authors also tuned exposure for each color, between 8 and 10 seconds. So the result describes color together with its matched exposure, on a general-purpose resin rather than a dental model resin. The useful takeaway is that colors don't behave interchangeably. It is not evidence that one color is more accurate than another.
Some color problems are really measurement problems
Before blaming the print, check the measurement. Structured-light and intraoral-style scanners read translucent, very dark or glossy surfaces less reliably, because light enters the material or reflects away instead of returning cleanly from the surface. A clear or deeply tinted model can produce a noisy deviation map that a matte grey model wouldn't, even when both printed the same. A thin scanning spray, or contact measurement on defined features, separates the two effects.
Color also changes what the eye picks up. Margins and fine anatomy are easier to judge on a matte mid-tone surface, which is one reason grey is common for die work. That's an inspection advantage, not a dimensional one. If you're setting up acceptance checks, it helps to keep trueness and precision of 3D printed dental models as separate measurements from the start.
How to check a new resin color on your own printer
Start from the resin supplier's settings for your printer type, then run an exposure calibration print at your production layer height. Treat the previous resin's exposure as irrelevant.
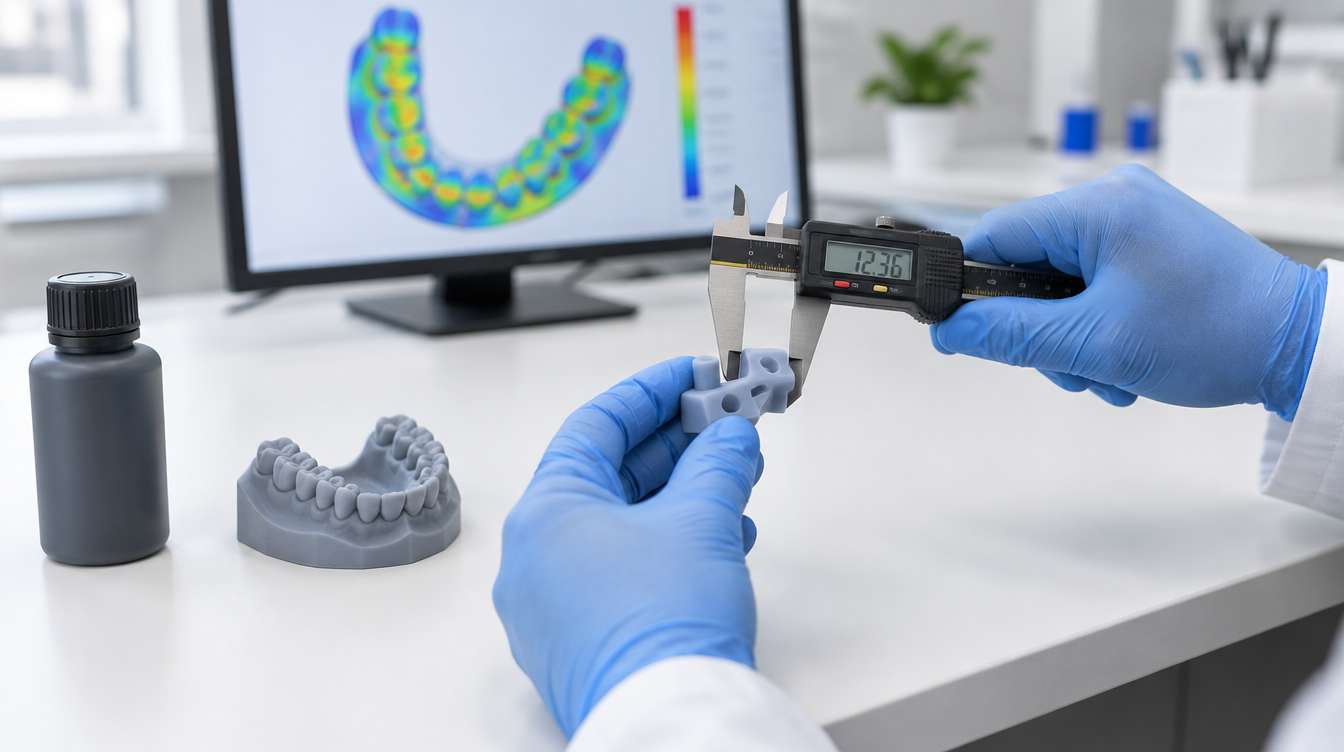
Print a reference part with features you can measure, such as a pin and a hole of known diameter, a narrow slot and a die-like step, alongside one real case model your lab produces often.
Keep orientation, supports, platform position, washing and post-curing identical to production. Print orientation affects dental model accuracy on its own, so changing it during the test hides the color effect.
Measure before and after UV post-curing, using the same method you use for acceptance.
Repeat across at least three builds and several platform positions, so you're seeing repeatability rather than one good print.
Judge the results against your tolerance for the appliance being made, not against how the old color performed.
Keep a separate vat for each resin. Residue from a more absorbing resin changes the absorption of the mix, and that drift is hard to diagnose weeks later. Recording the resin lot on each build ticket also lets you trace batch-to-batch shifts that have nothing to do with color.
Choosing a model resin color for lab work
Pick the color for the job the model does, then lock the process around it. Grey and other matte mid-tones help with die trimming and margin checks. Beige and yellow resemble dental stone and are widely used for study and working models. Clear or transparent tinted resins suit cases where you need to see inside a hollow model, at the cost of tighter control over exposure and print-through.
YIDIMU's dental printers, the Eternal Y8 and Eternal D1, both use LCD masked exposure at 405 nm. The product pages for YIDIMU's grey dental model resin and yellow dental model resin give reference exposure as a starting point to be tested on each printer, not as one universal setting. The D1's finer pixel grid helps reproduce small anatomy, but it doesn't remove the need to recalibrate when the resin changes. Pixel size and dimensional accuracy remain separate questions. You can compare both machines on the dental resin 3D printer page.
What color can't tell you
There's no color-specific tolerance worth publishing. Final accuracy depends on the printer's optics and calibration, the specific formulation, exposure, layer height, orientation, supports, temperature, washing, post-curing and the measurement method. A data sheet or printer specification sets expectations. Only your own parts, printed in your own workflow, confirm them.
If you're changing model resin color or supplier, send us two or three STL files your lab prints every week. We can print them in the resin you're considering on an Eternal Y8 or D1 and share the settings used, so you can measure the parts against your own acceptance criteria.