
Industrial Resin 3D Printer Cost per Part
Industrial resin 3D printer cost per part is not simply resin price multiplied by model volume. A useful calculation includes material and supports, machine ownership, operator labor, washing, complete drying, UV post-curing, consumables, maintenance, inspection, failures and the number of parts that actually meet the acceptance criteria.
- Calculate accepted-part cost, not only print cost.
- Include post-processing and inspection labor.
- Model failures and rework using real production records.
- Test the calculation with representative production parts.
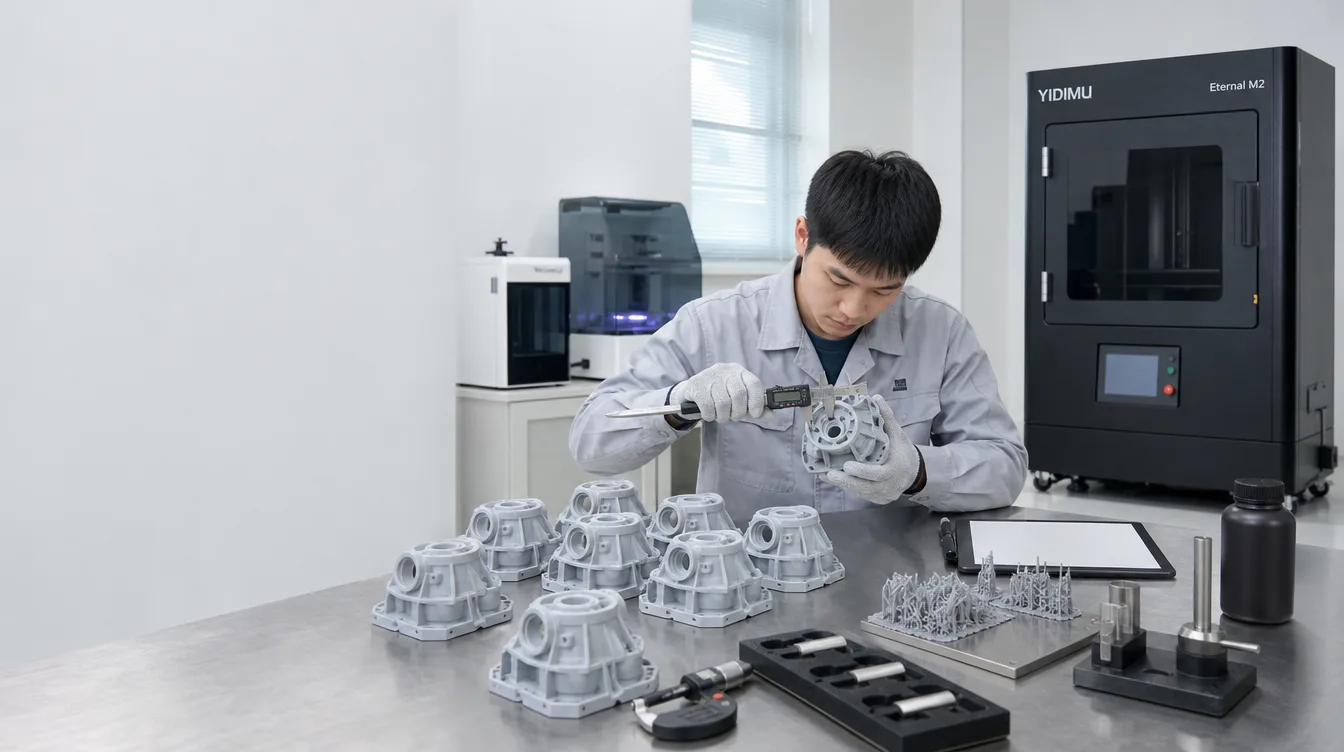
What Does Resin 3D Printing Cost per Part Actually Mean?
For engineering and production decisions, cost per part should normally mean the total relevant cost of producing one acceptable finished part. Counting only liquid resin consumption can make a process appear inexpensive while ignoring support material, operator time, wash media, post-curing, maintenance, inspection and unsuccessful parts.
The denominator matters just as much as the numerator. If a batch starts with 20 parts but only 18 meet the dimensional, surface or functional requirements, dividing the batch cost by 20 understates the economic cost of usable output. Production planning is therefore better based on cost per accepted part.
There is no universal industrial resin 3D printing cost per part. The result changes with geometry, resin, orientation, support strategy, build layout, layer settings, labor rate, post-processing route, inspection requirements, equipment utilization and actual process stability.
Key Takeaways
- Resin volume is only one cost component. Supports, process losses, cleaning consumables and failed builds also consume material and money.
- Printer purchase price should be allocated rather than charged directly to one batch. The allocation method should reflect the company's accounting and expected productive use.
- Hands-on labor can materially change part economics. File preparation, build setup, unloading, washing, support removal, curing, finishing and inspection all require consideration.
- Platform utilization matters only when the complete workflow can support it. A dense build is not economically useful if it creates excessive failures or overwhelms washing, curing or inspection capacity.
- Failure cost is more than wasted resin. A failed build can also consume machine time, labor, cleaning materials and available production capacity.
- Use representative parts and production records. A theoretical spreadsheet becomes meaningful only after assumptions are compared with actual builds.
What Should Be Included in Industrial Resin 3D Printer Cost per Part?
| Cost Element | What to Record | Commonly Missed Items |
|---|---|---|
| Resin and supports | Part volume, support volume and actual resin consumption where measurable | Resin remaining on supports, platform or disposable process materials |
| Machine allocation | Equipment investment allocated according to the company's costing method | Low utilization and idle productive capacity |
| Labor | Preparation, setup, unloading, cleaning, support removal, curing, finishing and handling | Repeated manual handling and troubleshooting |
| Post-processing | Washing, complete drying, UV post-curing and any required finishing | Wash-media replacement and secondary finishing |
| Consumables | Films, filters, gloves, wipes, cleaning materials and other process items | Small recurring items that become significant at volume |
| Maintenance | Routine maintenance, replacement items and service-related costs | Maintenance labor and production interruption |
| Inspection | Visual checks, dimensional inspection, fit checks and documentation | Measurement setup and rejected-part handling |
| Failures and rework | Rejected builds, rejected individual parts and reprocessing | Lost machine capacity and additional operator time |
| Facility and overhead | Relevant space, ventilation, utilities, waste handling and site-specific overhead | Costs excluded from machine quotations |
Not every company allocates overhead in the same way. The objective is not to force every project into one accounting formula, but to define a consistent cost boundary before comparing printers, materials or manufacturing routes.
For a separate treatment of service and operating expenses, review the industrial resin 3D printer maintenance cost guide.
How to Calculate Resin 3D Printer Cost per Part
1. Define what counts as a finished part
Decide where the costing boundary ends. Does a finished part mean printed and washed, or washed, fully dried, UV post-cured, support-finished and dimensionally inspected? If the production requirement includes sanding, coating, assembly or packaging, those operations may also belong in the calculation.
Use the same definition when comparing different equipment or manufacturing processes.
2. Calculate material consumption
Start with the resin consumed by the part and its required supports. Do not assume that CAD model volume alone equals purchased-material consumption. Production records may also need to account for process losses and material associated with unsuccessful parts.
Resin handling, storage and processing should follow the current documentation for the exact material, including the applicable TDS, SDS, IFU or other formal instructions. YIDIMU's current material categories can be reviewed on the resin materials page.
3. Allocate equipment cost
Equipment is a fixed investment, so machine purchase cost should normally be allocated across expected productive use rather than assigned directly to one job. The chosen method may use productive machine hours, expected accepted output or another accounting basis.
Utilization has a major effect on this component. A machine running occasional prototype jobs carries a different equipment cost per part from the same investment supporting regular qualified production.
4. Measure hands-on labor
Separate unattended machine time from operator time. The printer may run without continuous attention, but operators still spend time preparing files, setting up builds, handling resin, unloading parts, washing, drying, removing supports, post-curing, finishing, inspecting and preparing the next build.
Labor should be measured from the actual workflow rather than estimated from print duration.
5. Add washing, drying and UV post-curing
Resin parts should be evaluated as a complete post-processing workflow. Washing media and related consumables have a cost; complete drying requires process time; UV post-curing consumes equipment capacity and operator handling.
Requirements differ by material, so do not apply a generic washing or curing time to every resin. Follow the documentation for the exact material and application. YIDIMU's available supporting equipment is listed under post-processing equipment.
6. Include maintenance and consumables
Films, filters, cleaning materials, protective equipment and other wear or process items may be inexpensive individually but recurring. Routine maintenance and replacement components should also be allocated using actual records or a documented planning assumption.
7. Add quality control
A production component is not economically complete simply because it has been printed. If the application requires dimensional measurement, surface inspection, fitting or documentation, the inspection step consumes labor and equipment capacity.
8. Divide by accepted output
Finally, divide the defined batch cost by the quantity that satisfies the agreed acceptance criteria.
This method exposes the economic effect of failures and rework instead of hiding them inside a theoretical material calculation.
A Practical Cost Record for Each Production Batch
A basic record can be built without inventing a universal cost benchmark. Populate it with your own purchasing, labor and production data.
| Record | Input | How It Affects Cost |
|---|---|---|
| Printer / configuration | Exact system used | Connects the cost record to machine allocation and maintenance |
| Resin / batch | Exact material and lot where relevant | Links material cost and process behavior to the batch |
| Part quantity started | Parts placed in the build | Shows planned output |
| Resin consumed | Recorded consumption | Calculates material contribution |
| Hands-on labor | Minutes or hours by operation | Calculates labor contribution |
| Post-processing | Wash, dry, cure and finishing operations | Captures downstream process cost |
| Inspection | Method and inspection time | Captures quality-control cost |
| Accepted quantity | Units that passed requirements | Provides the correct cost denominator |
| Reject / rework reason | Failure mode or additional work | Identifies cost-reduction opportunities |
Why Build Layout Can Change Cost per Part
Batch layout can reduce the equipment-cost contribution per unit when more acceptable parts are produced during the same production cycle. But maximizing the number of models on the platform is not the same as minimizing cost.
Dense layouts may alter support requirements, resin flow, separation behavior, part handling or downstream workload. A theoretically efficient build can become expensive if it increases rejection, makes support removal difficult or creates a post-processing bottleneck.
Evaluate layout using the entire workflow:
- usable platform area and part spacing;
- orientation and support requirements;
- part height and build strategy;
- washing capacity;
- complete drying capacity;
- UV post-curing capacity;
- support-removal labor;
- inspection workload;
- accepted output from repeated builds.
The same principle is discussed from a production-planning perspective in the resin 3D printing for low-volume manufacturing guide.
The Costs Most Often Underestimated
Failure and rework
A rejected part may consume resin, support material, machine capacity, operator time, washing media and inspection time before the problem is discovered. Cost models should therefore use measured reject and rework information where available rather than assuming every started part becomes acceptable output.
Manual finishing
Parts with demanding cosmetic surfaces may need more support removal, sanding or other finishing than engineering parts used only for fit checks. The same printed volume can therefore produce very different finished-part costs.
Inspection
More demanding dimensional or functional requirements increase inspection effort. A production model should include this step instead of treating inspection as unrelated overhead.
Downtime
Planned maintenance and unexpected interruptions reduce productive equipment availability. The appropriate financial treatment varies by organization, but capacity lost to downtime should not be ignored when equipment utilization is important.
Post-processing bottlenecks
Adding printer capacity does not automatically increase accepted output if washing, drying, curing, support removal or inspection cannot keep pace. Cost reduction should target the limiting operation in the complete workflow.
Cost per Printed Part vs Cost per Accepted Part
| Metric | Calculation | Usefulness |
|---|---|---|
| Resin cost per model | Resin attributed to one model × resin unit cost | Useful for material comparison, but incomplete |
| Print-stage cost per part | Printing-related batch costs ÷ parts printed | Useful for machine-stage analysis |
| Finished-part cost | Printing + post-processing + finishing costs ÷ finished units | More useful for workflow planning |
| Accepted-part cost | Total defined production cost ÷ parts meeting acceptance criteria | Most useful for production and sourcing decisions |
How Geometry Changes Resin 3D Printing Economics
Two parts with similar external dimensions can have very different production costs. Geometry affects material volume, support demand, orientation, platform utilization, cleaning access, finishing effort and inspection.
Features worth examining include:
- large solid volumes;
- deep or enclosed cavities;
- thin walls and slender features;
- large flat surfaces;
- support-sensitive cosmetic faces;
- holes, slots and mating interfaces;
- complex internal structures;
- features requiring dimensional inspection.
Cost should therefore be estimated from the real CAD/STL geometry rather than from a generic part-size category.
Relevant YIDIMU Industrial Resin Systems
For an industrial cost-per-part evaluation, the machine should be selected around the actual part dimensions, build layout, resin and downstream workflow. YIDIMU's industrial range includes Eternal M1 and Eternal M2; neither should be selected from purchase price alone.
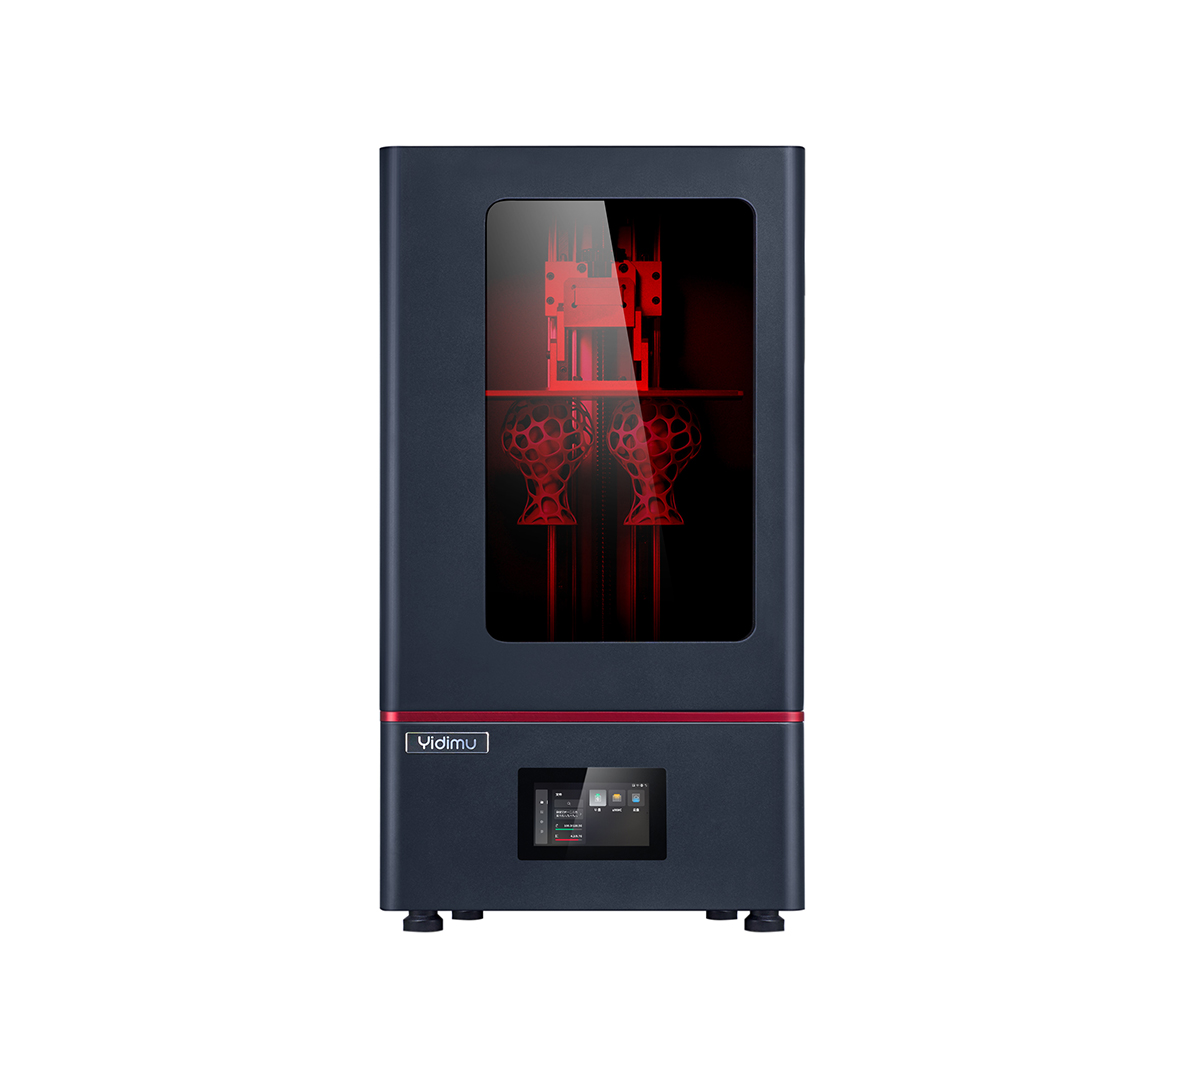
Eternal M1
Evaluate the M1 against the representative part, expected build layout, selected resin, post-processing capacity and inspection requirements.
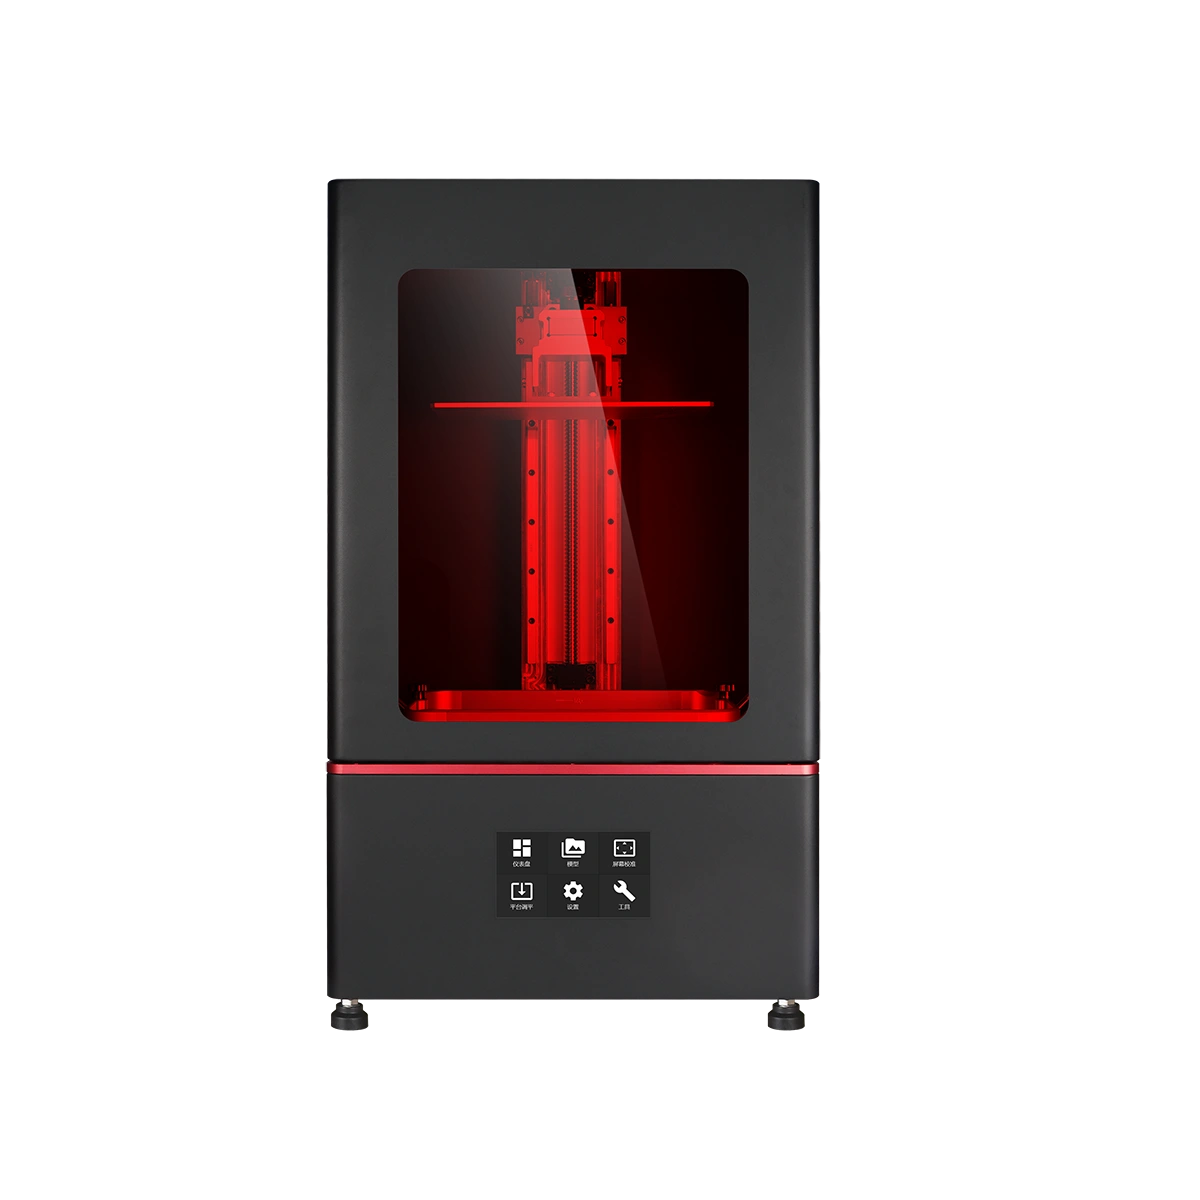
Eternal M2
For larger parts or different batch-layout requirements, evaluate the M2 using the same accepted-part-cost framework. Confirm the current configuration and process requirements for the actual project.
Practical Cost-per-Part Evaluation Checklist
- Representative CAD or STL file
- Overall part dimensions
- Critical features and interfaces
- Required material behavior
- Exact resin and resin cost
- Part orientation
- Support strategy
- Parts per build
- Expected production quantity
- Machine-cost allocation method
- File-preparation labor
- Printer setup labor
- Part-removal labor
- Washing requirements
- Complete drying requirements
- UV post-curing requirements
- Support-removal and finishing labor
- Inspection method
- Acceptance criteria
- Consumable usage
- Maintenance allocation
- Failure and rework records
- Facility-related costs where applicable
- Accepted parts per batch
Do Not Turn a Cost Estimate into a Performance Claim
A spreadsheet can estimate economics, but it cannot establish dimensional accuracy, repeatability, yield or production capability. Those require controlled validation with the actual printer, resin, geometry and process.
Nominal XY pixel size, screen resolution, layer height, stated build volume or nominal print speed should not be converted into an assumed dimensional tolerance or guaranteed cost per part.
Actual results can vary with printer condition, resin and resin batch, temperature, geometry, orientation, support strategy, exposure, layer height, build-platform condition, washing, complete drying, UV post-curing and inspection method.
For purchasing decisions, combine the economic model with representative sample testing and written acceptance criteria. A real production part is more useful than a simple calibration model for determining whether the proposed process can deliver the required finished result.
Industrial Resin 3D Printer Cost per Part FAQ
How do I calculate resin 3D printer cost per part?
Define the complete production cost for a batch, including the relevant resin, supports, machine allocation, labor, washing, drying, UV post-curing, consumables, maintenance, inspection, failures and other applicable costs. Divide that total by the number of parts that meet the agreed acceptance criteria.
Is resin volume enough to estimate cost per part?
No. Resin volume is useful for estimating material cost, but it does not capture machine ownership, supports, labor, post-processing, consumables, maintenance, inspection, failures or rework.
Does putting more parts on the build platform always reduce cost?
Not necessarily. Higher platform utilization can improve equipment economics when it produces more acceptable parts without creating additional failures or downstream bottlenecks. The final result should be confirmed using realistic batch layouts.
Should failed prints be included in cost per part?
Yes when they occur in the evaluated production process. Failures can consume resin, machine time, operator labor, cleaning consumables and production capacity. Historical production records are preferable to an arbitrary failure allowance.
Does printer resolution determine cost per part?
No. Nominal screen or pixel specifications do not independently determine finished-part economics or dimensional performance. Cost depends on the complete printer, material, geometry, workflow, utilization and accepted output.
How can I compare resin printing with injection molding or another manufacturing process?
Apply the same finished-part definition and expected production quantity to both processes. Include tooling or equipment allocation, materials, labor, finishing, inspection, failures, design changes and other project-specific costs. The economic crossover point is specific to the part and production requirement.
Evaluate Cost per Part from Your Actual Model
A meaningful estimate starts with the real part rather than a generic price-per-piece assumption. For a project review, prepare:
- CAD/STL file or representative model;
- overall dimensions;
- application and intended use;
- critical features;
- tolerance or fit requirements;
- material requirements;
- expected quantity;
- surface and finishing requirements;
- inspection requirements.
These inputs allow the printer, resin, build layout, post-processing route and cost assumptions to be discussed around the part that actually needs to be produced.