
Industrial Resin 3D Printer Repeatability Test: A Practical Engineering Guide
In industrial resin 3D printing, producing one accurate sample is only the beginning. Engineering teams need to understand whether the same printer, resin, parameters and post-processing workflow can repeatedly deliver consistent parts over multiple build cycles. This guide explains how repeatability is evaluated, which process variables influence results, and how to validate a printer before it is introduced into prototype development or production workflows.
- Test artifact selection & rationale
- Measurement method and sample size
- Process variables that degrade repeatability
- Data interpretation: standard deviation, Cp/Cpk
- Pre-purchase validation checklist
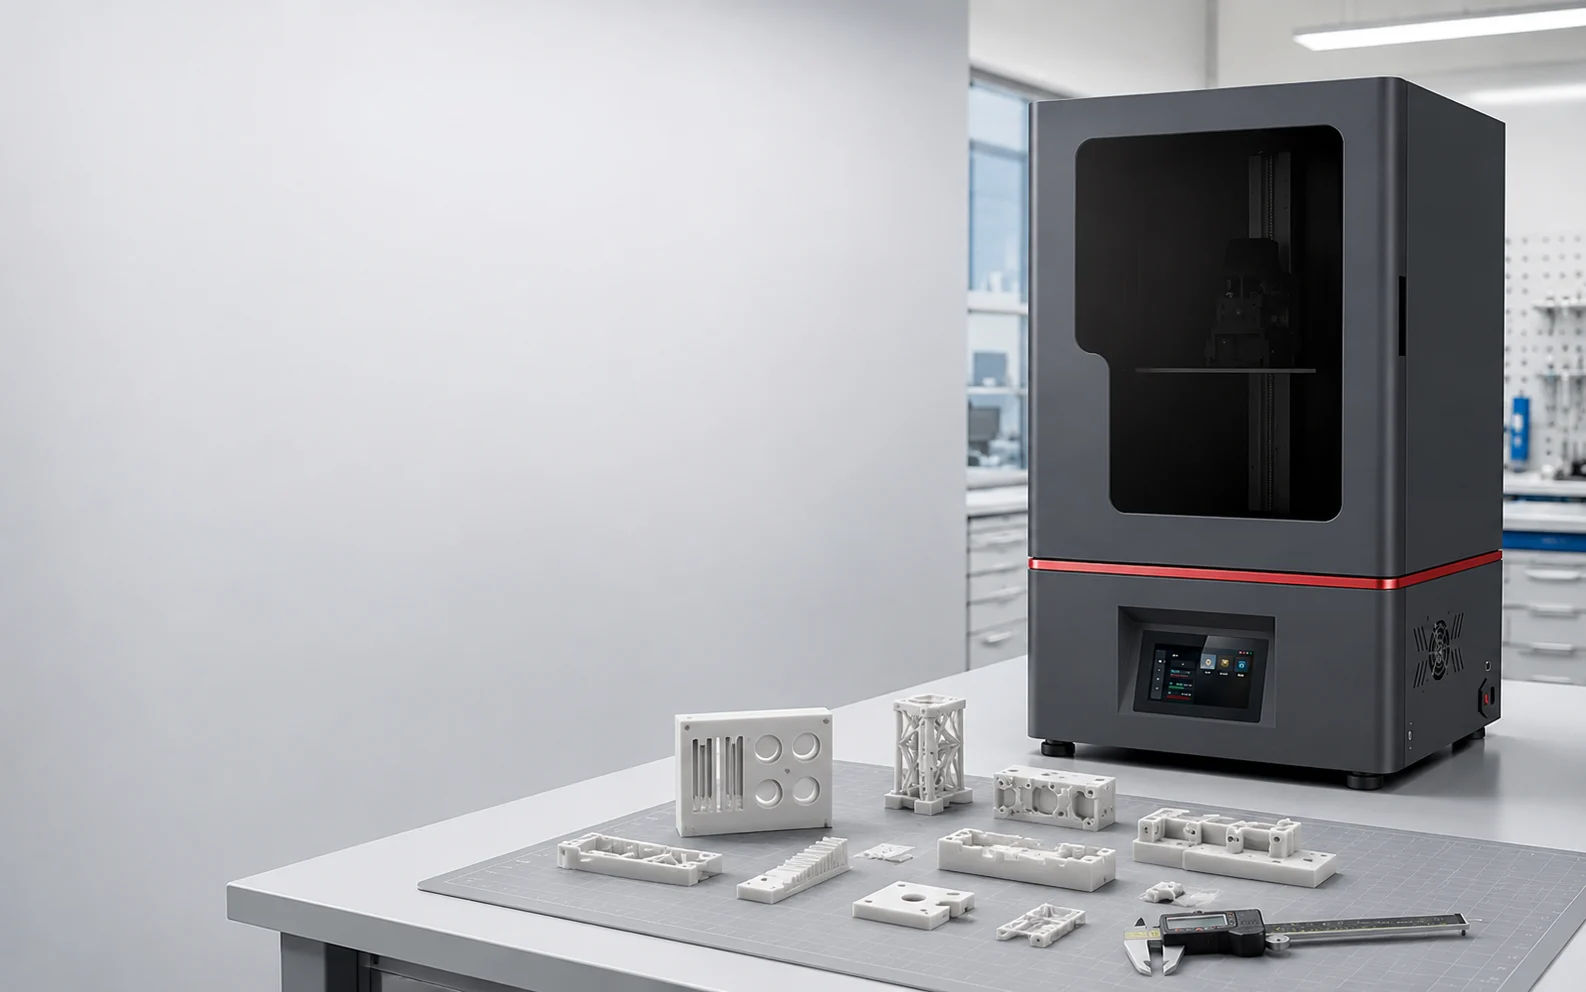
An industrial resin 3D printer repeatability test answers a practical engineering question: can the complete printing workflow consistently produce parts within an acceptable dimensional range when the same material, parameters and post-processing procedures are followed? The test involves printing a standardized artifact multiple times across separate build cycles, measuring critical dimensions with a calibrated instrument, and calculating statistical variation. A printer with good repeatability shows tight standard deviation and stable mean values across builds. The result depends as much on process control—resin temperature, build plate preparation, cleaning consistency, full drying, and UV post-curing—as on the printer hardware itself. A well-designed repeatability test isolates hardware performance while documenting the full process chain so that variation can be traced to its source.
Key Takeaways
- Repeatability is not the same as accuracy. A printer can be repeatable but consistently offset from nominal dimensions.
- A practical evaluation usually starts with several independent build cycles using the same file, resin lot and post-processing workflow. The required sample quantity depends on part tolerance, application risk and production requirements.
- The test artifact should include features that reflect your actual parts: holes, walls, bosses, flatness references, and a defined measurement datum.
- Resin temperature, build plate leveling, and post-curing duration are the three most common sources of hidden variation in resin 3D printing.
- Statistical reporting should include mean, standard deviation and range. Cp/Cpk analysis can also be considered when sufficient production data and clearly defined tolerance limits are available.
- A repeatability test conducted before purchase or before production release reduces the risk of dimensional drift, part rejection, and workflow rework.
Why Repeatability Matters More Than Single-Part Accuracy
For engineering teams evaluating resin 3D printing systems, repeatability should be considered as part of the complete manufacturing workflow rather than a single machine specification. Printer mechanics, resin behavior, printing parameters, cleaning consistency and UV post-curing all contribute to final dimensional stability.
A single well-printed part tells you almost nothing about a printer's suitability for production. One-off accuracy can be achieved by chance, by a fresh resin batch, by a recently calibrated build plate, or by ideal ambient conditions. Repeatability, by contrast, is a measure of process stability. When a printer delivers a mean bore diameter of 10.02 mm with a standard deviation of 0.01 mm across 12 builds, the engineering team can design around that predictable offset. When the same feature varies between 9.95 mm and 10.12 mm without explanation, no design tolerance can compensate reliably.
For production environments, repeatability is the more commercially meaningful metric. It determines whether a batch of 200 printed housings will fit the same seal geometry, whether dental models will seat on the same articulator pin, or whether flexible lattice midsoles will maintain consistent wall thickness and cushioning behavior. Accuracy can often be corrected through scaling or offset adjustment. Repeatability cannot be corrected after the fact—it must be engineered into the printer and the process.
Designing the Repeatability Test
1. Selecting the Test Artifact
The test artifact should not be an abstract calibration cube unless your parts are abstract cubes. Instead, choose or design a part that includes features representative of your typical production geometry. Useful features include:
- Bores and holes at multiple diameters—critical for fit and assembly evaluation.
- Wall thickness features at 1 mm, 2 mm, and 4 mm—useful for detecting resin shrinkage variation.
- Bosses and standoffs—common in functional parts and mounting interfaces.
- Flatness reference surfaces—for evaluating warpage after post-curing.
- A defined measurement datum—three mutually perpendicular flat faces that allow consistent fixturing during measurement.
Many engineering teams use a hybrid approach: a standardized benchmark artifact such as the NIST overhang or internal test coupon, combined with a simplified version of their own production part. The standardized artifact allows comparison across printers and over time; the simplified production part validates relevance to the specific application.
2. Fixing the Process Variables
A repeatability test is only meaningful when the process is fully documented and held constant. Record and control these variables for every build:
- Resin lot number and storage conditions—resin viscosity changes with temperature and age.
- Resin temperature at print start—cooler resin flows differently and may require adjusted exposure.
- Layer thickness—do not compare 50 µm and 100 µm data in the same analysis.
- Orientation and support strategy—these affect shrinkage direction and support removal artifacts.
- Build plate preparation—leveling, cleanliness, and adhesion treatment.
- Post-processing sequence—cleaning solvent, duration, drying method, UV post-curing energy, and time.
Every one of these variables can introduce variation larger than the printer's mechanical repeatability. If you change the washing solvent halfway through a test series, the dimensional data will reflect both the printer and the process change, making the results uninterpretable.
3. Sample Size and Build Scheduling
A practical minimum is five separate build cycles, each with the test artifact printed in the same position on the build plate. Ten builds provide a more robust estimate of standard deviation and allow you to detect drift over time. Spread the builds across multiple days to capture the effect of ambient temperature changes, resin settling, and operator variation.
Avoid printing five copies of the artifact on a single build and treating them as five independent samples. Parts printed on the same build share the same resin temperature, the same build plate preparation, the same exposure file, and the same post-processing batch. They are not independent observations for repeatability analysis.
4. Measurement Protocol
Measure each critical feature with a calibrated instrument appropriate to the tolerance you need to hold. For features with tolerances tighter than ±0.1 mm, a digital caliper is insufficient—use a micrometer, vision measurement system, or coordinate measuring machine (CMM). Document the measurement method, the operator, the instrument calibration date, and the number of repeated measurements per feature. Take at least three measurements per feature per part and use the average for analysis.
Running the Test: Step-by-Step
- Prepare the build plate and level the printer according to the manufacturer's procedure.
- Bring the resin to the specified operating temperature range and record the temperature before each build.
- Print the test artifact using the locked file, orientation, and support settings.
- Remove the part and wash it using the documented solvent and duration.
- Allow the part to fully dry. Residual solvent or moisture affects dimensional measurement and UV post-curing response.
- UV post-cure using the documented energy level, duration, and part orientation inside the curing chamber.
- Allow the part to stabilize to room temperature before measurement.
- Measure all critical features using the documented protocol and record values.
- Repeat for a minimum of five separate build cycles.
Interpreting the Data
Once the measurement data is collected, calculate the following for each critical feature:
- Mean (μ)—the average value across all builds.
- Standard deviation (σ)—the spread of values around the mean.
- Range (R)—maximum minus minimum, useful for quick diagnosis.
- Cp and Cpk—process capability indices when a design tolerance exists. Cp measures whether the process spread fits within the tolerance band. Cpk also accounts for the process mean being off-center from the nominal.
A process with a standard deviation of 0.03 mm on a feature with a ±0.10 mm tolerance is considered repeatable for most production purposes. A standard deviation above 0.05 mm on the same tolerance band may require investigation before production release. However, acceptable repeatability is always defined by the application, not by a universal threshold.
| Data Pattern | Likely Source | Suggested Action |
|---|---|---|
| High standard deviation across all builds | Process instability: resin temperature fluctuation, inconsistent cleaning, variable post-curing | Audit process controls; add temperature monitoring; standardize washing and curing |
| Consistent mean offset from nominal, tight spread | Systematic accuracy error, such as shrinkage compensation or calibration offset | Adjust scale factors or offsets; verify calibration |
| Gradual drift over sequential builds | Wear, build plate leveling drift, resin age, or contamination accumulation | Re-level build plate; replace resin batch; check optical path cleanliness |
| Sudden jump between build groups | Change in resin lot, operator, or environmental conditions | Review records for hidden process change; isolate and verify |
| High within-build variation, low between-build variation | Build plate position-dependent exposure or peel force differences | Test edge vs. center positions; evaluate exposure uniformity |
Common Sources of Repeatability Failure
Resin Temperature Drift
Photopolymer resin viscosity is temperature-dependent. A resin at 18°C flows differently than the same resin at 28°C, affecting recoating behavior, layer thickness consistency, and polymerization kinetics. Printers without heated resin vats are more susceptible to ambient temperature swings. Even with heated vats, resin removed from cold storage and poured directly into the printer creates a thermal transient that can affect early layers. For repeatable results, resin should be acclimated to the operating temperature before printing and ideally held within a controlled range throughout the build.
Inconsistent Cleaning and Drying
Residual uncured resin on a part surface continues to react during UV post-curing, adding dimensional change that varies with the amount of residue. If one part is washed for two minutes and another for four minutes, or if one part is dried thoroughly while another retains solvent in recesses, the post-curing response will differ. A repeatability test that ignores this variable will attribute cleaning variation to the printer. The solution is a defined washing protocol—solvent type, agitation method, duration, and a mandatory full drying step before UV exposure.
UV Post-Curing Variability
UV post-curing drives final polymerization shrinkage and crosslink density. Parts cured for different durations, at different distances from the UV source, or at different orientations inside the chamber will exhibit different final dimensions. Post-curing equipment with reflective interiors and rotating platforms reduces the impact of part position. Regardless of the equipment, the curing protocol must be fixed: same energy, same duration, same part orientation, and same chamber loading pattern for every build in the test.
Build Plate Leveling and Adhesion
A build plate that is not level relative to the optical plane introduces a systematic thickness error in the first several layers, affecting overall Z-dimension repeatability. Build plates that lose level over repeated use produce drift in the data. Regular re-leveling, or the use of self-leveling mechanisms where available, is a prerequisite for a meaningful repeatability evaluation.
Relevant YIDIMU Systems for Repeatability Testing
Different application categories place different demands on repeatability. The following YIDIMU system families represent the categories most relevant to engineers running repeatability evaluations.
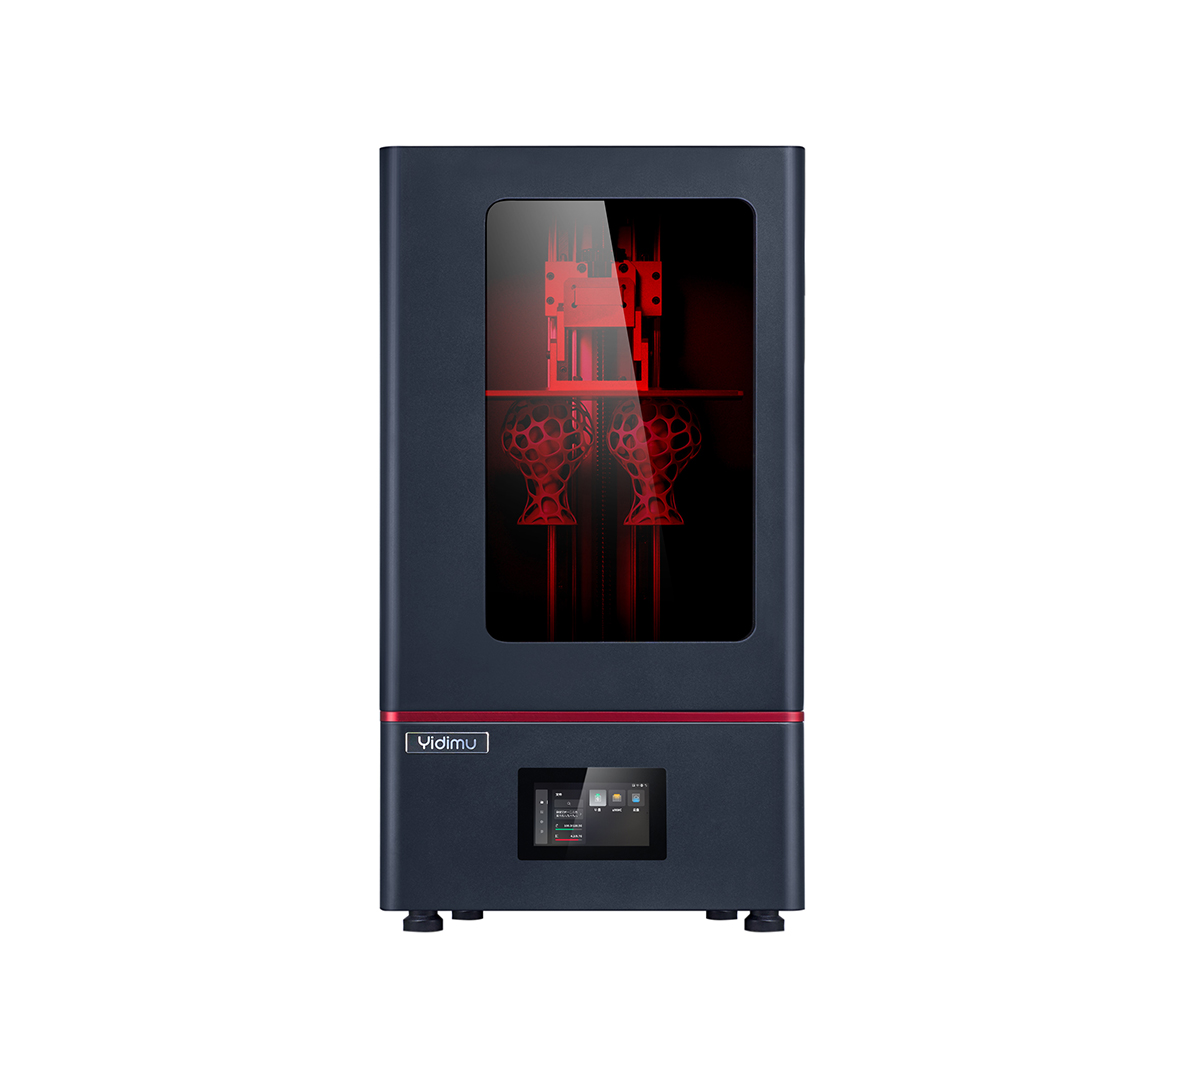
Eternal M1 / M2 — Industrial Prototyping & Engineering Parts
Designed for industrial prototyping, large-format parts, multi-part nesting, and small-batch evaluation. A repeatability test on this class of system typically focuses on bore accuracy, wall thickness stability, and flatness across a large build area.
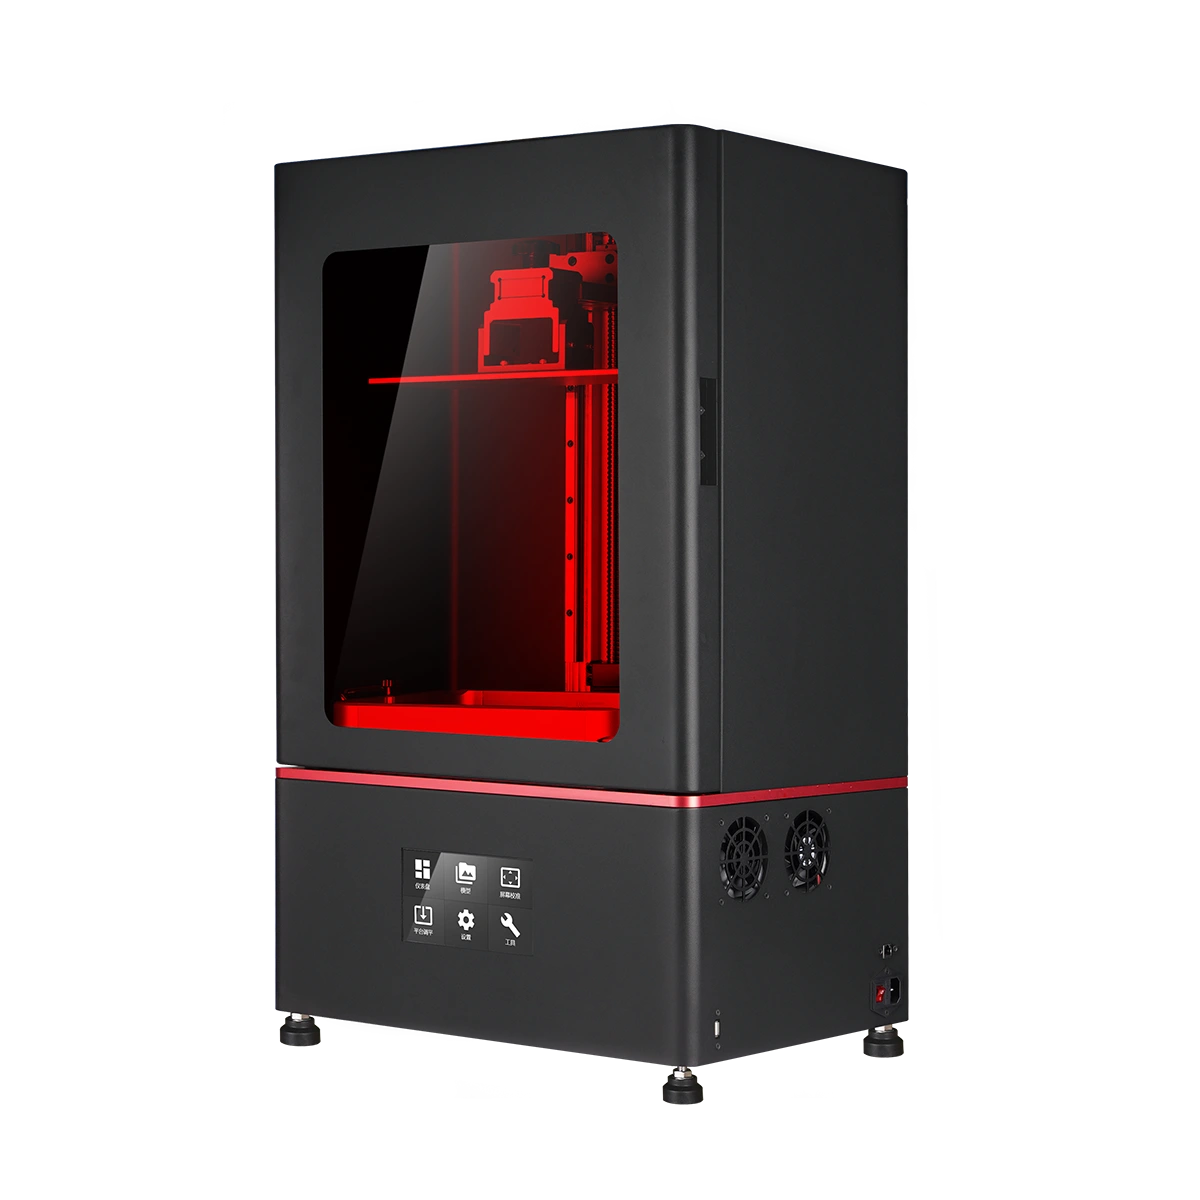
Flex G2 / Flex Pro — Flexible & Elastomer Systems
Built for flexible materials, elastomers, footwear, lattices, and cushioning components. Repeatability in this category centers on wall thickness consistency, lattice strut dimensions, and shore hardness stability across builds.
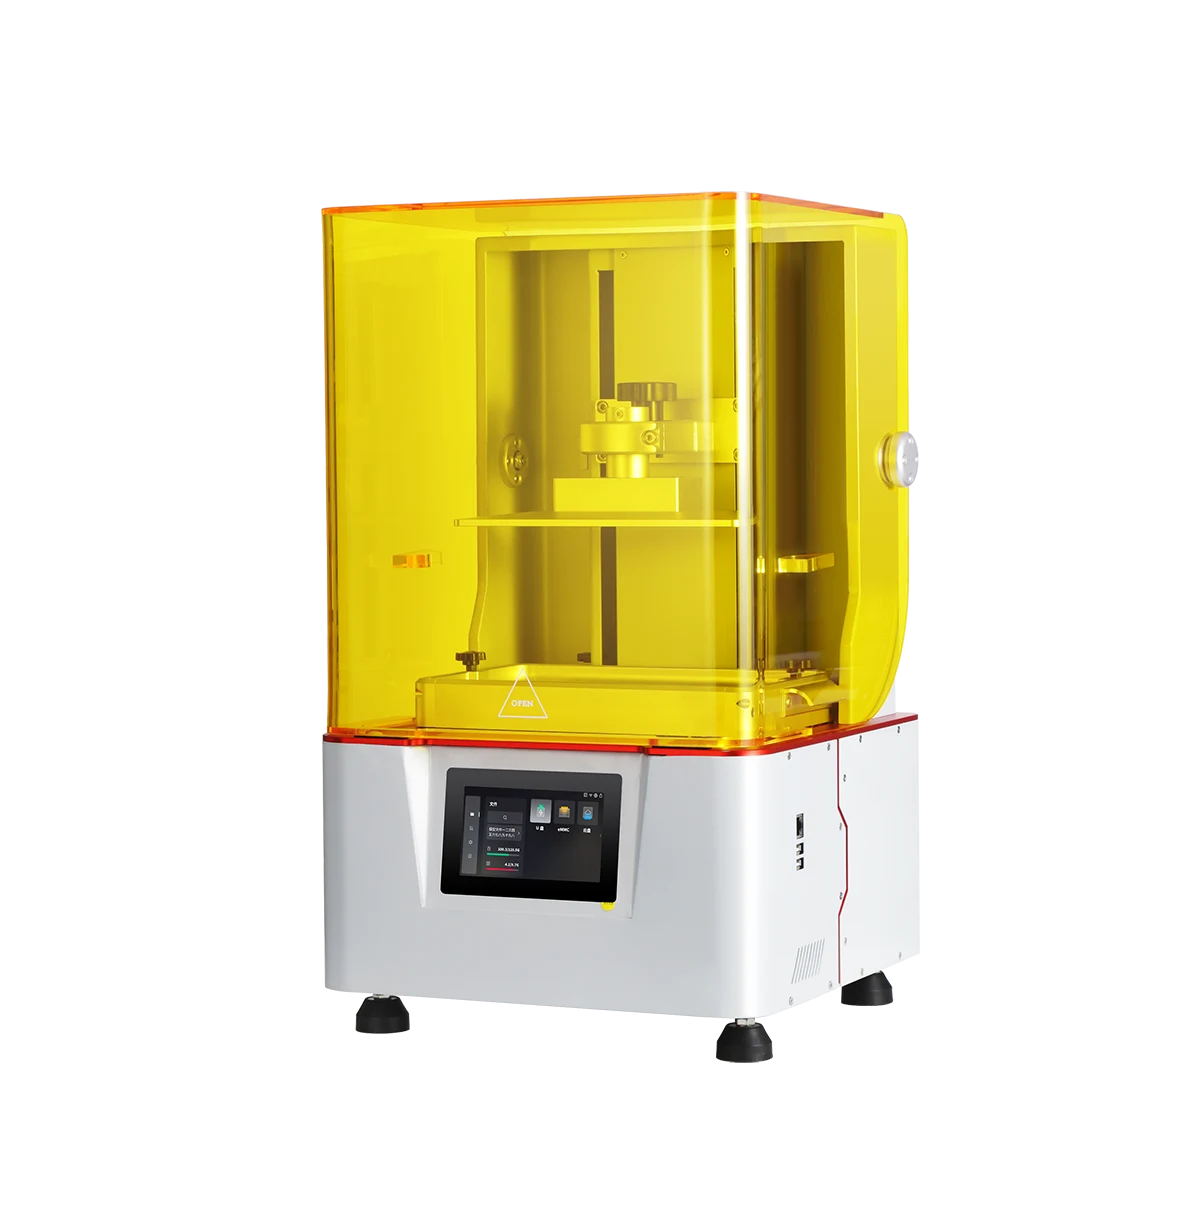
Eternal Y8 / D1 — Dental Model & Lab Workflow
Targeted at dental models, orthodontic models, and dental laboratory processes. Repeatability validation typically involves seating accuracy on articulator pins, interproximal spacing fidelity, and die fit consistency.
Specific specifications, build volumes, and material compatibility must be confirmed against current YIDIMU official product documentation before selecting a system for your application.
Practical Evaluation Checklist
Pre-Purchase or Pre-Production Repeatability Validation
- Define the critical dimensions and tolerances for your actual parts before selecting a test artifact.
- Lock the file, orientation, support strategy, layer thickness, resin lot, and post-processing protocol.
- Verify build plate leveling and resin temperature stabilization before starting the first build.
- Run a minimum of 5 separate build cycles; 10 is preferred for production decisions.
- Measure with calibrated instruments appropriate to your tolerance band.
- Record ambient conditions, resin temperature, cleaning duration, drying time, and UV curing parameters for every build.
- Calculate mean, standard deviation, range, and Cp/Cpk for each critical feature.
- Compare results against your defined acceptance thresholds before signing off on the printer or process.
Limitations and Validation
A repeatability test using a generic artifact does not guarantee identical performance on a complex production part with different geometry, supports, or resin. Parameter sheets, published specifications, and single-part samples cannot replace testing with your part geometry and your materials. The data presented in this article reflects general industry practice for resin 3D printing repeatability evaluation. Actual results depend on the specific printer model, resin formulation, layer thickness, orientation, support density, ambient conditions, cleaning protocol, drying completeness, UV post-curing parameters, and measurement methodology. Before making a production commitment, run a representative sample batch of your actual parts through the full process chain and measure the features that matter to your design.
Frequently Asked Questions
How many builds are needed for a reliable repeatability test?
A minimum of five separate build cycles is the practical starting point. Ten builds provide a more stable estimate of standard deviation and are recommended when the test result will be used for production go/no-go decisions.
Can I print multiple test parts on one build and count them as separate samples?
No. Parts printed in the same build share the same resin temperature, build plate preparation, exposure file, and post-processing batch. They are not independent observations. Independent samples require separate build cycles.
What is the difference between repeatability and accuracy?
Repeatability measures the spread of results around the process mean—how consistent the printer is. Accuracy measures the offset between the mean and the nominal dimension. A printer can be highly repeatable but consistently offset, which can usually be corrected with scaling factors. Poor repeatability cannot be corrected after the fact.
What is the most common cause of poor repeatability in resin 3D printing?
In practice, uncontrolled resin temperature and inconsistent post-processing (cleaning duration, drying completeness, UV curing time) are the most frequent causes of apparent poor repeatability. These variables often contribute more variation than the printer hardware itself.
Should I use the same resin lot for the entire repeatability test?
Yes. Different resin lots can have slightly different viscosity and reactivity, which introduces variation not attributable to the printer. If you want to evaluate lot-to-lot consistency, that is a separate test. For a printer repeatability evaluation, use a single resin lot throughout.
What tolerance levels are reasonable for resin 3D printed parts?
This depends entirely on the application, geometry, and material. General industrial resin printing can often hold ±0.1 mm to ±0.2 mm on well-controlled features, while tighter tolerances may be achievable on specific geometries with optimized parameters. Always validate with your actual part rather than relying on general expectations.
Related Resources
- Resin 3D Printer Post-Curing Guide: Why Full Drying Matters
- Flexible Resin 3D Printing: Design Guidelines for Elastomer Parts
- Dental Resin 3D Printer Workflow: From Scan to Model
- Large-Format Resin 3D Printer Selection: Key Factors for Production
- Resin 3D Printer Cleaning Solvent Comparison and Handling
Plan a Repeatability Test With Your Parts
If you are evaluating a resin 3D printer for production or prototyping, a repeatability test with your own part geometry is the most reliable way to assess suitability. Share your model files, critical dimensions, material requirements, target quantity, and surface or fit requirements. The YIDIMU team can discuss test design, material selection, and process planning for your application.
Submit Your Project Details