
3D Printed Lattice Structures in Flexible Resin
3D printed lattice structures are repeating networks of struts or thin curved walls that take the place of solid material or foam. In a flexible resin part, the lattice geometry decides most of what the user feels: how much the part compresses under a given load, where it stays firm, where it gives, and how it recovers. The resin's hardness sets a starting point, but cell type, cell size, wall or strut thickness and relative density do the real tuning.
The catch is that a flexible lattice only works if it can be printed, cleaned and cured consistently. In vat photopolymerization that means the uncured resin must be able to drain, the cells must stay open after exposure, the soft struts must survive the forces of each layer separating from the vat, and the finished part has to be checked under compression rather than judged by appearance.
Key points
Lattice stiffness is a structural property. Two lattices printed in the same resin can feel completely different.
Strut lattices and TPMS lattices such as gyroids differ in load behavior and in how easily trapped resin can be removed.
Printability limits for viscous elastomer resins (drainage, light bleed, peel deflection, post-cure access) should shape the design from the start.
A lattice earns a place over foam where zoned properties, customization or fast design changes matter. For high-volume commodity cushioning, foam is usually cheaper.
Validation means compression curves, hysteresis and cyclic testing on printed parts. Material datasheet values do not transfer directly to a lattice.
Geometry, not hardness, sets how a lattice behaves
Elastomer resins are usually specified by Shore A hardness. That number describes the solid material. Once the material is arranged into a lattice, the stiffness of the part depends mainly on relative density, meaning how much of the volume is occupied by material, and on how the cell carries load. The difference between Shore A hardness and part-level stiffness is the first thing to settle with a design team, because a softer resin and a sparser lattice can both make a part feel softer, but they fail and age differently.
Cellular-solids mechanics gives a useful split. In a bending-dominated lattice, the struts flex under load. These structures are compliant, compress over a long, fairly flat plateau and absorb energy well, which is why they suit cushioning. Their stiffness rises steeply with relative density, roughly with its square for many open-cell geometries, so small changes in strut thickness have a large effect. In a stretch-dominated lattice, such as an octet truss, the struts are loaded mainly in tension and compression. These lattices are much stiffer for the same weight, and are the usual choice where a rigid lightweight part is the goal rather than a soft one.
Because the geometry is digital, density does not have to be uniform. A single printed pad can be firmer under one load area and softer under another, with the transition built into the cell sizes or wall thicknesses rather than assembled from separate foam layers. For flexible parts, that gradient is the main design reason to use a lattice at all.
Strut lattices and TPMS lattices behave differently in a resin vat
Most lattices used in product development fall into a few families. Each one carries load differently, and in a resin vat each one also cleans differently.
| Lattice family | Common examples | Mechanical character | Resin-printing considerations |
|---|---|---|---|
| Strut-based (beam) lattices | Cubic, body-centred cubic (BCC), octet truss | Easy to edit and grade. Stress concentrates at the nodes where struts meet. Behavior ranges from compliant to stiff depending on cell topology. | Open cells usually drain well. Thin struts can deflect during layer separation. Node regions may over-cure and grow if exposure is not tuned. |
| TPMS sheet lattices | Gyroid, Schwarz P, diamond | Continuous curved walls without discrete nodes, so load is spread more evenly. Often more consistent under repeated compression. | Walls separate two interconnected channels, so resin can drain, but the paths are long and winding. Thick walls with small cells can hold viscous resin for a long time. |
| Stochastic lattices | Voronoi-based networks | Closer to the irregular structure of foam. Can look and feel more organic. | Irregular cell sizes make cleaning and cure depth less predictable than with periodic cells. |
| Skin-plus-lattice hybrids | Lattice core inside a solid outer surface | The skin provides a closed surface for wear, appearance or sealing. | A closed skin traps resin. Drain and wash openings must be designed in, and the lattice behind them must still be reachable for cleaning and curing. |
None of these families is "best" in general. For a cushioning part the question is which cell type produces the required force-deflection response inside the available thickness, and whether that geometry can be cleaned out reliably with the chosen resin.
Lattice or foam: where the trade-off actually sits
Many lattice projects begin as foam replacements, so the comparison deserves a straight answer.
| Factor | Moulded or cut foam | Printed elastomer lattice |
|---|---|---|
| Property tuning | Usually one density per piece. Zoning means laminating or inserting separate pieces. | Stiffness can vary within one part through cell size, wall thickness or cell type. |
| Design changes | New tooling, moulds or cutting setups for shape changes. | Geometry changes are file changes. Each change still needs printing and testing. |
| Unit cost at high volume | Low once tooling is in place. | Higher, driven by print time, resin, cleaning and post-curing labour. |
| Airflow and drainage | Depends on open-cell or closed-cell foam type. | Open by design, which also helps ventilation in wearable parts. |
| Structure-to-structure consistency | Random cell structure, controlled statistically. | Repeatable geometry, provided the printing and post-processing process is controlled. |
| Validation burden | Established material data and test history. | Each new geometry and resin combination needs its own testing. |
Lattices make the most sense for customized products, low to medium volumes, parts that need several stiffness zones, and development programs where geometry changes weekly. For a footwear team, a printed lattice midsole can be used to compare cushioning concepts before committing to moulds. Whether the same lattice then becomes the production part depends on cost per pair, cycle time and durability results, not on the prototype alone. The design, printing and testing workflow for 3D printed shoes walks through that decision in more detail.
What makes a flexible lattice hard to print reliably
A lattice that looks clean in CAD can be difficult in a resin vat. Most failures trace back to five process interactions.
Uncured resin has to get out
Elastomer photopolymers are viscous. YIDIMU's elastomeric resin, for example, is specified at 2,500–3,000 cps at 25 °C, more than ten times the viscosity of its standard model resin. Viscous resin drains slowly from small cells and long TPMS channels. Any resin left inside will either wash out unevenly or cure later in place, adding material to struts and walls. The result is a part that is stiffer and heavier than designed, and stiffer in some regions than others. Fully closed cells cannot be cleaned at all and do not belong in a vat-printed lattice.
Small openings can close up
Light scattering and over-exposure make printed features grow slightly beyond their nominal size. On a solid part that is a small dimensional offset. In a fine lattice, the same growth can narrow or bridge the gaps between struts, which blocks drainage and changes stiffness. Exposure settings should be tuned on lattice coupons in the actual resin, not only on solid calibration blocks, and the minimum cell opening should come from those coupons rather than from a software default.
Soft struts move during layer separation
Each layer has to release from the vat film before the next one is exposed. A rigid part shrugs off that peel force. Thin elastomer struts bend under it, and small deflections repeated over hundreds of layers can show up as wavy struts, shifted cells or local delamination. Orientation, support placement, lift speed and the release behavior of the vat film all matter more for flexible lattices than for rigid ones. The common problems with flexible resin 3D printing page covers the related failure modes.
Temperature changes the resin's behavior
Viscosity and reactivity both shift with temperature. A resin that drains and cures one way in a warm room behaves differently in a cold one. For repeatable lattices, stable resin and chamber temperature is part of process control, not a comfort feature.
Post-curing has to reach inside
UV light does not penetrate a dense lattice evenly. Outer cells can end up fully cured while inner walls receive less light, leaving a stiffness gradient through the part. Washing has to be complete before curing, and cure time, part rotation and lattice density should be checked together. A lattice that is cured unevenly will not match the behavior of the test coupon it was designed from.
Design decisions to settle before the first print
Define the load case and target response. Specify the expected load, contact area and acceptable deflection range, then design toward a force-displacement window instead of a hardness value.
Choose the cell family for both mechanics and cleaning. Consider load direction, required plateau behavior and whether the chosen resin can be drained from that geometry at the planned cell size.
Derive minimum strut, wall and opening sizes from coupons. Print small lattice samples on the intended machine with the intended resin and settings, and set limits from what cleans and cures consistently.
Design drainage paths into any skin or closed surface. Place openings where resin can actually flow out with the part in its washing orientation.
Plan orientation and supports around strut deflection. Reduce long unsupported spans in the build direction and avoid orientations that place the largest lattice cross-sections at the moment of peak peel force.
Grade density gradually. Abrupt transitions between soft and firm zones concentrate strain at the boundary and tend to be where cracks start.
Plan post-processing access. Washing and curing equipment must be able to reach the interior of the lattice. If they cannot, simplify the geometry before printing more parts.
Validating a printed lattice: compression data, not appearance
A lattice that prints cleanly has passed only the first test. To compare designs, or to decide whether a lattice can replace foam, measure how it behaves under load.
Quasi-static compression. A force-displacement curve shows initial stiffness, the plateau region and the point where the cells collapse onto each other and stiffness rises sharply (densification). Compare these on the deflection range the product will actually see.
Hysteresis. Loading and unloading a lattice produces a loop. The area inside the loop represents energy dissipated in the cycle. Rebound, meaning how quickly the part recovers its shape, is a different measurement from energy return, and the two should not be reported as one value.
Cyclic compression. Repeated loading reveals permanent set, strut cracking and node failures. Material-level fatigue values from a resin datasheet do not predict lattice fatigue life, which depends on geometry, wall thickness, orientation and post-curing.
Environmental conditions. Elastomer stiffness changes with temperature. Exposure to UV, heat, sweat or cleaning agents may also change properties over time and should be tested for parts that will see those conditions.
Repeatability. Test several parts from different builds and platform positions. A single good part does not demonstrate a stable process. The approach in repeatability testing for industrial resin printers applies to lattice parts as well.
Foam test methods such as ASTM D3574 and ISO 3386 are often used as a starting point for lattice compression testing. They were written for cellular foams, so specimen size, preconditioning and the deflection points used should be adapted to the printed geometry and stated clearly when results are reported.
Where YIDIMU flexible systems fit
Lattice performance depends on the machine, the resin and the process together, so equipment selection belongs in the same discussion as geometry.
Flex G2 is a 14-inch LCD masked-exposure printer optimized for elastomer resins in the 50A–90A hardness range. Its 302 × 162 × 370 mm build volume suits insole and midsole lattices, protective pads, wearable components and soft robotic parts during development and small-batch work.
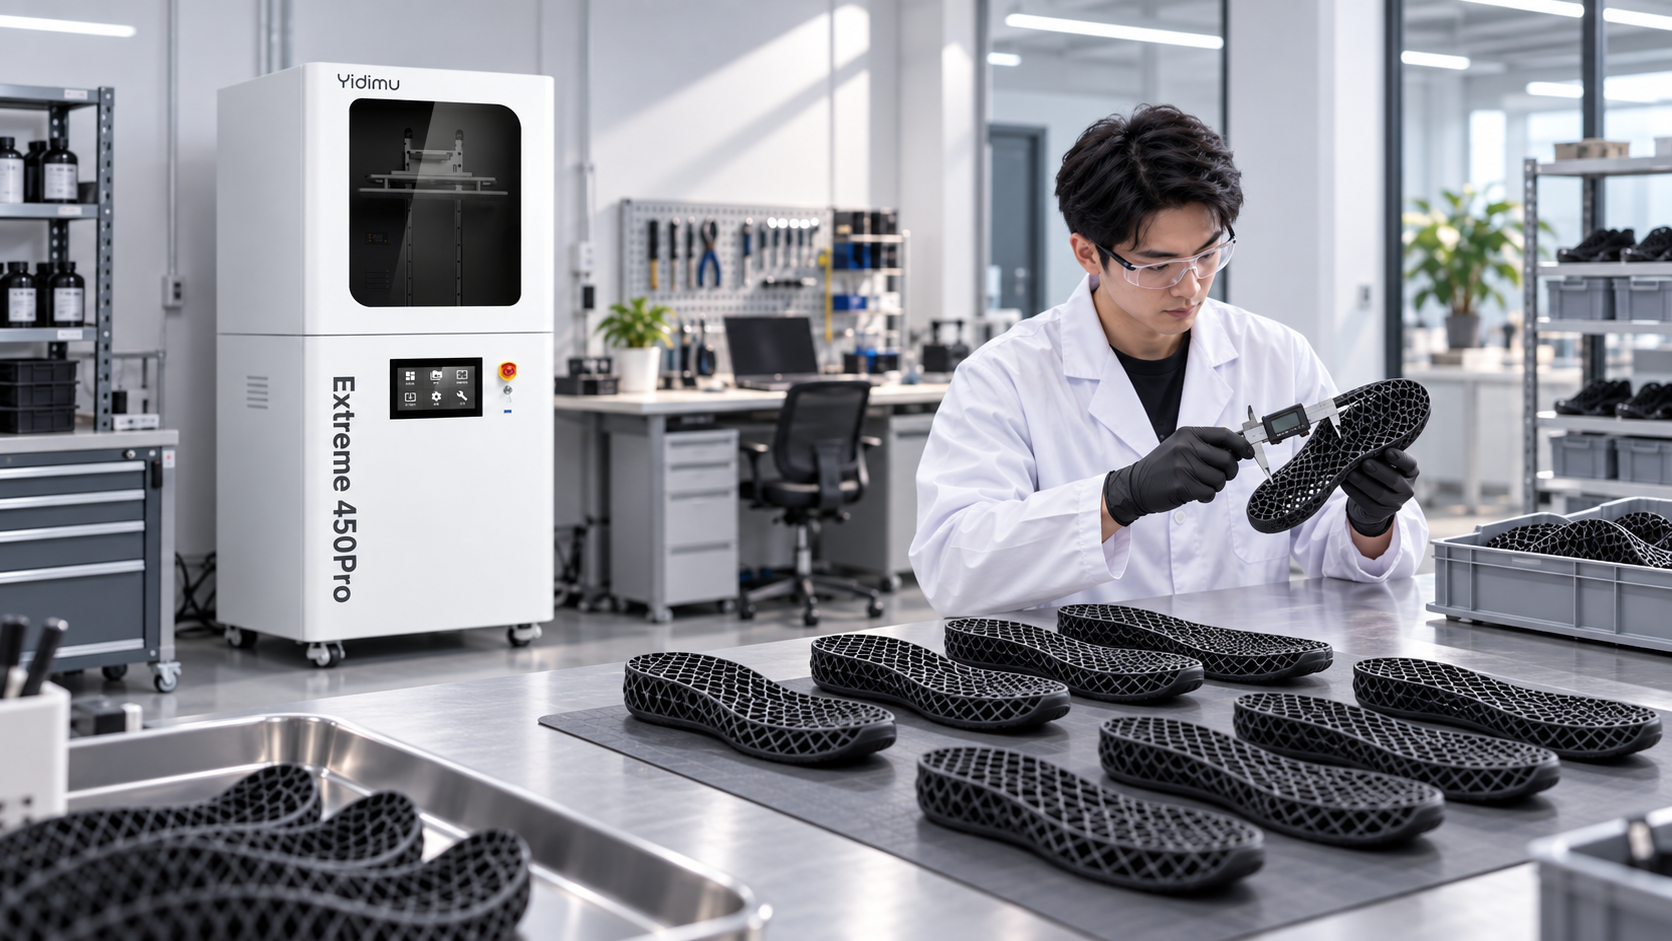
Extreme 450 Pro is a floor-standing, large-format elastomer system with a 450 × 253 mm build area, configurable build height of 400–600 mm, automatic chamber temperature control and a low release-force film. It addresses two of the process issues above, resin temperature and peel force, and suits larger lattice parts or more parts per build.
Neither specification sheet tells you how a particular lattice will compress, clean or age. The reliable way to find out is to print the actual geometry in the intended resin and test it. More background on material and machine choices is available in the guide to 3D printed elastomer parts and on the flexible resin 3D printer overview.
Questions engineers often ask
What is the strongest lattice structure for 3D printing?
For rigid, lightweight parts, stretch-dominated lattices such as the octet truss are generally the stiffest and strongest for their weight. For flexible cushioning parts, "strongest" is usually the wrong target. The goal is a controlled force-deflection response that survives repeated loading, which often favours bending-dominated or TPMS geometries.
How small can lattice cells be in resin printing?
There is no universal minimum. The limit depends on resin viscosity, exposure settings, layer orientation, wall thickness and how the part will be cleaned. Print coupons in the intended resin and set the smallest opening that drains and cures consistently, then add margin for production.
Do printed lattices last as long as foam?
It depends on the resin, the geometry and the loading, and it has to be tested. Some lattice designs resist permanent set better than comparable foams, while thin struts and sharp nodes can crack under repeated load. Cyclic compression testing on the final geometry and post-curing process is the only reliable answer.
If you are evaluating a lattice midsole, insole, protective pad or soft component, send us the geometry and target use. We can discuss resin choice, printability limits and sample printing before you commit to a design direction.
Discuss your lattice project