
Flexible Structures & Footwear
3D Printed Shoes: How They Are Designed, Printed and Tested
A working overview for footwear developers and manufacturing teams: how printed lattice footwear is defined, produced in elastomer materials, post-processed and evaluated before anyone talks about volume.
- Cushioning in 3D printed shoes comes from geometry and material together, not from material hardness alone.
- Printing is one step in a chain that also includes washing, complete drying and UV post-curing.
- Screen resolution and pixel size describe the exposure system, not the dimensional accuracy of a finished sole.
- Footwear decisions rest on repeat sample builds and standard mechanical tests, not on a single successful print.
Direct answer
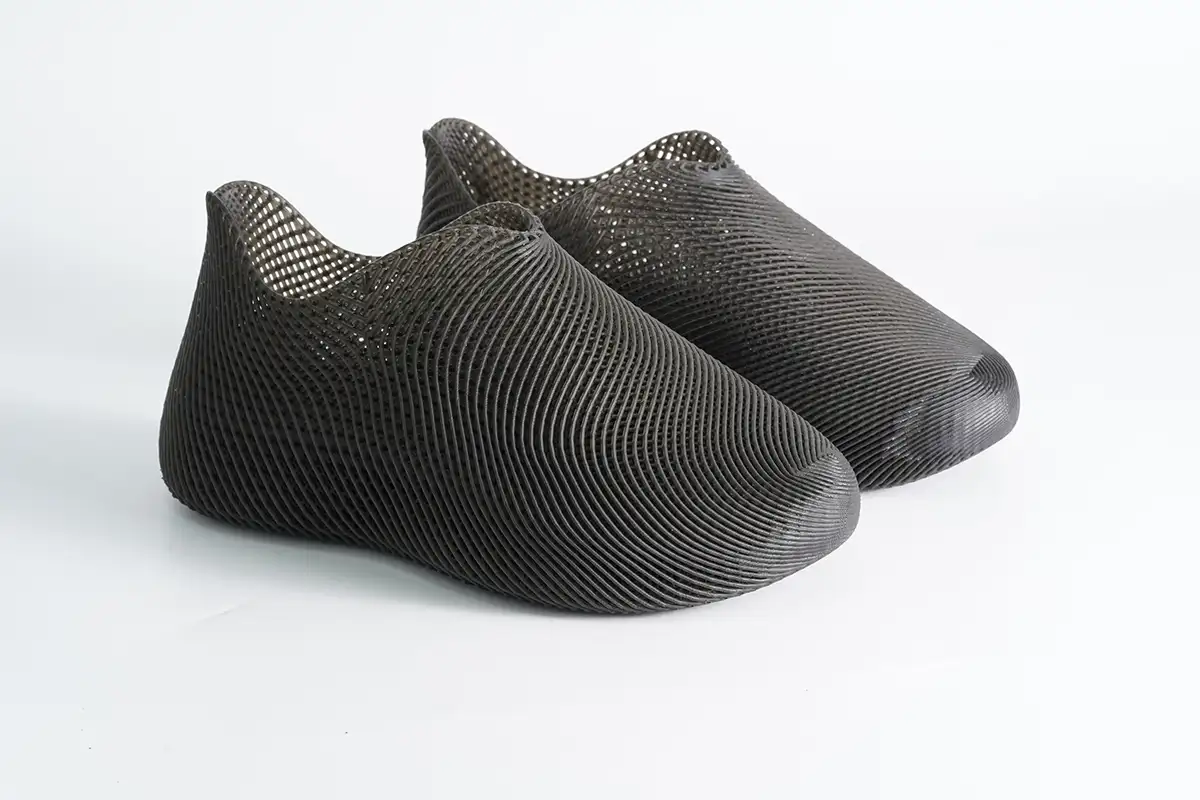
3D printed shoes are made by converting foot or last data into a zoned lattice structure, printing that structure in an elastomer material, then washing, drying and UV post-curing it before any measurement is taken. Cushioning behaviour is designed into the cell geometry — cell type, size, strut or wall thickness, and how those change between heel, midfoot and forefoot — and is then confirmed by mechanical testing rather than assumed from the material datasheet. Development teams normally work through insoles, midsoles or sole units first, because those parts carry the load and are the easiest to test against existing footwear test methods. Full single-piece footwear is a later step that adds fit, comfort and durability questions.
Key takeaways
- Two identical-looking lattice soles can behave very differently if cell size, wall thickness or print orientation changes.
- Elastomer parts change measurably between printing and full post-curing, so measure after the process is complete, not on a wet part.
- Hardness alone does not describe footwear performance; compression behaviour, rebound, set and flex durability matter more.
- Published brand or research figures describe those organisations' own materials and processes and are not YIDIMU performance commitments.
- A sample decision needs several copies from several builds, not one demonstration part.
Terms that get mixed up in footwear projects
Footwear development moves between design software, printing and a physical test lab, and the same words mean different things in each. Getting these separated early prevents specification arguments later.
| Term | What it actually describes | Common misuse |
|---|---|---|
| Resolution | The pixel count of the exposure screen | Treated as a statement about part accuracy |
| XY pixel size | The physical size of one pixel in the build plane | Quoted as the smallest printable feature or as tolerance |
| Layer height | The slice increment set in the job | Confused with Z-axis accuracy or surface quality |
| Accuracy | How close a measured value is to the nominal CAD value | Assumed from the specification sheet |
| Precision | How closely repeated measurements group together | Used interchangeably with accuracy |
| Repeatability | Variation under the same machine, operator, material and settings | Claimed after one build |
| Reproducibility | Variation when machine, operator, batch or site changes | Ignored until production is scaled |
| Tolerance | The allowed range you decide for a feature | Expected to be supplied by the printer maker |
| Deviation | The measured difference from nominal on one feature | Reported as a general machine capability |
Resolution is not accuracy. A finer exposure grid changes how small features are reproduced; it says nothing on its own about whether a 260 mm sole will come off the platform inside your dimensional limits.
How 3D printed shoes are designed
Start from load, not from a lattice library
The useful starting point is a description of what each region of the sole has to do: absorb heel impact, stay stable under the midfoot, allow flex at the forefoot, hold shape at the edges. Foot scans, pressure data or an existing last give the outer envelope. The lattice is then generated inside that envelope, with cell parameters varying by zone rather than applied uniformly.
Parameters that change behaviour
- Cell topology and cell size, which set how the structure buckles and recovers.
- Strut or wall thickness, usually the strongest single lever on stiffness.
- Zone transitions, where a sharp gradient becomes a stress concentration.
- Skin thickness where the lattice meets a bonding surface or an outsole layer.
- Material hardness range, chosen after the geometry is roughly defined rather than before.
Design for the process, not only for the simulation
Vat photopolymerization brings its own constraints. Closed cells trap uncured resin, so drainage paths matter. Large flat cross-sections increase peel forces during separation. Very thin struts may print but distort during washing and handling. Simulation is useful for ranking design variants, but it predicts a material model, not your specific printed and post-cured part — the correlation has to be established with real samples.
How 3D printed shoes are printed
Several processes are used in footwear: powder-bed fusion for some production soles, extrusion for TPU parts, and vat photopolymerization for elastomer resins. Vat photopolymerization is often called SLA in general conversation, but there is a difference worth stating: laser SLA traces each layer with a moving beam, while masked light-curing systems expose a whole layer at once through an LCD screen. YIDIMU's Flex G2 and the Eternal industrial machines use masked exposure, not a laser.
Job preparation
Orientation decides which surfaces carry support marks, how tall the build is, how the lattice drains and how peel forces are distributed. Supports must hold a soft part without denting it — an elastomer sole can print correctly and still be rejected because support removal deformed a visible edge. Nesting several soles per build is where practical output is won or lost; a footwear-scale part occupies a large share of the platform, so layout planning matters as much as speed.
Exposure and light behaviour
Layer-to-layer consistency depends on how uniformly the build area is exposed. Uneven exposure shows up in footwear as struts that differ in effective thickness across a single sole, which then shows up as a stiffness difference between the medial and lateral side. Our guide to resin 3D printer light uniformity covers how this is evaluated on a machine.
Post-processing is part of the part
Elastomer parts are washed to remove uncured resin, dried completely, then UV post-cured. Each step changes the result. A lattice that still holds solvent inside its cells will not cure evenly and will not measure the same a day later. Results are affected by equipment condition, resin type and batch, temperature, part geometry, orientation, supports, exposure, layer thickness, platform condition, washing, complete drying, UV post-curing and the measurement method used — which is why a footwear specification should record the whole process, not only the printer model. Handling, solvent choice and personal protection follow the TDS, SDS and any IFU supplied with the material.
How printed footwear parts are tested
Footwear already has an established test infrastructure, and printed parts can be evaluated with the same methods used for molded ones. Commonly referenced methods include ASTM F1976 and ASTM F1614 for impact attenuation of shoe cushioning systems, ISO 17707 and ISO 20344 for outsole flex resistance and cut growth, ISO 7743 or ASTM D575 for compression stress–strain, ISO 815 or ASTM D395 for compression set, and ASTM D2632 for rebound resilience. These are industry test methods, not YIDIMU performance claims, and the applicable standard depends on the product category and market.
A practical test order
- Dimensional check of the fully post-cured part against the CAD envelope and the critical fit features.
- Static compression on defined zones, to see the load–deflection curve rather than a single hardness number.
- Rebound and compression set, to separate "soft" from "recovers".
- Repeated compression or flex cycling, to see whether the structure holds its behaviour.
- Assembly and bonding checks, if the printed part joins an outsole, upper or insole.
- Wear trials last, once the bench results justify putting the part on a foot.
Zone definition template
| Zone | Function required | Cell type / size | Strut or wall thickness | Target hardness | Acceptance note |
|---|---|---|---|---|---|
| Heel | |||||
| Midfoot | |||||
| Forefoot | |||||
| Edge / skin |
Sample record template
| Sample ID | Build / position | Orientation | Layer thickness | Post-cure setting | Dimensional deviation | Compression result | Observation |
|---|---|---|---|---|---|---|---|
Reading the results
A single measurement tells you little. What the record above makes visible is the spread. If four soles from one build differ more than the tolerance you set, the issue is inside that build — platform position, exposure across the area, drainage or support strategy. If each build is tight internally but builds differ from each other, look at resin batch, temperature, tank condition or post-curing consistency. If parts drift over weeks, look at material storage, screen ageing and the drying step.
Separate the two questions that get merged: can this structure produce the mechanical response you want, and can the process produce that structure again next month? The first is a design result, the second is a manufacturing result, and a footwear programme needs both before it commits to volume.
Common mistakes
- Choosing material hardness first and treating the lattice as decoration.
- Measuring parts before complete drying and full post-curing, then blaming the printer for the drift.
- Comparing a printed sample against a molded foam benchmark without matching the test method.
- Judging a machine by pixel size when the deciding factors are platform layout, drainage and post-processing.
- Building a business case on one impressive sample rather than on accepted parts per week.
Limits and what still needs validating
Bench compression results do not predict comfort, and a lattice that performs well in a rig can still feel wrong under gait. Long-term behaviour — fatigue, set accumulation, response to heat, moisture and UV exposure in real use — has to be tested on the final material, geometry and post-cure process, not inferred from short trials. Regulatory or protective footwear categories add their own required methods. If printed parts are intended to replace a molded component, plan a comparison test in the same lab with the same protocol.
Cost and throughput belong in the same review. Platform utilisation, post-processing capacity, inspection time and reject rate decide whether printed footwear parts make sense beyond development; our guide to resin 3D printing for low-volume manufacturing works through that calculation, and resin 3D printing for appearance prototypes covers the separate case where the sample is for design review rather than mechanical testing.
Relevant YIDIMU systems
Flex G2
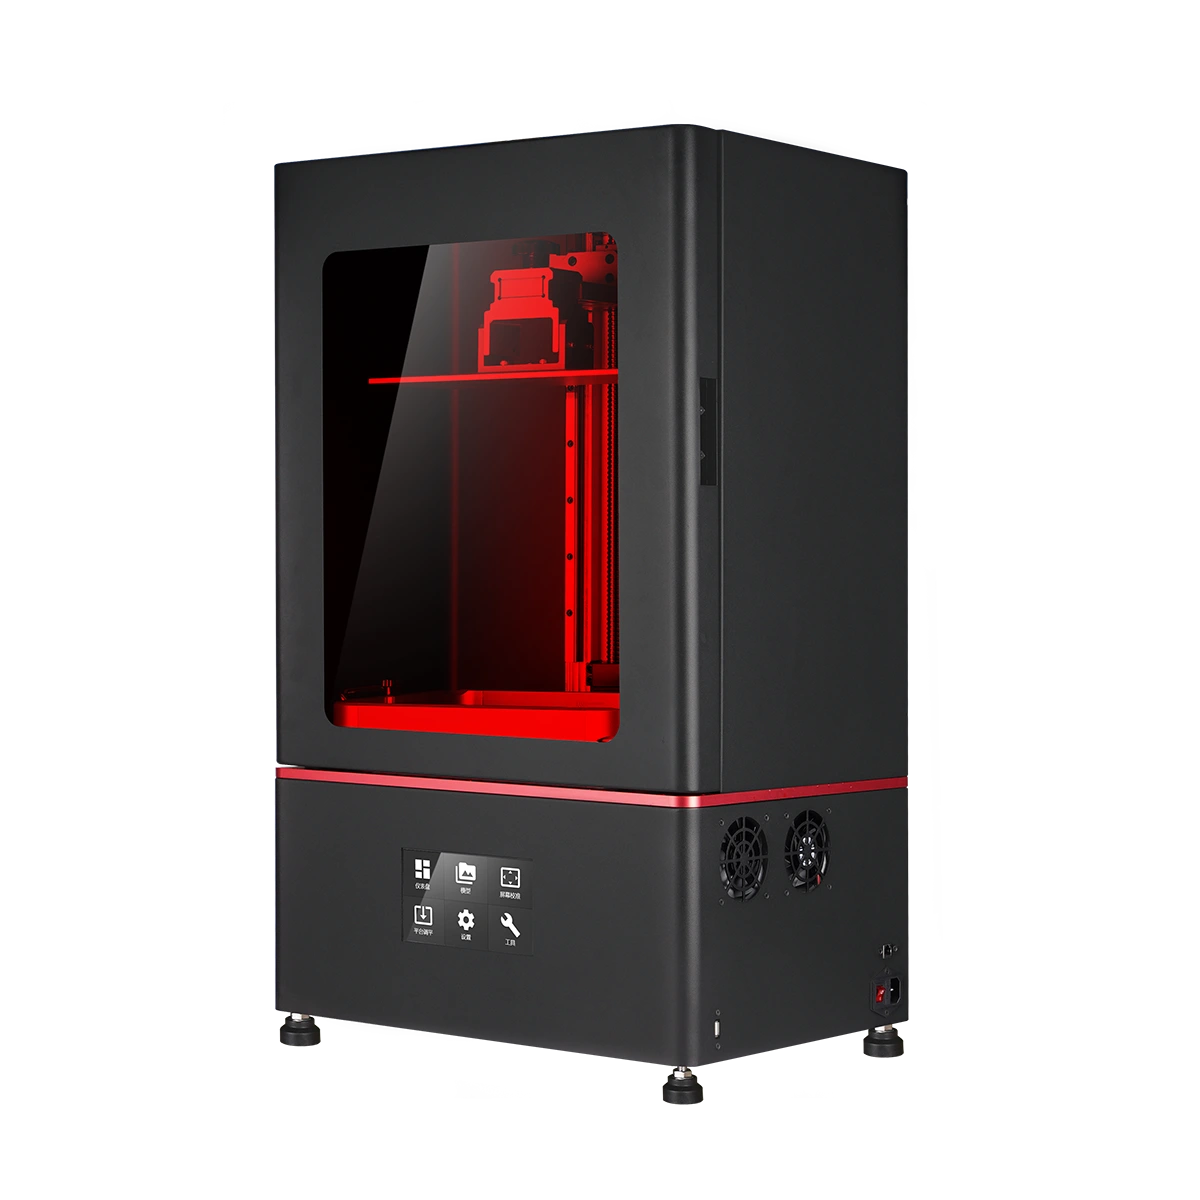
According to the supplied YIDIMU specification, Flex G2 is a 14-inch masked light-curing elastomer system with a 302 × 162 × 370 mm build volume, 15120 × 6230 exposure resolution, XY display precision of X 19 μm / Y 26 μm, layer thickness of 0.02–0.1 mm, a 405 nm UV wavelength and an elastomer hardness range of 50A–90A. The listed print speed is 65 mm/h and the operating temperature range is 15–40 °C. These are equipment specifications; they do not define the accuracy, repeatability or durability of a finished footwear part, which depend on the design and the full process.
The wider flexible and elastomer resin 3D printer range covers lattice, cushioning and soft-component work at different build sizes. Material selection should follow the resin documentation and be confirmed with representative samples.
Checklist before committing to a footwear structure
- Zone functions written down before lattice parameters are chosen.
- Drainage and support strategy reviewed on the actual geometry.
- Tolerances defined by you, on named features, with a stated measurement method.
- Washing, drying and post-curing parameters recorded as part of the specification.
- At least three copies per build and at least three builds before drawing conclusions.
- Test methods selected and agreed with the lab before samples are printed.
- Comparison benchmark defined, whether that is a molded part or a previous printed version.
FAQ
Are 3D printed shoes only for prototypes?
No. Printed insoles, midsoles and single-piece footwear have reached retail through several brands. For most development teams, however, the practical entry point remains prototyping and small series, because the economics depend on part size, build layout and post-processing capacity rather than on printing time alone.
What material is used for printed footwear on a resin system?
Elastomer photopolymers, selected by target hardness and by the mechanical response required in each zone. Handling, cure and storage conditions follow the corresponding TDS and SDS. Suitability for a specific product should be confirmed with samples of the real geometry.
Can a specification sheet tell me the tolerance I will achieve?
It cannot. Build volume, pixel size and printing speed describe the machine. Achievable tolerance on a sole depends on the design, orientation, supports, material, post-processing and how the dimension is measured, and has to be established by testing your own part.
How many samples are needed before a decision?
Enough to see variation rather than a result: several copies within one build, at different platform positions, repeated across separate builds, all measured after full post-curing. The exact number depends on the tolerance you have set and on how much variation your application can absorb.
Do printed lattices replace foam?
Sometimes, and only where the printed structure meets the same test requirements. A lattice offers zoned tuning and geometric freedom that molding cannot easily reach; molded foam still has advantages in cost per part at scale and in established long-term performance data. The honest answer for a given product comes from a like-for-like test.
Discuss a footwear project
If you are evaluating printed lattice footwear parts, send the CAD or STL file together with part dimensions, the application, critical features, the tolerances you need, target material and hardness, quantity, and your surface and inspection requirements. YIDIMU can review the geometry, material and process route against that information and advise on what would need to be tested.