
Accuracy Requirements for Full-Arch Dental Models
There is no single tolerance that every printed full-arch dental model has to meet. The accuracy requirement depends on what the model is used for. In the studies collected by a 2020 systematic review of printed full-arch models, orthodontic work generally accepted deviations of up to about 500 µm, while prosthodontic work accepted up to about 200 µm. Fixed restorations and multi-unit implant cases sit tighter still, because the finished restoration or framework has its own fit limits and the model is only one source of error. For a lab, the useful requirement is a set of measured limits per indication, checked across the whole arch, on finished models, at the time they are actually used.
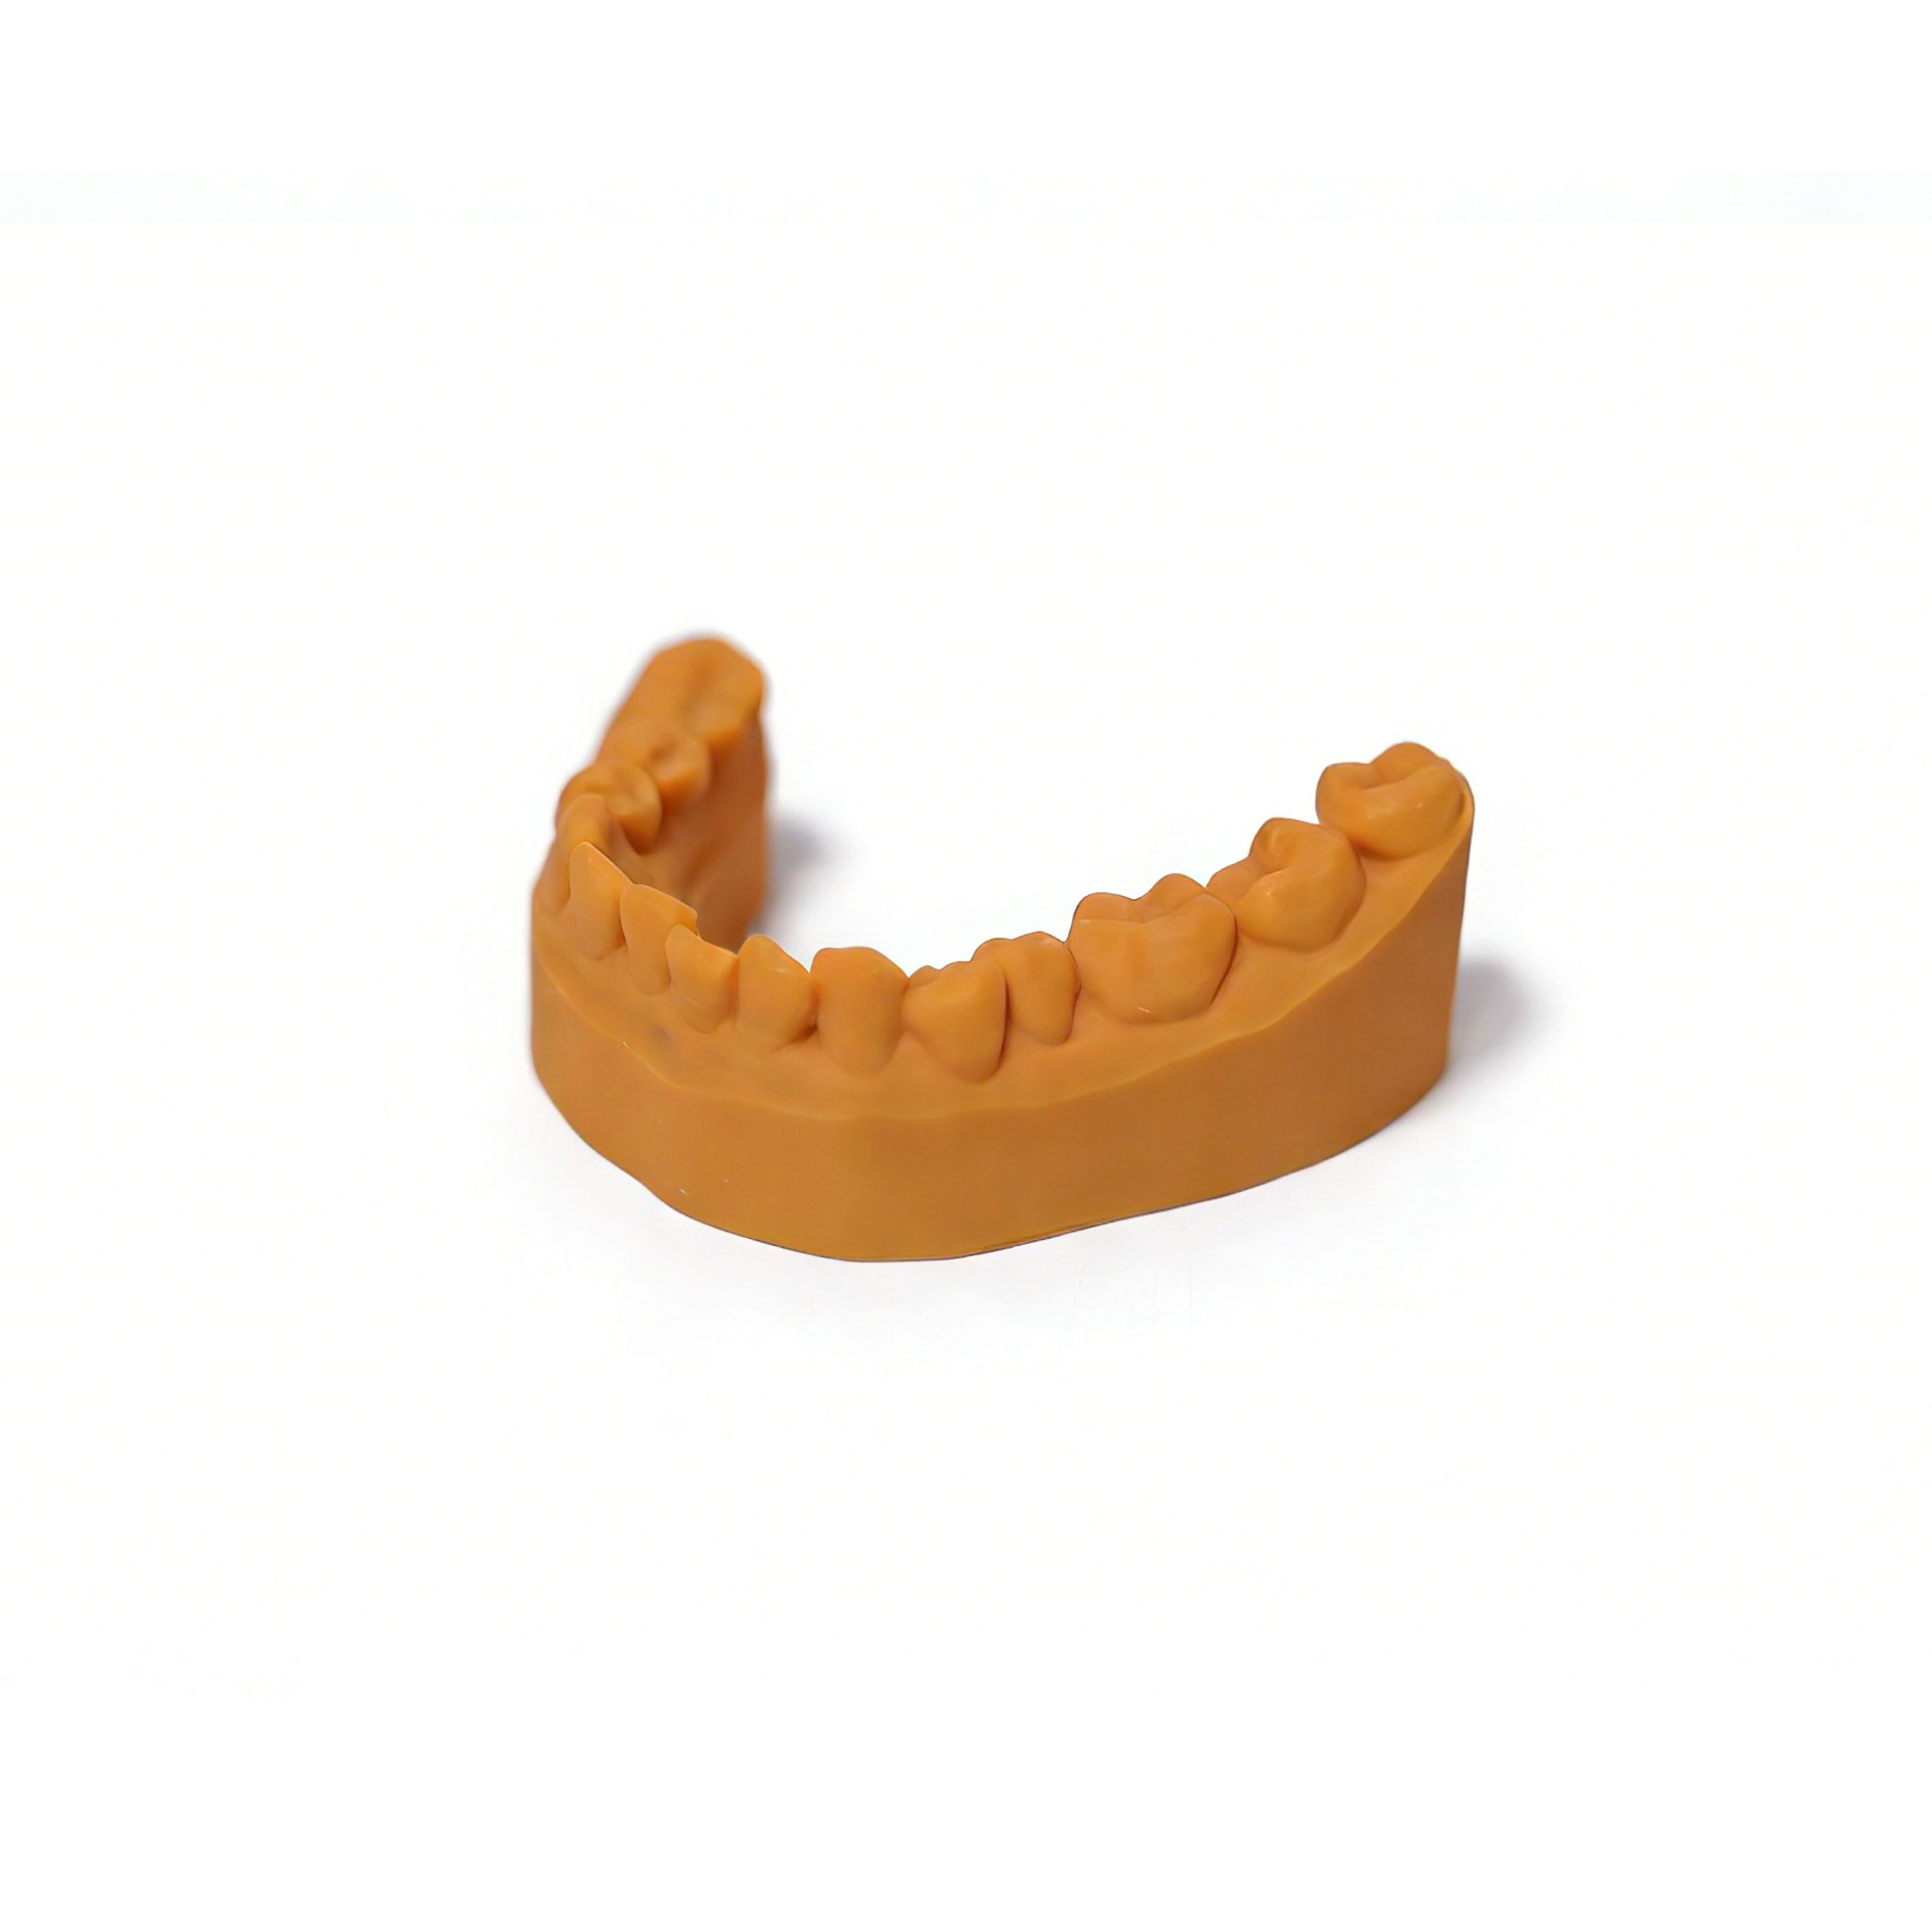
Why one tolerance does not fit every full-arch model
A diagnostic study model and an implant master model can look identical on the bench. What differs is how much error the next step can absorb. A study model supports measurements and treatment planning; a deviation of a few tenths of a millimetre rarely changes a decision. A model used to fit a screw-retained bar across four or more implants has almost no room at all, because any error in analog position is transferred directly into the framework.
Gypsum gives a useful reference point. ISO 6873 limits the setting expansion of Type 4 die stone to 0.15%. Across a full arch of roughly 60 to 70 mm, that allows on the order of 0.1 mm of change from expansion alone, before impression error is counted. Labs that move from stone to printed models often use this as an informal benchmark, which is reasonable as long as the comparison is made on the same dimensions and under the same measurement method.
Accuracy requirements by indication
The table below groups the common uses of full-arch models by how much deviation they can tolerate. The literature values are thresholds that published studies used to judge clinical acceptability. They are reference points for setting your own limits, not specifications to copy.
| Model use | What has to be accurate | Published reference points | Relative strictness |
|---|---|---|---|
| Diagnostic, study and documentation models | Tooth size, arch form, overall arch dimensions | Orthodontic studies commonly accept up to about 500 µm; some earlier studies used about 300 µm | Lowest |
| Clear aligner thermoforming models | Crown surfaces, attachments, interproximal areas, arch form; the model must also hold its shape under forming heat and pressure | No widely used single value; limits usually come from the lab's own aligner fit checks | Low to moderate, with tighter local requirements on crowns and attachments |
| Crown and bridge working models with dies | Margins, contact areas, die seating, occlusal relationships, abutment-to-abutment distance on bridges | Prosthodontic studies accept up to about 200 µm overall; a 120 µm marginal gap is a long-standing benchmark for the finished restoration | Moderate to high |
| Multi-unit and full-arch implant models | Analog position and angulation, inter-analog distances across the arch | Published limits for acceptable implant framework misfit range from roughly 59 to 150 µm | Highest |
| Articulator-mounted models | Posterior arch width and occlusal plane after mounting, not only after printing | Depends on the restoration being made on the mounted models | Follows the indication |
Two of these rows deserve a closer look. For crown and bridge work, the 120 µm figure applies to the gap between the finished restoration and the tooth, not to the model. The model can only use part of that allowance, because scanning, design, milling or printing of the restoration, and cementation all take their share. For implant work, the framework misfit limits are similar in size to the deviations some printed models show across the arch, which is why many labs verify implant models individually rather than relying on a general process check.
What makes full-arch accuracy harder than local detail
A model can reproduce margins and fissures sharply and still be wrong across the arch. Local detail depends mainly on how finely each layer is imaged and on resin behaviour at edges. Cross-arch accuracy depends on how the whole part shrinks, bends and settles from the moment it is printed until it is used.
Shrinkage accumulates over length
Photopolymer resins shrink as they cure, both on the printer and during post-curing. On a small die the absolute change is small. Across a horseshoe that spans second molar to second molar, the same percentage becomes a measurable change in intermolar width. The systematic review cited above notes that horseshoe-shaped models contracted transversally during post-curing in one study, reducing accuracy in the posterior region, and that a connecting bar across the posterior arch was suggested to prevent it.
Base design changes the result
Hollowing saves resin and print time, but a thin shell has less resistance to warping. A 2026 in vitro study in the Journal of Dentistry compared hollow maxillary models with 1 mm and 4 mm shells, with and without a cross-arch bar. The thin shell without a bar showed by far the largest deviations, both after printing and after the model was filled with plaster for mounting. Thicker shells with a bar performed best. If a model is going onto an articulator, its design has to survive mounting as well as printing.
Time and storage
Printed models can keep changing after post-curing. Studies on storage have reported measurable dimensional change over periods of a few weeks for some model types and resins, while other models stayed stable. A model that measures well on the day it is cured may not be the model that reaches the bench three weeks later. Turnaround times and remakes should be considered when you decide when to measure.
Orientation, support placement, exposure settings and position on the build platform add to all of this. Our article on how print orientation affects dental model accuracy covers the orientation side in more detail, and dental model dimensional accuracy after curing looks at the post-curing stage.
The printed model is one link in an error budget
When a crown or framework does not fit, the cause can sit anywhere in the digital chain:
Intraoral or model scan
Design and model generation
Printing
Washing and drying
Post-curing
Storage
Mounting or use
Each step uses part of the allowance set by the final restoration or appliance. Full-arch intraoral scans have their own cross-arch error, and it adds to whatever the printer and post-processing introduce. Setting the model tolerance equal to the clinical threshold leaves nothing for the other steps. A more workable approach is to decide how much of the total allowance the model may consume, then hold the printing workflow to that share.
How to measure full-arch model accuracy
Accuracy figures for dental models are only comparable when you know how they were measured. Three points matter most.
Trueness and precision are different questions
Following the ISO 5725 terminology widely used in dental research, trueness describes how close the printed model is to the reference file, and precision describes how close repeated prints are to each other. A process can be highly precise and consistently wrong, for example when every model contracts by the same amount across the molars. Both need to be checked.
Global averages can hide cross-arch error
A common method scans the printed model, aligns it to the design file with a best-fit algorithm and reports an average or root mean square deviation. Best-fit alignment distributes error over the whole surface, so a model that is slightly narrow across the molars can still return a small average. The systematic review gives an example where the same printer showed about 114 µm by full-arch superimposition but 190 µm when intermolar width was measured directly. For full-arch requirements, combine colour deviation maps with linear measurements:
intermolar and intercanine width
arch depth or arch length
distances between abutments, or between implant analogs, across the arch
die or analog seating, checked physically where the indication requires it
The measuring device needs margin
The scanner or measuring instrument should have known accuracy well below the limit you are checking. If you are trying to confirm a 100 µm limit with a device whose own uncertainty is a large fraction of that, the result says more about the device than the model.
Setting acceptance criteria in your lab
A practical sequence for turning the reference values above into limits your technicians can check:
List your indications. Separate study models, aligner models, crown and bridge models and implant models. Each gets its own requirement.
Choose the critical dimensions for each. For an aligner model, that might be arch form and crown surfaces. For an implant model, inter-analog distances and analog seating.
Derive limits from the downstream fit. Start from what the restoration or appliance must achieve, subtract an allowance for scanning and design, and assign the rest to the model.
Lock the workflow. Fix resin, exposure profile, layer height, orientation, support strategy, base design, washing, drying and post-curing. A limit only means something for the workflow it was validated on.
Print representative cases repeatedly. Use your own scans, several builds and different positions on the platform, including near the edges.
Measure finished models at the time of use. Measure after full post-processing, and again at the storage interval that matches your turnaround.
Re-check after changes. A new resin batch, LCD screen, release film or curing unit is a reason to repeat a reduced version of the check.
Our guide to the dental model washing and curing workflow covers the post-processing steps that most often move results between runs.
What printer specifications can and cannot tell you
XY pixel size describes how finely each layer image is formed. It affects edge definition and fine surface detail. It does not establish the cross-arch accuracy of a finished, washed and cured model, which is why a 14K printer is not automatically more accurate than an 8K printer for full-arch work. Layer height describes Z-axis step size, not Z-axis accuracy.
When comparing dental printers for full-arch models, the more useful questions are about the workflow: how consistent exposure is across the platform, whether exposure profiles can be locked, which wash and cure settings have been established with the resin, and how models printed at the edge of the build area compare with those printed in the centre.
YIDIMU's dental printers, Eternal Y8 (10.3-inch 8K, 29.7 µm XY pixel size) and Eternal D1 (10.1-inch 14K, 16.8 × 24.8 µm XY pixel size), both use LCD masked exposure. Their pixel sizes tell you about layer image detail. Whether models from either printer meet your full-arch requirements is something to confirm on your own cases, measured with the method you will use in production.
Test your own cases: send YIDIMU several representative full-arch scans, the indication for each and the dimensions you need to hold. We will print them on Eternal Y8 or Eternal D1 through the full washing and curing chain so you can measure them against your own acceptance criteria. Submit your models here.