
Validated Dental 3D Printing Workflow: A Lab Guide
A validated dental 3D printing workflow is a fixed chain of file preparation, printer, resin, washing, drying and post-curing, run with locked settings and shown with recorded evidence to produce parts that meet defined acceptance criteria. A resin supplier's "validated" label usually covers the material and equipment combination and its processing settings. Whether your models and appliances actually fit is something the lab still has to demonstrate on its own cases, printers and operators.
This guide applies the logic of manufacturing process validation (defined inputs, acceptance criteria set in advance, documented results) to dental models and resin appliances printed on masked-LCD (MSLA) printers. Regulatory obligations differ by country, so for patient-contact devices the resin's instructions for use (IFU) and your local regulator have the final word.
What a supplier's "validated workflow" actually covers
When a resin maker calls a printer, wash unit and curing unit "validated," it usually means its team printed the resin on that combination with specified settings and checked the results against its own test methods. That work has real value. It tells you the resin cures properly under that light source, that the wash recipe removes uncured resin without attacking the part, and that the cure program reaches the properties on the data sheet.
It doesn't tell you that your die models will seat dies correctly, that aligner models from the corner of the platform match those printed in the middle, or that results hold when the wash bath is four days old. Those outcomes depend on your files, your platform loading and your housekeeping.
| Workflow element | Usually fixed by supplier validation | Still the lab's job to prove |
|---|---|---|
| Resin and printer pairing | Light-source compatibility, exposure per layer height | Resin storage, mixing routine, vat temperature in your room |
| Build preparation | Sometimes a reference slicer profile | Orientation, supports, hollowing and nesting density for your case mix |
| Washing | Solvent type, time, agitation | Solvent change interval at your volume |
| Drying | Sometimes a minimum dry time | Confirming parts are solvent-free before they go into the cure unit |
| Post-curing | Unit, program, time and temperature | Part spacing in the chamber, lamp condition, unit maintenance |
| Inspection | The supplier's own test specimens | Measurement method, timing and pass limits for each indication |
Supplier validation and lab validation answer different questions
Supplier validation answers one question: can this combination process this material correctly? Lab validation answers another: does our process, run the way we run it, deliver parts that meet our requirements every time? In medical-device manufacturing the second idea is formal process validation. Where output can't be fully verified by inspection, the process itself has to be proven, and the FDA's guidance on technical considerations for additive manufactured medical devices extends that to parts within one build, across builds and across machines.
Most dental models can be checked directly. You can seat a die, scan an arch or confirm an aligner trim line. That makes a full formal study optional for many model workflows, but it doesn't make checking optional. A lab that inspects every model is verifying. A lab that inspects a sample is relying on validation, whether or not it uses the word.
If you need the production sequence itself rather than how to prove it, see our dental model 3D printing workflow guide.
Lock the chain before you test it
Validation only means something against a frozen process. Write down every setting that could move the result, then stop changing them for the duration of the study:
Design export: file format and mesh resolution from the design software
Slicer version, resin profile, layer height and exposure settings
Orientation and support templates for each indication
Platform load range: the fewest and most cases you put on one build
Printer ID, LCD screen and release film condition
Resin lot, storage conditions and vat temperature
Wash solvent, time, agitation and change interval
Drying method and minimum drying time
Cure unit, program and part spacing
How long parts sit before they're measured
Washing and drying deserve their own written settings. A bath that works on Monday can leave models tacky by Thursday once it's carried enough resin, and a model that goes into the cure unit still wet with solvent won't cure the same way as a dry one. Our dental model washing and curing workflow covers those steps in detail.
The last item on the list catches more labs than it should. A long-span arch measured an hour after curing and the same arch measured the next morning aren't the same comparison. Pick one timing and keep it, for the reasons explained in dental model dimensional accuracy after curing.

How to validate a dental printing workflow in your lab
The sequence below borrows the installation, operational and performance qualification structure used in regulated manufacturing and scales it to a dental lab.
Define the indication and its critical features. A study model, a die model, an aligner model and a surgical guide fail in different places. For a die model it's die seating and contact areas. For an aligner model it's arch form and the region the trim line follows. For a guide it's how the guide seats on its model.
Set acceptance criteria before printing. Decide what passes, such as a deviation limit on a scan-to-design comparison, die seating by feel, or guide fit on the master model, and how many parts must pass. Criteria written after the results come in tend to drift toward the results.
Confirm the installation. Printer level, platform calibrated, screen exposure uniformity checked by the method the printer manufacturer supports, and room conditions inside the range the printer and resin specify.
Challenge the operating window. Print at the extremes you'll really use: a nearly empty platform and a full one, cases in the center and at the edges and corners, the oldest wash bath you'd accept. Edge parts that fail give you a placement rule, not a failed study. Orientation belongs here too, as covered in does print orientation affect dental model accuracy.
Run a performance study under normal variation. Several days, more than one operator, more than one resin lot if you can get them, and real cases rather than test blocks.
Record and release. Keep the settings sheet, the raw measurements and the decision. That record is what lets you show later whether a change moved the result.
Treat the measurement method as part of the process. A scan-to-design comparison depends on scanner accuracy and on how the two files are aligned. A global best-fit alignment can spread a twisted arch into small errors everywhere, while an alignment on defined reference areas shows the twist. Whichever you choose, keep it fixed the same way you keep print settings fixed.
Changes that put you back into validation
A workflow stays validated only while the chain stays the same. Not every change needs a full repeat. Many need a short verification run on a reference set of cases, and the right response should come from a documented look at the risk the change introduces.
| Change | Reasonable response |
|---|---|
| New lot of the same resin | Print and check a reference case set before releasing the lot |
| Different resin or resin supplier | Repeat the validation |
| Slicer or firmware update | Verification run; full repeat if exposure or support behavior changed |
| LCD screen or release film replaced | Verification run that includes edge and corner positions |
| New wash solvent, cure unit or cure program | Repeat the validation |
| Printer moved to another room | Verification run, with attention to room and resin temperature |
| More cases per build than were validated | Extend the study to the new platform load |
| New indication, such as moving from models to guides | Separate validation for that indication |
Patient-contact appliances raise the bar
For surgical guides, splints and temporary restorations, the resin's IFU describes the processing that its safety and performance data depend on. Short washing or incomplete curing can leave uncured material on or inside the part. Overly long solvent exposure can soften or distort it. Treat the IFU's wash and cure settings as requirements, not as a starting point to tune.
If the printer, washer or cure unit you plan to use isn't covered by the resin's documentation, the lab needs its own evidence before relying on that combination. Whether a lab-made appliance also needs registration, a quality system or specific records depends on local regulations, so check those before printing devices for patients.
What to ask before choosing a dental printer
The equipment decision is easier when you treat the printer as one part of the chain you'll have to validate:
Which resins has the printer been run with, and on what exact settings? Ask for the settings sheet, not a list of brand names.
Which wash and cure equipment and programs go with each of those resins?
Can exposure profiles be locked so settings don't drift between operators?
How should screen exposure uniformity be checked, and how often?
What has to be re-checked after a screen or release film replacement?
Can the supplier print your own representative cases through the full chain of washing, drying and curing before you buy?
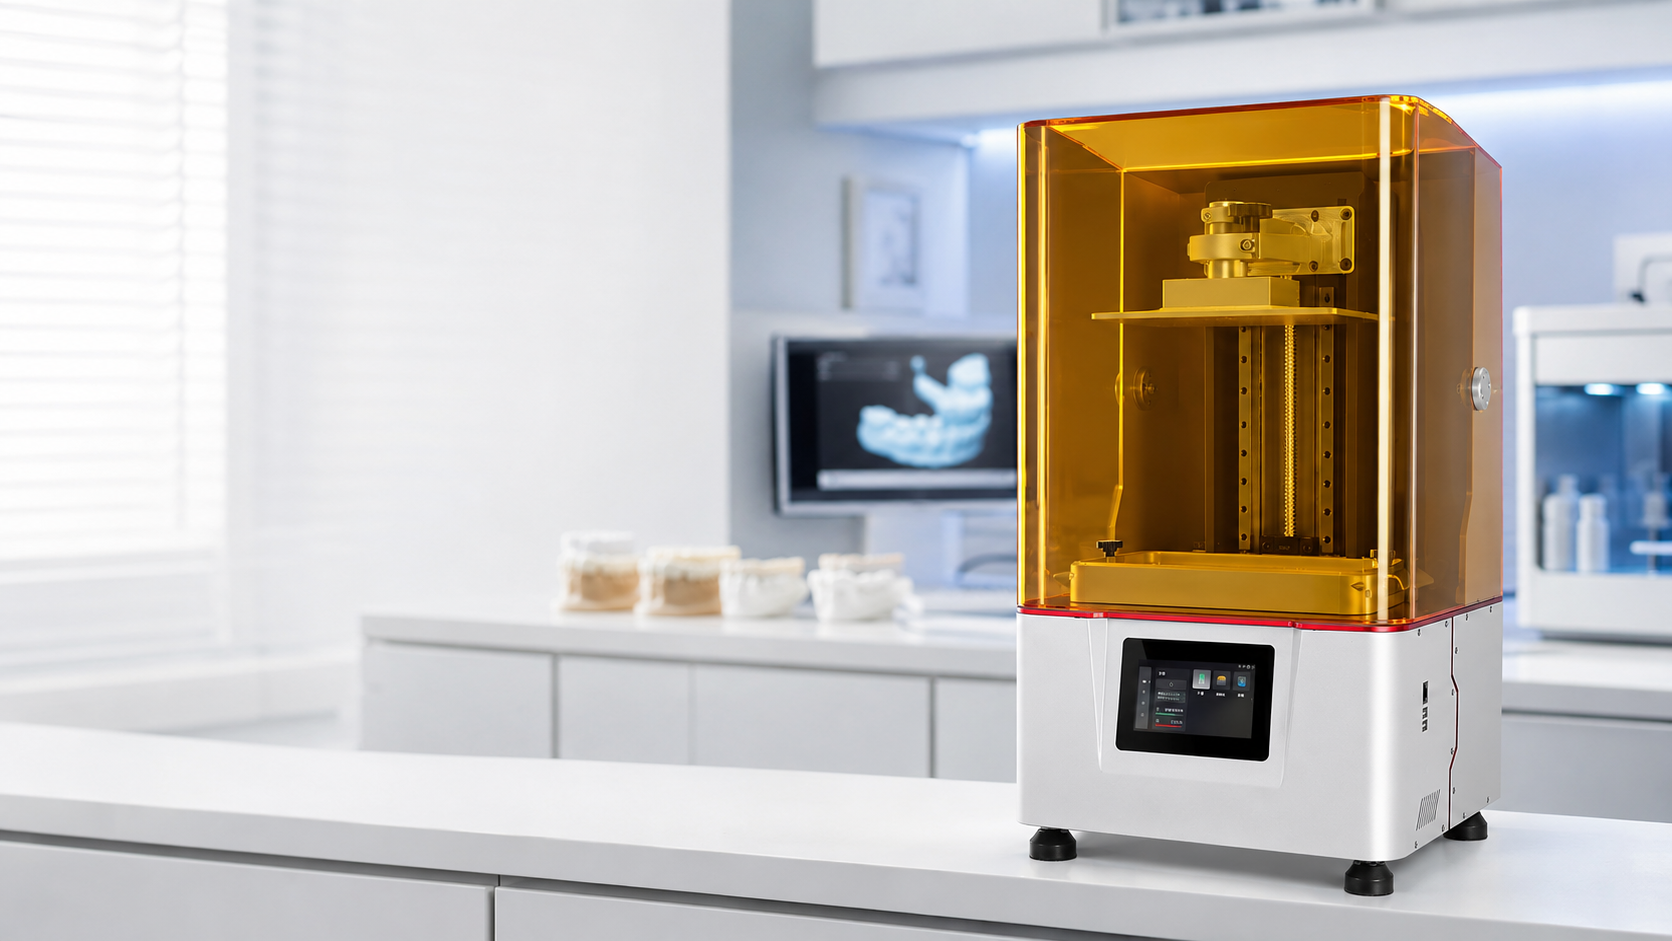
YIDIMU's dental printers, Eternal Y8 (10.3-inch, 8K) and Eternal D1 (10.1-inch, 14K), both use LCD masked exposure. Screen resolution and pixel size describe how finely each layer image is formed. They don't establish that a finished model meets your tolerance, which is why the evaluation worth running on either printer is the one in this guide: your cases, your wash and cure, measured your way.
Next step: send YIDIMU three to five representative cases, the indication for each and what you count as a pass. We'll print them through the full washing and curing chain on Eternal Y8 or Eternal D1 so you can check the results against your own acceptance criteria.