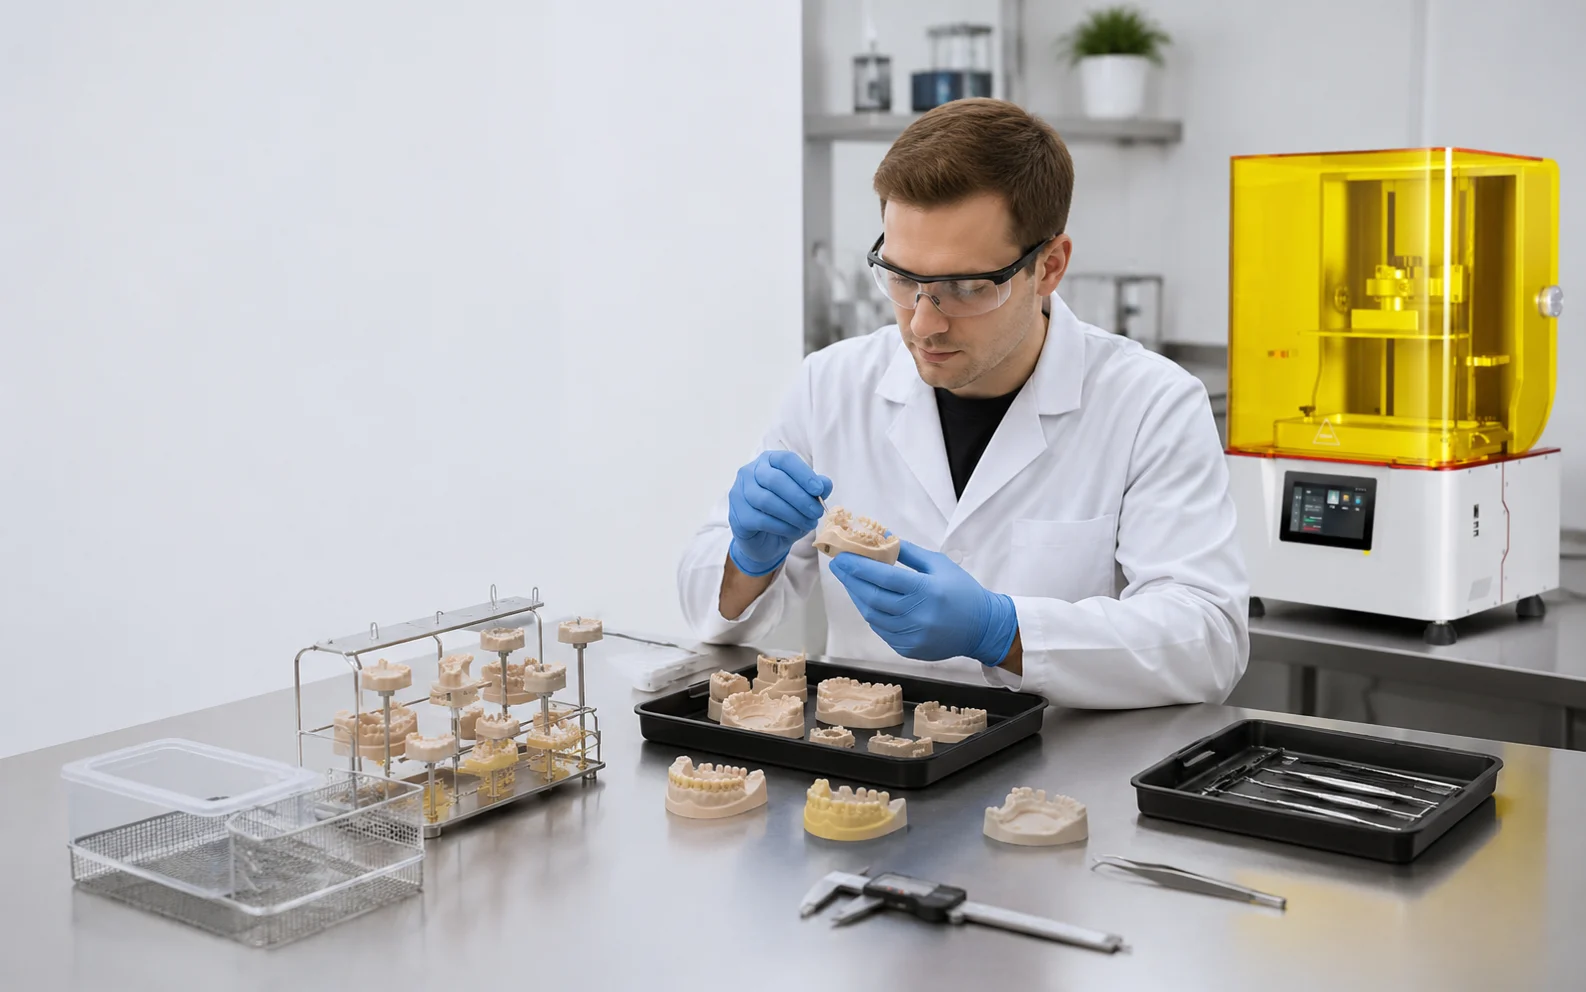
Dental model washing and curing workflow in a clean resin 3D printing laboratory

Dental Resin Printing Workflow

Dental Model Washing and Curing Workflow

A controlled post-processing sequence for resin dental models: remove the print safely, wash away uncured surface resin, dry and inspect completely, UV post-cure with material-specific conditions, finish the model, and judge dimensions only after the full workflow is complete.

  • Wash by resin instructions
  • Dry before UV curing
  • Control contamination
  • Inspect the finished model

What is the correct dental model washing and curing workflow?

For a resin-printed dental model, treat post-processing as a controlled manufacturing stage rather than a cleanup task. A practical sequence is: safe part removal, drainage, washing with the cleaning medium specified for the resin, complete drying and visual inspection, material-specific UV post-curing, support removal or finishing at the validated stage, and final dimensional or fit inspection. There is no universal wash time or cure time that applies to every dental resin. The cleaning liquid, wash method, drying condition, curing wavelength, curing time, temperature, part orientation and support-removal sequence should come from the current material instructions and the validated workflow for the intended model.

Five controls matter more than a single “wash and cure time”

Material instructions come first

Use the cleaning medium, process limits and post-curing conditions specified for the exact resin and intended application.

Cleanliness is observable

Look for wet, glossy, sticky or contaminated regions, especially around anatomy, recesses, holes and support contact areas.

Drying is a separate step

Do not treat “removed from the wash” as “ready to cure.” Cleaning liquid should be fully removed before the validated curing stage.

Post-curing is material-specific

More UV exposure is not automatically better. The correct wavelength, time, temperature and part position depend on the material process.

Inspect after full post-processing

Dimensions and fit should be evaluated on the completely washed, dried, cured and finished model, not on the fresh print.

Clinical use needs another level of control

Patient-contact parts require application-specific materials, documentation and validated processing; a model-resin workflow cannot be transferred automatically.

From printed platform to evaluated dental model

For production control, record the complete post-processing sequence. The exact support-removal point can vary by resin, model geometry and validated procedure, so the sequence below treats that step as conditional rather than universal.

Remove safely

Handle the platform and uncured print with appropriate PPE. Avoid bending thin model regions or damaging critical anatomy during removal.

Drain excess resin

Allow excess material to leave exposed surfaces and recesses without contaminating clean work areas or finished parts.

Wash

Use the resin-specified cleaning medium and method. Give attention to support junctions, deep recesses, holes and internal features.

Dry completely

Remove cleaning liquid from all visible and hidden surfaces. Do not move forward while the model still appears wet or locally contaminated.

Inspect before curing

Check for residue, tacky regions, trapped liquid, damaged edges and areas that may need a controlled rewash.

UV post-cure

Use the material-specific curing procedure and compatible equipment. Control wavelength, exposure, temperature and part placement as required.

Finish the model

Remove supports, trim contact points or complete other finishing at the stage specified by the process, protecting critical surfaces.

Final inspection

Evaluate the finished model for dimensions, fit, surface quality, defects and application-specific acceptance criteria.

Process-control rule: if the laboratory changes resin, printer, layer settings, orientation, washing medium, curing equipment or other major process conditions, do not assume the previous finished-model result remains valid. Recheck representative models.

Washing should remove uncured resin without turning cleaning into another source of variation

Match the cleaning medium to the resin

Some resin workflows specify alcohol or another solvent, while water-washable materials use a different cleaning approach. The material documentation should define what is acceptable. A label such as “water-washable” does not remove the need to control contaminated wash liquid and waste.

Control wash-liquid condition

A heavily contaminated bath can redeposit dissolved resin on the model. Production teams should define when the cleaning liquid is considered usable, when a cleaner rinse is required and how separate baths are managed.

Design around difficult geometry

Deep anatomy, hollow areas, drainage openings, embossed identification, support forests and narrow spaces can retain resin or cleaning liquid. These regions deserve targeted inspection rather than relying only on a timer.

Avoid assuming that longer is safer

Excessive or unsuitable washing can affect the surface or dimensions of some resin parts. The correct cycle is the one validated for the selected resin, equipment, geometry and quality requirement.

What should a washed model look like?

After the cleaning stage, the surface should not show obvious pools of resin, local sticky areas or residue that will be locked into the part during curing. Inspect the occlusal anatomy, margin areas, undersides, support contacts and any holes or recesses under clear lighting. When a part still shows suspicious wet or glossy contamination after the initial wash, treat that as a process signal rather than automatically moving to curing.

Why complete drying matters before UV post-curing

The end of the wash cycle is not the end of cleaning. Residual cleaning liquid may remain between supports, inside holes, in recessed text, around thin features or on the underside of a model. A controlled workflow allows the model to dry fully and then inspects it before curing.

Drying time cannot be reduced to one universal number because part size, geometry, cleaning medium, airflow, ambient conditions and fixture arrangement all matter. What can be standardized is the acceptance condition: the model should be visibly clean and dry, without remaining cleaning liquid or uncured resin on the surfaces that will be evaluated.

  • Use a designated clean drying area so washed parts do not pick up dust or uncured-resin contamination.
  • Place models so liquid can leave recessed anatomy instead of pooling.
  • Inspect cavities and undersides, not only the top of the dental arch.
  • If compressed air is allowed by the process, use it in a controlled way and continue to verify that the part is fully dry.
  • Do not cure a model simply to “dry” remaining solvent; drying and UV post-curing are different process stages.

Post-cure for the material process, not for the clock alone

UV post-curing continues the material reaction after printing and can affect surface condition, hardness, mechanical behavior, color and final dimensions. That is why a cure program should be treated as part of the validated material process rather than a generic finishing step.

Wavelength

The curing unit must be compatible with the selected material's documented post-curing requirements. Printer wavelength alone does not prove that every curing unit is suitable.

Exposure and temperature

Time and temperature can change the final result. Use the material-specific procedure and do not transfer one resin's settings to another formulation.

Light coverage

Part orientation, chamber geometry and light distribution affect how exposed surfaces receive UV energy. Dense batches should be validated rather than assumed equivalent to a single model.

For routine dental model production, record the resin, curing equipment, program, part orientation and batch arrangement. If finished dimensions or fit are critical, measure after curing and finishing—not before—because the final accepted condition is the state that will be used downstream.

Use the finished model to diagnose the workflow

When a printed model looks wrong after post-processing, separate printing defects from washing, drying and curing effects. The table below is a diagnostic starting point, not a substitute for the resin instructions or a controlled test.

Observed conditionPossible workflow causeWhat to check next
Sticky or glossy local areasResidual uncured resin, inadequate access during washing, contaminated cleaning liquid, or incomplete post-processingInspect recesses and support areas, verify the cleaning medium and wash condition, then repeat the validated clean/dry sequence if allowed.
White or cloudy residueDeposited contamination, incomplete rinsing, remaining solvent or material-specific surface responseCheck bath cleanliness, drying condition and the resin's recommended cleaning procedure before changing print exposure.
Dimensions change after curingMaterial response to post-curing, uneven exposure, retained cleaning liquid or inconsistent curing conditionsFreeze the cure setup, compare identical samples, and measure only after the complete process reaches the same condition.
Fine anatomy is damagedAggressive part removal, support removal, brushing or handling while the model is still in a softer green stateReview tooling, handling direction, support placement and the approved support-removal stage.
Models vary between batchesChanges in wash-liquid condition, drying, curing load, resin lot, orientation, printer condition or operator methodRecord the full workflow and compare controlled process variables instead of checking printer settings alone.
Curing becomes a production bottleneckCuring chamber capacity or cycle handling does not match printer outputCalculate accepted models per curing batch and staffed day, including loading, unloading, inspection and rework.

Balance printing, washing, drying and curing as one production line

A dental printer can finish a build while the previous batch is still occupying the wash station, drying area or curing chamber. For repeated production, post-processing can limit accepted output even when the printer has available time.

Count models that are fully processed and accepted, not only models that leave the printer. Track the time and capacity required for unloading, washing, drying, support handling, UV post-curing, finishing and inspection. Also separate materials or applications when their processing instructions require different cleaning liquids, cure programs, traceability or contamination controls.

Useful production metric: accepted dental models per staffed day after complete post-processing. This captures downstream bottlenecks that advertised vertical print speed cannot show.

Equipment should be evaluated as part of the complete dental workflow

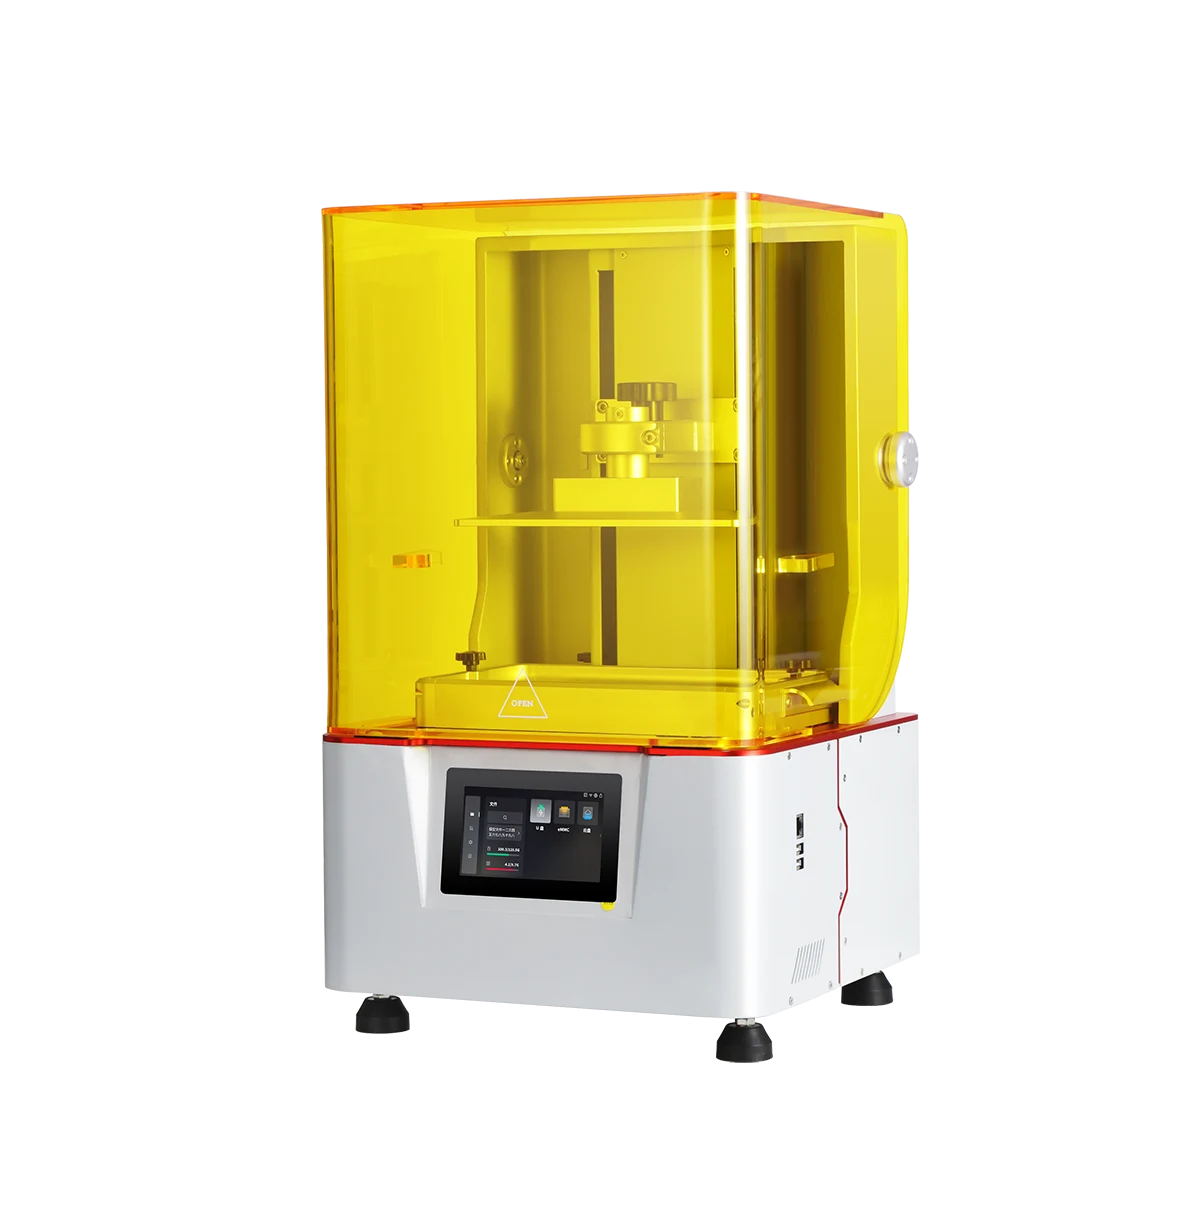
YIDIMU Eternal Y8 dental resin 3D printer
Eternal Y8 shown using the supplied official product image.

Eternal Y8

YIDIMU currently positions the Eternal Y8 for detailed dental model production and other professional resin-printing workflows. For a real lab evaluation, pair the printer with the exact resin, orientation, support strategy, washing, drying, curing and inspection method that will be used in production.

View Eternal Y8 →

YDM-UV-350 UV Curing Box

The current YIDIMU product page lists a 405 nm LED light source, a rotating turntable and an adjustable timer. These equipment features do not define a universal dental cure program; use the documented process for the selected resin and application.

View UV Curing Equipment →

What to document before standardizing the workflow

  • Exact dental model type and downstream use
  • Printer model and configuration
  • Resin product and lot identification
  • Layer settings, orientation and supports
  • Cleaning medium specified for the resin
  • Wash method and wash-liquid condition
  • Drying method and clean/dry acceptance condition
  • UV curing equipment and compatible wavelength
  • Cure program, temperature and part placement
  • Support-removal and finishing sequence
  • Critical dimensions, surfaces and fit checks
  • Inspection tools and acceptance criteria
  • Rejected-part and rework reasons
  • Operator and production record requirements

Dental models and patient-contact appliances are not the same workflow

This page focuses on dental model washing and curing workflow. A resin sold for dental model production should not automatically be treated as suitable for surgical guides, temporary restorations, denture bases, splints or other patient-contact parts. Those applications can require a different material scope, compatible equipment, documented process, traceability, sterilization or disinfection instructions where applicable, and regional regulatory review.

For any patient-contact or regulated application, follow the exact current TDS, SDS, IFU and applicable documentation for the selected resin and workflow. Do not transfer a wash or cure schedule from an unrelated model resin. Even for model-only work, representative samples should be printed, completely post-processed and inspected before the laboratory standardizes production.

Dental model washing and curing questions

How long should a dental resin model be washed?

There is no single wash time for every dental resin. Use the current material instructions and validate the result with the target printer, geometry, wash equipment and cleaning medium. Both under-washing and unsuitable over-washing can create problems.

Should the model be completely dry before UV curing?

Yes, unless the specific validated material process states otherwise. The model should reach the required clean and dry condition before post-curing so residual cleaning liquid is not carried into the curing stage.

Can I use the same curing settings for every dental resin?

No. Required wavelength, exposure time, temperature and handling can vary by resin and intended application. Use the current material-specific procedure.

When should supports be removed?

The correct point depends on the resin, model geometry, support design and validated process. Some workflows remove supports before final curing; others cure with supports in place. Follow the material/application procedure and protect critical model surfaces.

When should I measure a dental model for accuracy?

Measure the model in its finished condition—after the complete washing, drying, post-curing and required finishing sequence. A fresh print can change during post-processing.

Is a water-washable dental resin safe to rinse into a drain?

Do not assume so. Uncured resin and contaminated wash liquid still require controlled handling and disposal according to the resin safety documentation and local requirements.

Continue with printer, material and process validation

How to Choose a Dental Resin 3D PrinterCompare accepted output, resin compatibility, washing, curing and laboratory capacity as one system. Resin 3D Printing Process Step by StepReview the complete workflow from model preparation through washing, drying, curing and inspection. Resin MaterialsReview current YIDIMU resin categories and confirm material-specific instructions before processing. Post-Processing EquipmentReview current UV curing equipment and match chamber capacity and controls to the selected process. Dental 3D Printing ApplicationSee YIDIMU's current dental 3D printing application overview. Eternal Y8 Dental Resin 3D PrinterReview the current Y8 product information for detailed dental model printing.

Validate the workflow with your actual dental models

Share the model files, maximum dimensions, intended use, resin requirements, expected quantity, critical surfaces, fit or dimensional requirements, and your current washing and curing setup. The goal is to evaluate the complete printed-and-post-processed result rather than the printer alone.

Submit Your Model Contact YIDIMU