
Process Control · Dental
Dental Model Dimensional Accuracy After Curing
Dental model dimensional accuracy after curing is a property of a whole workflow, not of a printer specification. This guide sets out how to define the reference, fix the measurement stage, separate trueness from precision, and record deviation data that another operator can reproduce.
- Measure the finished model — after washing, complete drying and UV post-curing — not a part taken off the platform.
- Fix four things before the first measurement: reference, stage, alignment, metric.
- Trueness and precision answer different questions; a single averaged number hides both.
- XY pixel size, screen resolution and layer height are build inputs, not accuracy figures.
- Published dental accuracy studies describe their own materials and protocols, not your lab's.
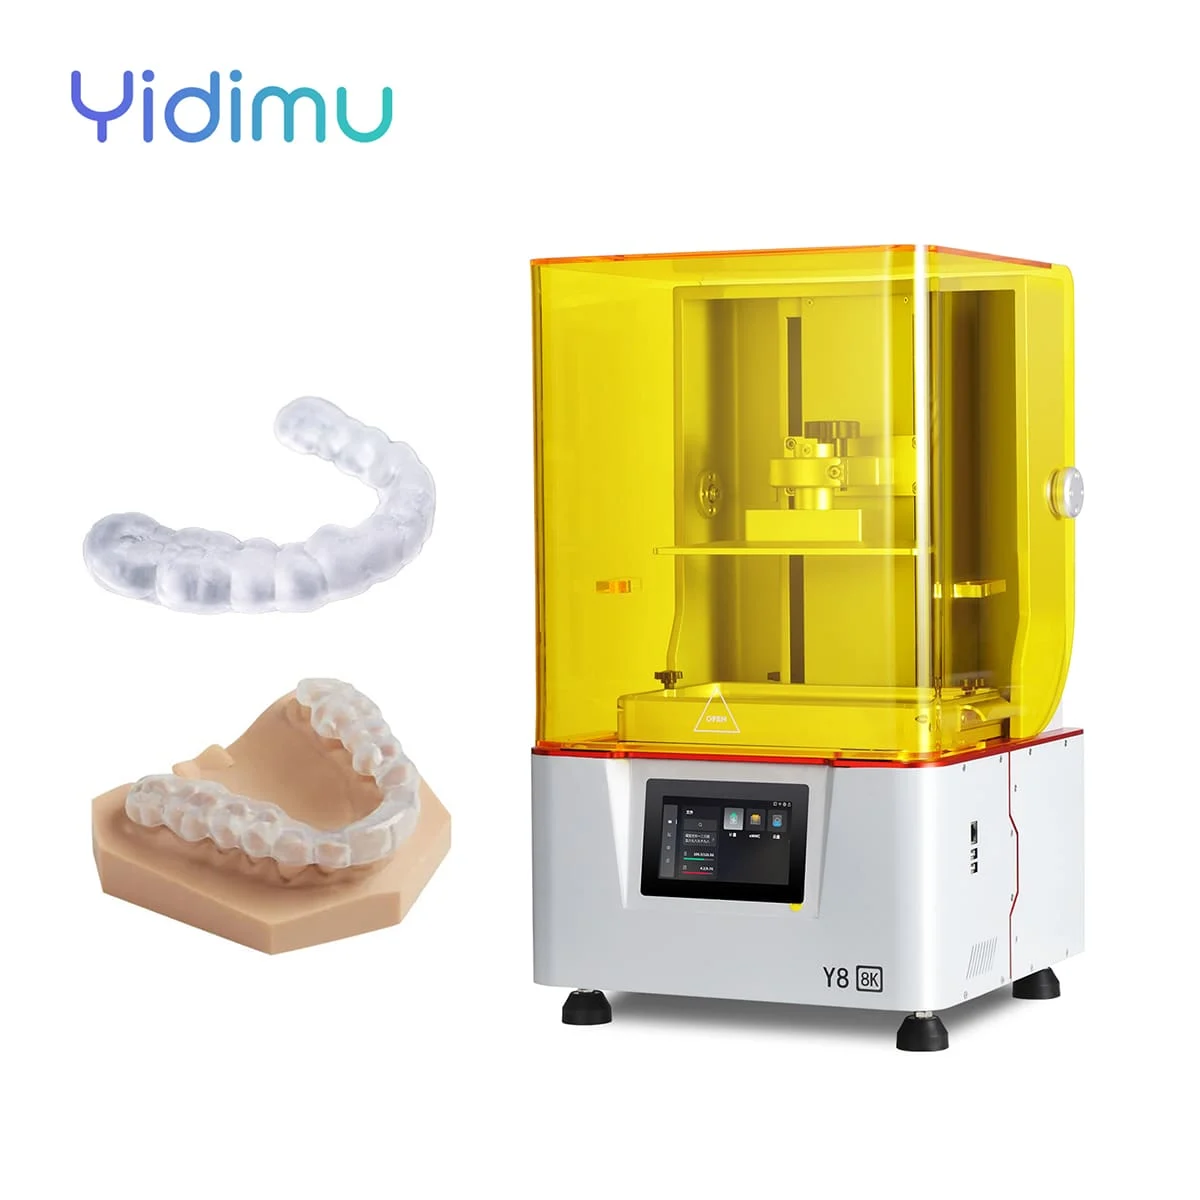
Dental model dimensional accuracy after curing is the deviation between a fully post-processed model and the reference it was built from, measured after washing, complete drying and UV post-curing rather than on a green part. A usable measurement requires four fixed elements: a defined reference (the original CAD file or a scanned master), a defined stage in the workflow at which measurement happens, a defined digitising and alignment method, and a defined metric such as RMS surface deviation plus a small set of linear distances. Change any one of them and the numbers stop being comparable between operators, days or machines. The figure you end up with describes your process — printer, resin, orientation, post-processing and metrology together.
Key Takeaways
- A green part and the same part after UV post-curing are two different geometries. Only the second one is the model your workflow delivers.
- Accuracy is not one number. Report trueness (closeness to the reference) and precision (spread across repeats) separately.
- Best-fit alignment across the whole model can hide a large local error at the exact feature you care about.
- Record the elapsed time between post-curing and measurement. Models continue to change after processing, and an unrecorded wait makes two datasets non-comparable.
- Decide the tolerance for the application before measuring, so the data answers a pass/fail question instead of producing an unanchored number.
What Changes Between the Platform and the Finished Model
A dental model passes through several stages after the last layer is exposed, and each one can move geometry. Uncured resin remains on and inside the part when it leaves the vat. Washing removes it but also exposes the surface to solvent for a period. Drying has to be complete before UV post-curing, because trapped solvent alters how the surface behaves under further exposure. Post-curing then drives additional polymerisation through the bulk, which is the stage most directly associated with dimensional change in published work. Support removal and finishing add mechanical handling on top of that.
This is why a measurement taken at the wrong moment answers the wrong question. If you scan a washed-but-uncured model, you are characterising an intermediate state that no one uses. If you scan immediately after removing a warm model from a post-curing unit, temperature alone can shift your numbers. And if two technicians scan at different intervals after post-curing, their datasets are measuring different things even when everything else matches.
The same reasoning applies to the build itself. Orientation, position on the platform, support density and layer height all influence how a model forms before post-processing ever starts. Exposure behaviour matters too — see the guide on exposure uniformity across the build area for why identical files in different platform positions may not come out identical.
Terms to Separate Before Reporting a Number
Most disagreements about dental model accuracy are vocabulary problems. The terms below are not interchangeable, and mixing them is how a resolution figure ends up being quoted as a tolerance.
| Term | What it means | What it does not tell you |
|---|---|---|
| Accuracy | Overall closeness to the true value. Under ISO 5725-1 it is a qualitative concept expressed through trueness and precision together. | Nothing on its own until you say which of the two you measured. |
| Trueness | How close the mean of repeated results sits to the reference. | How scattered the individual results were. |
| Precision | How close repeated results are to each other. | Whether they are close to the reference at all. |
| Repeatability | Precision under unchanged conditions — same machine, resin batch, settings, operator, short interval. | What happens on another machine, batch or day. |
| Reproducibility | Precision when conditions change — different operator, machine, batch or site. | The performance of a single well-controlled run. |
| Resolution | The smallest step a system can distinguish, in exposure or in measurement sampling. | How closely the finished part matches the CAD data. |
| XY pixel size | The physical size of one pixel projected onto the build plane. A geometric input to the process. | Any deviation, tolerance or accuracy value. |
| Layer height | The Z increment per exposure. Affects surface stepping and cure profile. | Dimensional agreement with the reference. |
| Tolerance | The range you decide in advance is acceptable for a given feature and application. | What the process actually produced. |
| Deviation | The measured difference between result and reference at a point, along a distance, or across a surface. | Whether that difference is acceptable — that is the tolerance's job. |
Resolution is not accuracy. A finer exposure grid or a smaller pixel changes what geometry can be formed; it does not describe how far the cured, washed, dried and post-cured model sits from its CAD file. Accuracy figures come from measurement, and only from measurement.
A Method for Measuring Dental Model Dimensional Accuracy After Curing
1. Fix the reference
Use the original CAD or STL file, or a scanned master model, and state which. Do not compare against the sliced file — slicing may include compensation or scaling that is not part of the design intent. Record the file name and version so the comparison can be repeated later.
2. Fix the measurement stage
Define the exact point in the workflow: after washing, after complete drying, after UV post-curing, after support removal, or after finishing. For post-cure accuracy work the standard stage is the finished model, with support removal complete. Record the elapsed time since post-curing ended and keep it constant across the study.
3. Condition the model before scanning
Let the model return to a stable room temperature. Confirm it is clean, fully dry and free of liquid resin residue. Handle it with gloves and store it away from direct sunlight and heat sources between processing and measurement.
4. Fix the digitising method
Use the same scanner, the same fixturing, the same scan strategy and the same software settings throughout. Know your scanner's own error contribution — it is part of your measurement budget, and a device whose uncertainty is close to the deviations you are chasing cannot resolve them.
5. Fix the alignment
A global best-fit distributes error evenly and is useful for an overall picture. A datum-based or region-limited alignment tells you what happens at the features that actually matter, such as a prepared tooth or a specific arch segment. Run both if you can, and never compare a best-fit result against a datum-aligned one.
6. Fix the metric
Surface metrics such as RMS deviation summarise the whole model; signed mean deviation shows direction, which distinguishes overall contraction from expansion. Linear inter-landmark distances — across the arch, between defined points — remain useful because they are easy to audit and easy to explain. Use at least one surface metric and one linear metric.
7. Repeat enough times
One model is an anecdote. For repeatability, print and measure several nominally identical models within one build and one batch. For reproducibility, repeat across builds, days, resin batches and, where relevant, machines. Report the mean and the spread, not the best result.
Record Templates
Build and process record
| Parameter | Recorded value |
|---|---|
| Printer model / serial | |
| Resin type and batch | |
| Layer height | |
| Exposure settings | |
| Orientation angle | |
| Support strategy | |
| Position on platform | |
| Wash medium and duration | |
| Drying method and duration | |
| UV post-cure unit / time / temperature | |
| Elapsed time from post-cure to measurement |
Measurement record
| Specimen ID | Stage | Reference used | Alignment method | RMS deviation (µm) | Signed mean deviation (µm) | Linear check (mm) | Notes |
|---|---|---|---|---|---|---|---|
Reading the Results
Start with the sign of the mean deviation. A consistent negative value across the whole model points to uniform contraction; a consistent positive value points to growth. Either can often be addressed systematically, because a repeatable offset is a correctable offset. A mean close to zero with a wide spread is a different problem — that is a stability issue, and averaging makes it invisible.
Then look at where the deviation sits. Colour deviation maps are useful here: error concentrated at arch ends, thin walls or overhangs suggests geometry, orientation or support effects rather than a global process shift. Error concentrated on the platform-facing side suggests something in the early layers or the platform interface.
Finally, look at time. If you measure the same models again after a week and again after a month, you learn whether your models are stable across the period they actually spend in the lab. Published in-vitro work on printed denture bases has reported dimensional change continuing over a 28-day ageing period, with shorter post-curing associated with larger change; those figures describe the specific materials and protocols in that study and are not YIDIMU performance claims.
For context on acceptance thresholds: a systematic review of full-arch printed dental models found clinical acceptability ranges spanning roughly under 100 µm to 500 µm across the included studies, with tighter expectations for prosthodontic use than for orthodontic use. These are published literature values reflecting other authors' materials, printers and methods. They are not specifications for any YIDIMU system and should not be used as an acceptance criterion for your own workflow without validation.
Common Mistakes
- Measuring green parts. Data from an uncured model does not describe what the lab delivers.
- Comparing against the sliced file. Any compensation applied in slicing gets counted twice or cancelled out.
- Relying on global best-fit alone. It can average away exactly the local error that would cause a fit problem.
- Changing two variables at once. New resin batch and new post-cure time in the same experiment tells you nothing about either.
- Ignoring measurement uncertainty. Scanner error is part of every number you report.
- Reporting one number. Without a spread, the reader cannot tell repeatable from lucky.
- Measuring a warm model. Thermal state at scan time is a variable like any other.
- Quoting pixel size as accuracy. A build input is not a measured deviation.
- Transferring another material's protocol. Post-cure response is material dependent; results from one resin do not carry to another.
Limits and Validation
Any number you produce is bounded by the method that produced it. Your scanner has its own trueness and precision; your alignment choice frames what counts as error; your sample size determines how much of the spread you have actually seen. A study of five models from one build validates one build, not a production process.
Results are affected by equipment condition, resin and batch, temperature, geometry, orientation, supports, exposure, layer height, platform condition, washing, complete drying, UV post-curing and the measurement method used. Material handling, washing media, drying and post-curing conditions should follow the TDS, SDS and IFU for the specific resin.
A dimensional study also does not establish clinical suitability, regulatory status or fitness for a particular dental procedure. Those determinations belong to the responsible clinician or laboratory, working from the applicable material documentation and local requirements. Validate with representative geometry — a model that reflects the real case type, not a benchmark cube.
Relevant YIDIMU Systems
Eternal Y8
The Eternal Y8 dental resin 3D printer uses masked vat photopolymerization — an LCD mask defines each layer, which is not the same as laser-scanned SLA, and the two should not be compared as though they were. Published specifications include a 10.3-inch 8K screen at 7680 × 4320, a 29.7 µm XY pixel size, a 228 × 128 × 235 mm build volume, a 0.025–0.1 mm layer thickness range and 405 nm resin compatibility.
These are equipment specifications only. None of them is an accuracy, repeatability or tolerance figure, and no deviation value can be derived from them. For a broader view of the dental line, see the YIDIMU dental resin 3D printer overview; material options are listed under YIDIMU resin materials, and resin compatibility should be confirmed against current documentation for the exact printer and material.
If throughput rather than dimensional control is the current question, the guide on dental lab 3D printer production capacity covers build layout, cycle time and post-processing load.
Checklist
- Reference file identified and version recorded
- Measurement stage defined and applied consistently
- Elapsed time from post-curing to measurement recorded
- Models washed, completely dried, UV post-cured and free of liquid resin residue
- Models at stable room temperature before scanning
- Scanner, fixturing and scan strategy held constant
- Scanner uncertainty documented
- Alignment method stated (best-fit, datum-based, or both)
- Surface metric and linear metric both recorded
- Enough repeats for repeatability; separate runs for reproducibility
- Tolerance defined for the application before measuring
- Full build and process parameters logged alongside the measurement data
FAQ
Should dental models be measured before or after UV post-curing?
After, if you want data that describes the delivered model. Measuring before post-curing is only useful when you are deliberately isolating the contribution of the post-cure step, in which case you measure at both stages and report them separately.
How long should I wait after post-curing before measuring?
There is no universal interval. Choose one that fits your workflow, apply it to every specimen, and record it. If you want to know whether the wait matters for your material, measure the same models at several intervals and compare.
Does a smaller XY pixel size produce a more dimensionally accurate model?
Not by itself. Pixel size affects the geometry the exposure can define. Dimensional agreement with the CAD reference also depends on resin, orientation, supports, exposure, layer height, washing, drying and post-curing. It has to be measured, not inferred from a specification.
Is RMS deviation enough on its own?
No. RMS is unsigned, so it cannot distinguish a model that is uniformly small from one that is uniformly large. Pair it with a signed mean deviation and at least one linear distance measurement.
Can I reuse post-curing settings that worked for a different resin?
Treat them as a starting hypothesis, not a transferable setting. Post-cure response is material dependent, and the applicable TDS or IFU for the specific resin takes precedence.
How many models do I need for a repeatability study?
Enough to see the spread rather than a single outcome — several nominally identical models within one build, then repeated across builds and batches for reproducibility. The right number depends on how tight your tolerance is relative to the variation you observe.
Discuss Your Dental Model Requirement
If you want a specific model type reviewed against a printing and post-processing workflow, send the project details rather than a keyword. Useful information includes:
- CAD or STL files of representative models
- Model dimensions and the critical features
- Application and how the model will be used downstream
- Tolerance requirement and how it was determined
- Material requirement or current resin
- Quantity and expected build frequency
- Surface expectations and your inspection method
With that information, printer, resin and post-processing options can be discussed against the work you actually need to produce. Submit your model and project requirements to start the review. No accuracy result, lead time or production outcome is committed to before representative testing and validation on your side.