
Does Layer Height Affect Dental Model Accuracy?
Yes, layer height can affect dental model accuracy, but thinner layers do not automatically produce a more accurate model. Smaller layers can reduce visible stepping on curved and inclined surfaces. The dimensions of the finished model also depend on exposure, resin behavior, orientation, model design, washing and post-curing.
Choose a layer height by measuring the completed model against its intended requirements. A smooth-looking surface alone cannot confirm accurate tooth positions, arch width or die fit.
Layer height is not a dimensional tolerance
Layer height is the nominal vertical increment used to slice and build a model. A 50 µm setting means a nominal layer thickness of 0.05 mm. It does not mean every finished dimension will be within ±0.05 mm.
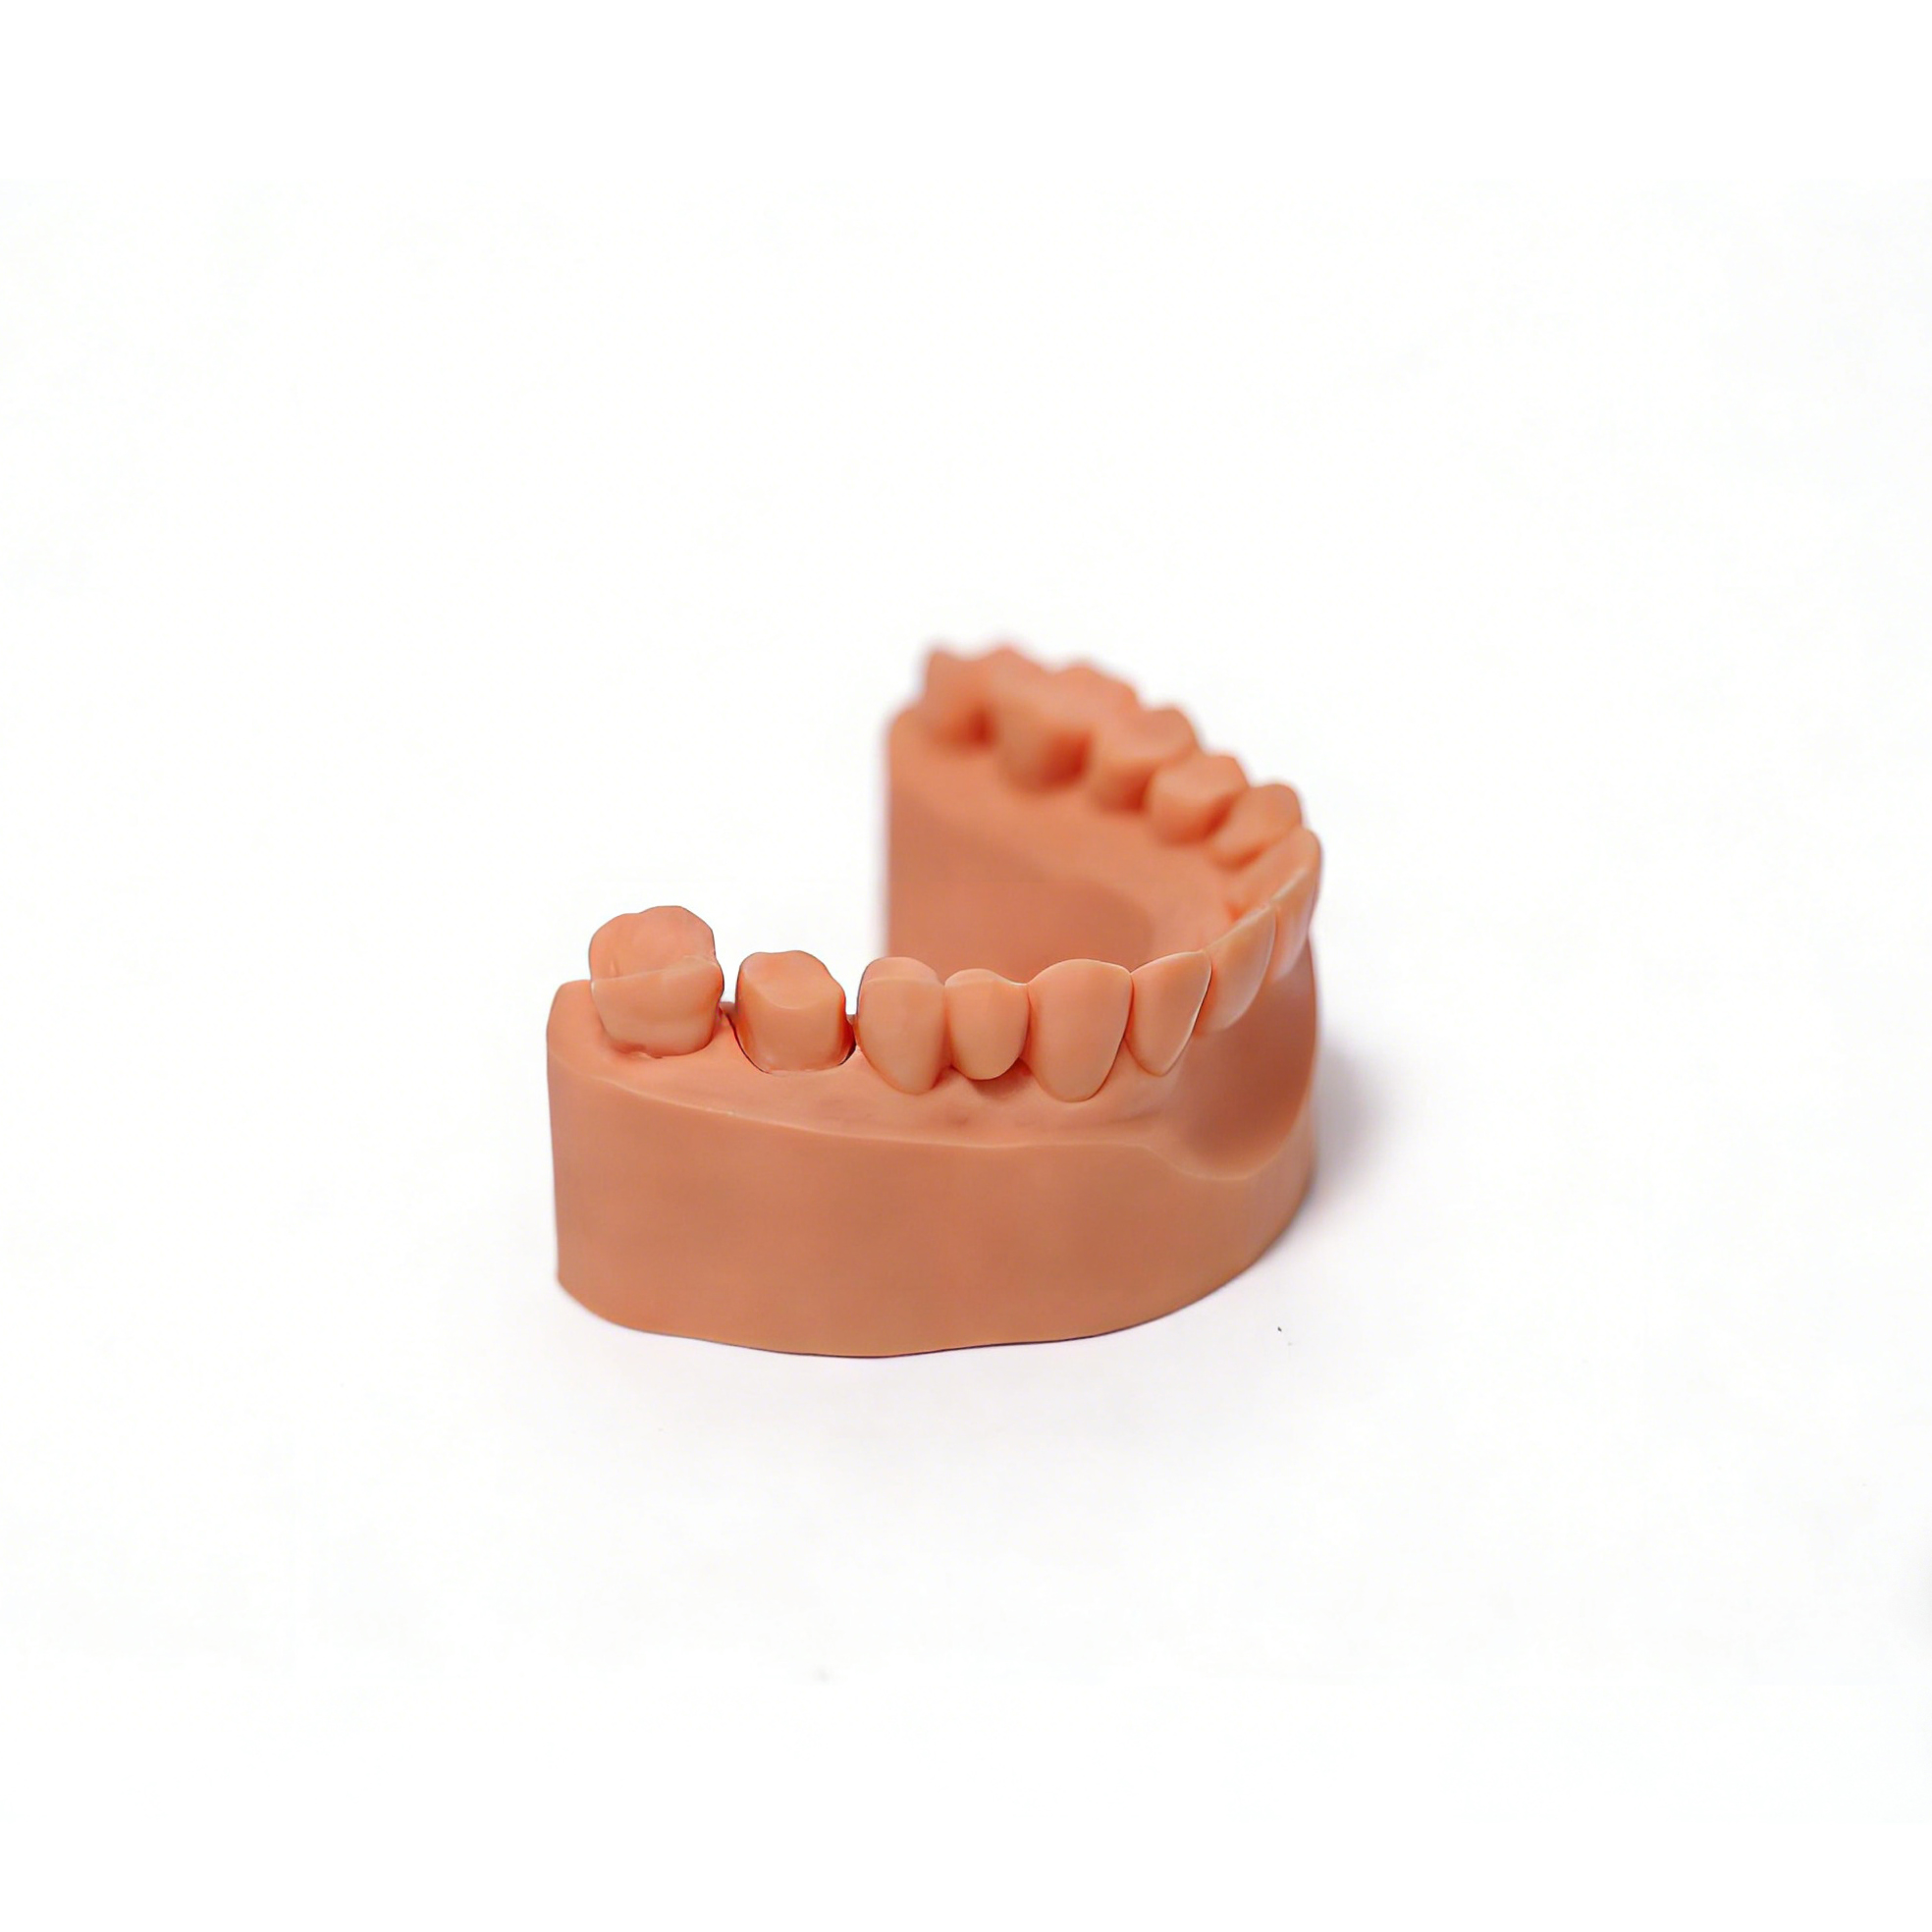
Keep three questions separate when evaluating a dental print:
Surface detail: How clearly are cusps, grooves, edges and other features reproduced?
Trueness: How closely do the measured results match the reference geometry?
Precision: How closely do repeated prints agree with each other?
Reducing layer height changes vertical sampling. It does not reduce the LCD pixel pitch or projector pixel size in the XY plane, and it cannot restore detail missing from the original scan or mesh.
What dental model studies actually show
A 2017 SLA study comparing 25, 50 and 100 µm layers found the smallest average overall deviation in the 100 µm group, rather than the 25 µm group. A 2021 DLP study found that layer height and build angle interacted: the effect of one setting depended on the other.
A 2025 study comparing 50 and 100 µm layers across different internal model designs found no statistically significant layer-thickness difference at the measured sites for its fully filled models. Other design groups behaved differently.
These findings support testing the complete workflow rather than ranking layer heights in isolation. They do not establish a universal best setting or transfer an orthodontic model acceptance limit to a crown-and-bridge working model. Results from particular SLA and DLP systems also cannot be assumed to describe every LCD printer and resin combination.
25 vs 50 vs 100 microns: what should a lab compare?
Use only layer heights supported by the printer and resin workflow. The table below is a comparison framework, not a validated prescription for a dental application.
| Layer height | Reason to evaluate it | What must be demonstrated |
|---|---|---|
| 25 µm 0.025 mm | Investigate stepping on inclined surfaces or a particular fine feature. | The critical region improves measurably, and the extra build time is justified. A better visual finish is insufficient evidence. |
| 50 µm 0.05 mm | Compare an intermediate setting with a finer or faster supported profile. | Local geometry, arch dimensions and repeatability meet the lab's defined requirements after post-processing. |
| 100 µm 0.1 mm | Evaluate whether fewer layers can improve throughput for the intended model. | Stepping and dimensional deviations remain acceptable for that specific use, including any downstream process. |
For example, the Yidimu Eternal Y8 has a nominal layer thickness range of 0.025–0.1 mm. That machine setting range does not establish a validated resin profile at every thickness or guarantee finished-model accuracy.
For the same 20 mm sliced height, 100, 50 and 25 µm correspond to approximately 200, 400 and 800 layers. This is a layer-count illustration, not a production-time estimate: exposure, separation, movement and other cycle settings affect actual build time.
Why lowering layer height may not fix a poor model
The exposure profile may need to change
A thinner layer is not necessarily compatible with the exposure used for a thicker one. Excess exposure can broaden features or close small spaces; insufficient exposure can weaken layers and destabilize the print. Start with a supported material profile. Do not assume that halving layer height means halving exposure time.
Orientation and model design can dominate the result
Tilting a model changes the relationship between its surfaces and the layer planes. It also changes support requirements and the forces experienced during printing. A thin or poorly supported base may distort even when the teeth look smooth. Changing orientation or hollowing while comparing layer heights makes the cause of any improvement harder to identify.
Post-processing changes the part being measured
Residual resin, inconsistent washing, incomplete drying and different post-curing conditions can alter the final result. Follow the material instructions and compare models at the same defined interval after curing and cooling. A layer-height comparison is unreliable if each group receives a different finishing process.
A practical test for choosing between two layer heights
The following is a recommended screening method for a dental laboratory, not a report of completed Yidimu testing. For the wider inspection process, see dental 3D printer accuracy verification.
Define the decision before printing.Identify the intended model use, critical regions and acceptance limits. Include tooth position or cross-arch dimensions where relevant, rather than relying only on surface appearance.
Use one representative file.Keep orientation, base geometry, hollowing, supports, resin batch and temperature conditions consistent. Compare corresponding platform positions between settings.
Use an appropriate profile for each layer height.Record exposure and all other settings. If exposure differs, describe the result as a comparison of two production profiles, rather than a test that isolates layer height alone.
Repeat each condition across separate builds.A practical initial screen could use three builds per profile with matched specimen positions. This is a screening plan, not a universal qualification sample size; expand it according to variability and the importance of the decision.
Standardize finishing and measurement timing.Follow the resin's washing, drying, support-removal and curing instructions. Keep the handling sequence consistent and measure after the same cooling and conditioning interval.
Measure the whole arch and the critical regions.Use a qualified scanner and inspection method with uncertainty small enough for the differences being assessed. Keep registration settings and color-map scales consistent. Record global RMS deviation, relevant local deviations and defined linear dimensions. A signed average can conceal positive and negative errors through cancellation.
Compare every specimen and the process cost.Review individual pass/fail results, spread across builds, actual print time and rework. Confirm the selected profile on additional representative geometries before routine production.
Decision rule: Prefer the faster supported profile when it consistently meets all defined requirements. Adopt the finer profile when it produces a useful, repeatable improvement in the feature that matters. If the apparent difference is similar to measurement uncertainty or build-to-build variation, the test has not demonstrated a reliable advantage.
When to stop reducing layer height
If a finer profile produces smoother surfaces but the same arch-width error, investigate exposure, compensation, resin behavior, base design and post-curing. If repeat prints vary substantially, investigate process stability before pursuing smaller layers.
When the model is used for thermoforming or another fabrication step, also evaluate the downstream result. Passing a model dimension check alone does not validate the finished appliance.
Frequently asked questions
Is 50 µm always more accurate than 100 µm?
No. It provides finer vertical sampling, but finished-model accuracy depends on the complete process. Compare supported profiles using the same reference geometry and inspection method.
Can a 25 µm layer height guarantee a 25 µm tolerance?
No. Nominal layer height is a slicing parameter. A dimensional tolerance must be verified on the finished, post-processed model, with the measurement conditions stated.
Should layer height match XY pixel size?
There is no universal requirement for equal values. Layer height and XY pixel size describe different directions of spatial sampling. Select the supported combination that reproduces the required geometry and passes inspection.
Evaluating a dental model workflow? Share your model file, printer, resin, current profile and the dimensions that matter through Yidimu's sample printing service. Discuss a comparison based on your actual geometry and post-processing requirements.
References
Favero CS et al. (2017). Effect of print layer height and printer type on the accuracy of 3-dimensional printed orthodontic models. American Journal of Orthodontics and Dentofacial Orthopedics.
Ko J et al. (2021). Effect of build angle and layer height on the accuracy of 3-dimensional printed dental models. American Journal of Orthodontics and Dentofacial Orthopedics.
Ahn JH and Choi JW (2025). The Influence of the Internal Design and Layer Thickness on the Accuracy of 3D-Printed Dental Models. Materials, 18(17), 4173.