
High-Temperature Resin 3D Printing: HDT & Limits
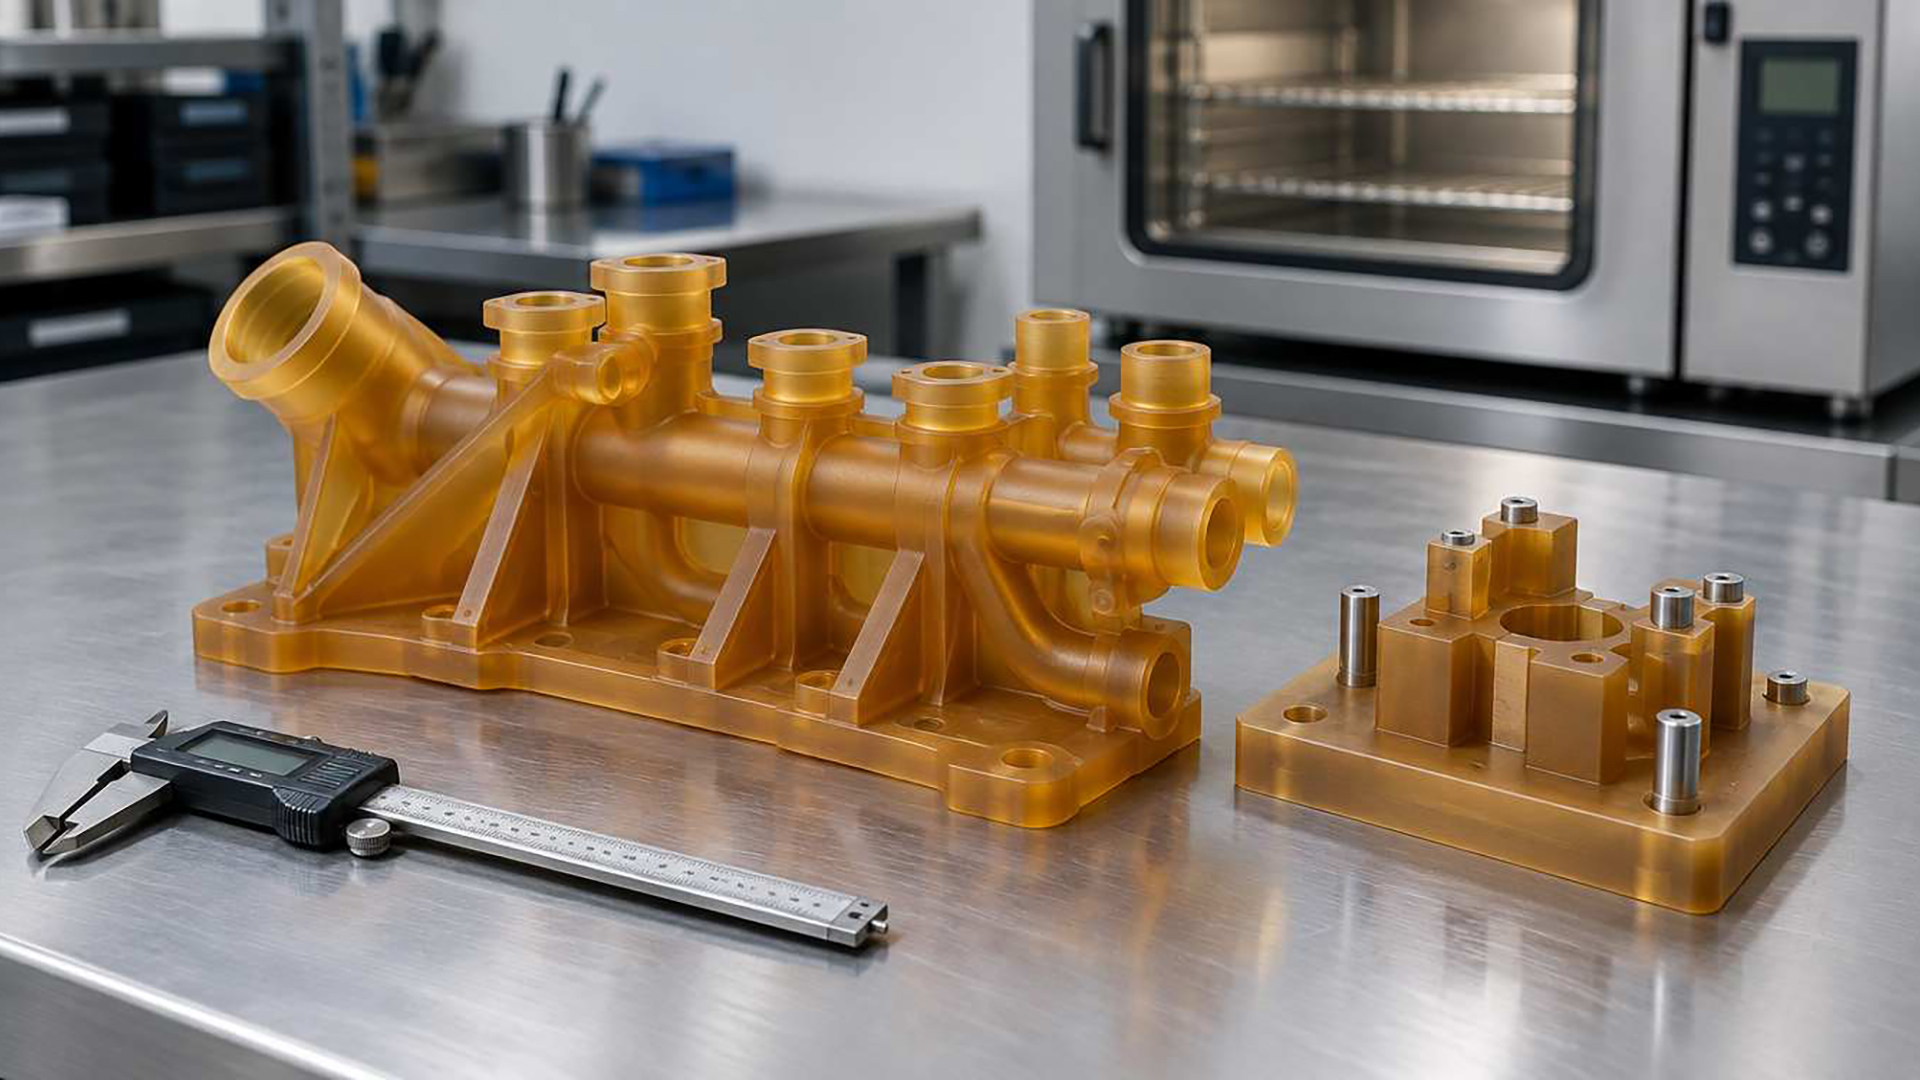
High-temperature resin 3D printing uses heavily cross-linked photopolymers formulated to keep their shape under elevated heat, typically for hot air or fluid manifolds, soldering masks, thermoforming tools, and short-run mold inserts. A resin's headline Heat Deflection Temperature (HDT) only tells you when a standardized test bar bends under a light load after full post-curing. It is not a continuous operating limit for a stressed mechanical part, and reaching that thermal stability usually requires strict solvent drying plus a controlled UV and thermal post-cure.
This guide draws on general vat photopolymerization engineering practice and YIDIMU's industrial resin equipment documentation. Actual thermal limits, shrinkage, and cycle life depend on your specific resin formulation, wall thickness, and service load, so treat datasheet figures as a screening step rather than a guarantee.
What HDT actually measures and why load changes everything
You can't select a heat-resistant resin from a single temperature number on a product page. Under ASTM D648 and ISO 75, HDT is measured by placing a standard test bar in a heated bath under a fixed flexural stress and recording the temperature at which the bar deflects by a set distance.
Most resin datasheets highlight the low-load test at 0.45 MPa (or 0.455 MPa), where high-temperature photopolymers can reach well above 180 °C after thermal post-curing. Check the high-load figure at 1.8 MPa (or 1.82 MPa) on the same sheet, and that number often drops by more than half. A bracket holding a sensor in warm air behaves very differently from a clamped fixture carrying bolt preload at the same temperature.
Cure state shifts HDT just as dramatically as load. In the green (as-printed) state, even a dedicated high-temperature resin can soften at temperatures below 60 °C. UV post-curing raises stiffness and thermal resistance, while an optional oven thermal cure drives cross-linking further for maximum HDT. Never compare one vendor's thermally annealed 0.45 MPa value against another vendor's UV-only 1.8 MPa value.
The mechanical trade-off: heat resistance vs. brittleness
Formulations that resist heat almost always sacrifice ductility. To stop polymer chains from sliding past each other at elevated temperatures, chemists build a dense, rigid cross-linked network. That same rigidity leaves very little room for the material to stretch before fracturing.
On the shop floor, this shows up as low elongation at break and sensitivity to sharp internal corners. High-temperature resins handle static thermal exposure well, yet they chip easily if dropped, snap under cantilevered snap-fits, and crack around self-tapping screws if bosses aren't designed with generous fillets or threaded heat-set/bonded inserts. If your part needs moderate warmth resistance along with impact toughness, compare it against ABS-like resin properties and limits before committing to a high-temp grade.
| Decision dimension | Standard rigid resin | ABS-like / tough resin | High-temperature resin |
|---|---|---|---|
| Primary thermal capability | Room-temperature visual models; softens quickly with mild heat | Mild warmth only; not intended for sustained hot environments | High low-load HDT after full UV and thermal post-curing |
| Brittleness and impact resistance | Brittle under drop or point loads | Higher toughness and better snap-fit tolerance | Rigid and brittle; low elongation at break, sensitive to notch stress |
| Post-processing sensitivity | Standard wash and short UV cure | Controlled wash and UV cure to avoid surface tack | Strict wash limit, complete drying, UV cure, and often ramped oven cure |
| Typical industrial fit | Form studies, appearance prototypes, static displays | Functional enclosures, assembly checks, light-duty jigs | Hot fluid/air testing, soldering masks, thermoforming, short-run mold inserts |
Where high-temperature resin works and where it fails
High-temperature photopolymers earn their keep in low-stress thermal validation and bridging tooling, not as drop-in replacements for machined aluminum or PEEK.
Strong-fit industrial applications:
Hot air, gas, and fluid flow prototypes such as coffee maker internal channels, valve housings, and thermal sensor mounts where pressure stays low.
Short-run tooling and 3D printed mold inserts for low-volume prototyping, vacuum forming, and rubber vulcanization masters.
Electronics assembly aids including wave-soldering masks, conformal coating shields, and potting fixtures exposed to brief heat spikes.
Environmental chamber test mounts that hold lightweight sensors or cameras without creeping during thermal soak cycles.
Poor-fit applications to avoid:
Continuous high-load structural brackets under heat, where polymer creep and low 1.8 MPa HDT cause gradual sagging.
Snap-fits, living hinges, or parts requiring press-fit interference without metal hardware.
High-volume industrial injection molds running aggressive cycle times and clamping pressures that exceed photopolymer compressive and thermal-fatigue limits.

Printing and post-processing controls that prevent cracking
Most failures with high-temperature resins happen after the build plate rises, not during exposure. Treating a high-temp grade like a general-purpose resin almost guarantees surface crazing, warping, or split walls.
Manage peel forces and support removal timing
High-temperature photopolymers generally exhibit higher peel resistance during layer separation than standard resins. On LCD masked-exposure (MSLA) systems, that extra pull accelerates release film wear and can tear thin features off undersized support tips. Use slightly heavier support touchpoints on load-bearing edges, orient flat faces at an angle to reduce cross-sectional suction, and inspect release film clarity more frequently.
Remove supports while the part is washed and dry, right before full UV and thermal post-curing. Once thermally cured, high-temp resin turns glass-hard; clipping supports afterward often pulls divots straight out of the surface or starts hairline fractures.
Cap solvent contact and dry completely
Over-washing is one of the fastest ways to ruin a high-temp print. Leaving parts in isopropyl alcohol (IPA) for too long lets solvent penetrate the surface layer. If any trapped solvent remains inside blind holes, internal channels, or pores when the part enters a heated UV chamber, rapid evaporation creates internal vapor pressure and splits the outer skin.
Keep wash cycles short using a two-stage bath, blow out internal cavities with clean compressed air, and verify that surfaces are matte and room-temperature before curing. For a detailed check on moisture and solvent evaporation, see our guide on when resin prints are dry enough to cure.
Ramp heat slowly during thermal post-curing
When a resin datasheet calls for a secondary oven bake to reach peak HDT, never drop a room-temperature part straight into a preheated oven. Sudden thermal gradients expand the outer skin faster than the core, cracking thick sections or warping thin plates. Place the UV-cured part inside a cold non-food lab oven, ramp up gradually to the target soak temperature, and let the part cool back down inside the closed oven before removing it. Keep flat fixtures supported on a level ceramic or metal plate during the bake so gravity doesn't bow them while the polymer passes through its glass transition range.

How to qualify a high-temperature resin with your own part
Because datasheet coupons are uniform rectangular bars, they never capture your part's wall transitions, trapped volumes, or clamping loads. Run a small qualification batch before approving a resin for production aids or customer testing.
Print a representative geometry, not just a calibration cube. Include your thinnest wall, thickest boss, and any mating datum faces, and print at least three copies across different positions on the build platform.
Measure critical dimensions at three checkpoints. Record key bores, flatness, and overall length after drying (green state), after UV post-cure, and after thermal post-cure. Secondary shrinkage during thermal curing often tightens small holes more than expected.
Run a realistic thermal-load soak. Put the cured part under its actual working clamp force, fluid pressure, or bolt torque inside a temperature-controlled chamber for the full duration of a shift or test cycle, then re-measure after cooling.
Inspect for micro-crazing and color shift. Check high-stress corners under magnification after 3 to 5 thermal cycles. Slight amber darkening during thermal curing is normal for many formulations, but surface crazing signals over-washing, thermal shock, or excessive mechanical stress.
If you are matching a material to an industrial LCD or laser SLA workflow, review the available industrial photopolymer resin options alongside your printer's light source wavelength and build volume requirements.
Frequently asked questions
Is HDT the maximum operating temperature of a 3D printed resin part?
No. HDT measures short-term deflection of a standardized bar under a specific bending load (usually 0.45 MPa or 1.8 MPa). Continuous operating temperature is typically lower, especially if the part carries mechanical load, sees thermal cycling, or contacts aggressive fluids. Always validate with a loaded soak test on your actual geometry.
Do all high-temperature resins require an oven thermal post-cure?
Not all of them, though many do to reach their highest rated HDT. Some formulations reach usable moderate heat resistance after heated UV post-curing alone, while others need a secondary bake in a temperature-controlled oven. Check the material's technical datasheet for separate UV-only and thermally cured HDT numbers.
Why do high-temperature resin prints crack during post-curing?
Cracking usually traces back to three causes: residual IPA trapped in the surface or internal channels, placing a cool part directly into a preheated oven, or leaving rigid supports attached during curing. Shorten the solvent wash, dry thoroughly until no cold sheen remains, remove supports before curing, and ramp oven temperature gradually.
Can high-temperature resin replace metal for injection molding?
Only for short-run prototyping and bridge validation, typically tens of shots depending on the injected thermoplastic, melt temperature, and mold cooling time. Photopolymer inserts have much lower thermal conductivity and tensile strength than steel or aluminum, so cycle times are slower and sharp thin cores erode faster.
Validate your geometry before committing to a material
Datasheet HDT numbers only narrow the shortlist; real thermal stability depends on wall thickness, load, and curing discipline. If you have a heat-exposed fixture, manifold, or tooling insert to evaluate, submit your CAD model to the YIDIMU applications team to review resin compatibility and arrange a sample test print.