Process Control · Quality Inspection

Resin 3D Print Quality Inspection Checklist

A finished resin print should be accepted against the requirements that matter to the part: visual condition, critical dimensions, fit, feature integrity, surface condition and documented post-processing. Inspection starts after the agreed washing, complete drying and UV post-curing sequence—not directly after the part leaves the printer.

  • Pre-agreed acceptance criteria
  • Visual and dimensional inspection
  • Fit and functional checks
  • Traceable process records
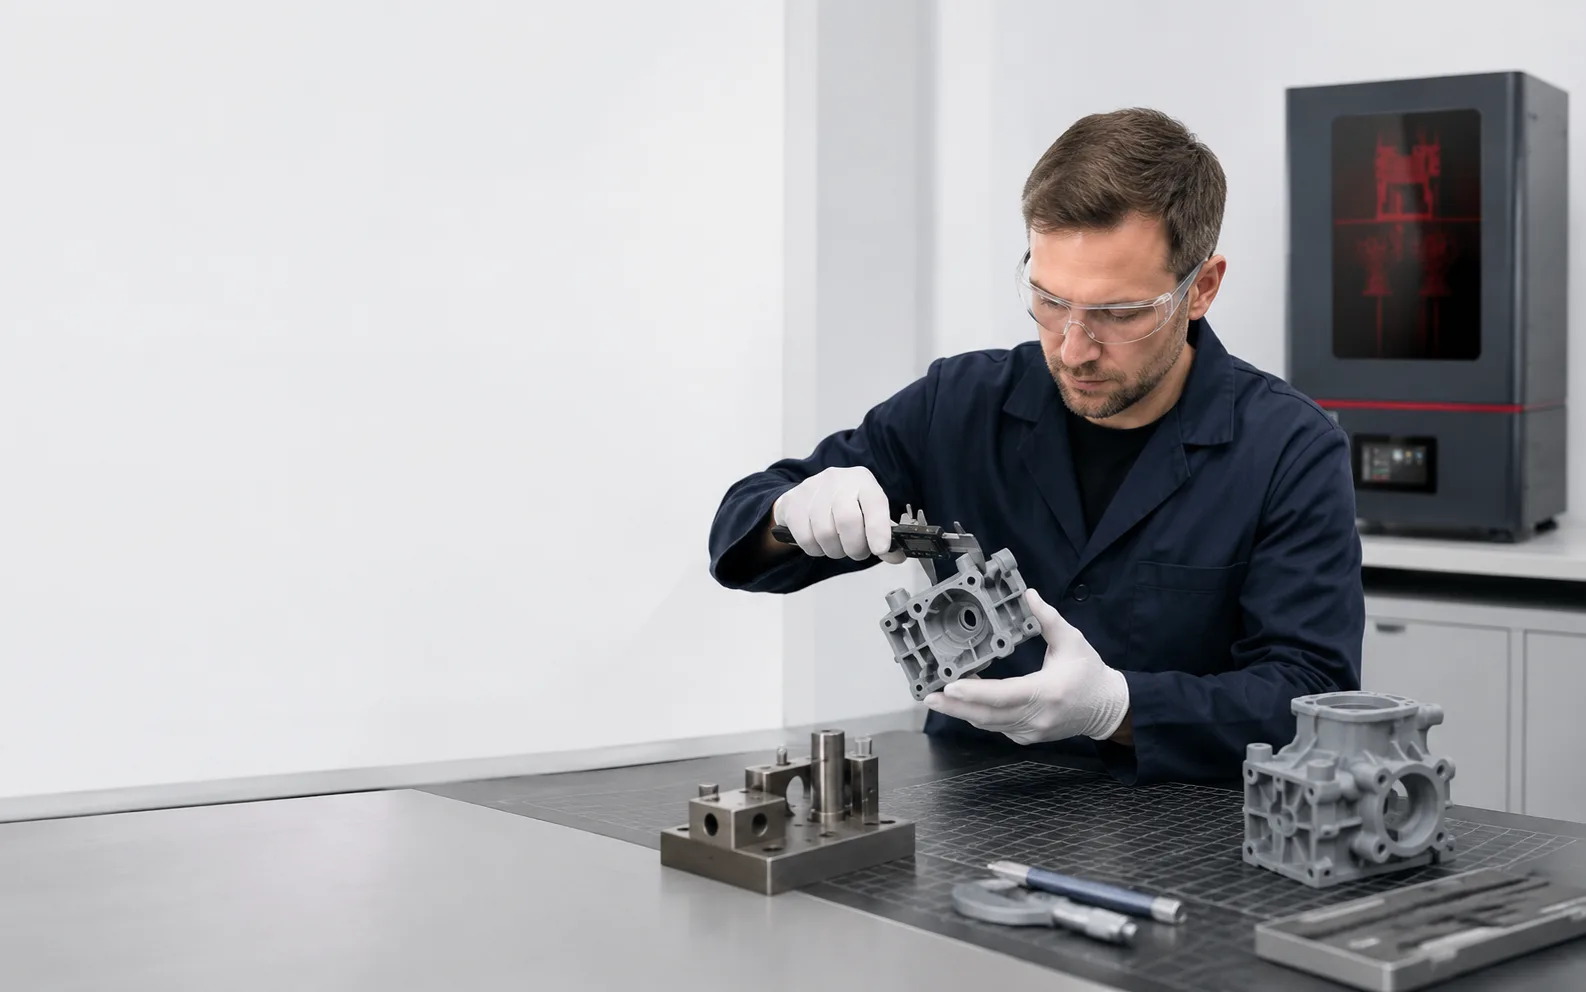
Engineer inspecting a finished resin 3D printed part with calipers under controlled lighting
Inspect the finished condition that will actually be used, assembled or delivered.
Direct Answer

What should a resin 3D print quality inspection checklist include?

A practical resin 3D print quality inspection checklist should verify that the correct file, printer, resin and process were used; confirm that washing, complete drying and required UV post-curing are finished; inspect the part for visible defects and support-removal damage; measure critical dimensions with a suitable method; check mating, holes, slots, threads, walls, lattices or other application-specific features; and record pass, rework or reject decisions against defined acceptance criteria.

Do not use one generic tolerance for every resin part. Acceptance limits should come from the drawing, CAD requirement, assembly condition, material/process documentation or an agreed validation plan.

Inspect the final processed state

Dimensions and surfaces can change through washing, drying, support removal and post-curing.

Measure what controls the decision

Prioritize interfaces, datums, holes, slots, walls, flatness-sensitive areas and fit features.

Separate cosmetic from functional criteria

A small support mark may be cosmetic on one surface and unacceptable on a sealing or mating face.

Keep process records with the result

Inspection is more useful when the print, resin, orientation and post-processing history can be traced.

Before Inspection

Define acceptance before the print is made

Quality inspection is strongest when the acceptance rules exist before printing. A team that waits until the part is finished often ends up judging by appearance alone or debating tolerances after a result is already on the table.

Start with the actual decision the part must support. An appearance prototype may prioritize visible surfaces, edge definition and gap review. An engineering housing may need datum-to-hole locations, wall condition and assembly fit. A flexible lattice may need open cells, intact struts and deformation clearance. A dental model workflow may prioritize model detail, seating relationships and the documented process for the approved resin and application.

Record the inspection basis

  • Part number, file revision and build identifier.
  • Intended application and the decision the sample must support.
  • Critical dimensions, datums, interfaces and fit relationships.
  • Required surface areas and cosmetic zones.
  • Resin identification and the applicable TDS, SDS, IFU or other formal technical document.
  • Required washing, complete drying, UV post-curing and finishing state before inspection.
  • Measurement method, tools and acceptance limits for each critical characteristic.
Important: pixel size, layer thickness or nominal printer resolution should not be converted directly into a finished-part tolerance. Final dimensions depend on the complete equipment, resin, model, orientation, supports, exposure, environment, post-processing and measurement method.
Inspection Sequence

A repeatable inspection sequence for finished resin prints

Confirm identity and process status

Verify the part/file revision, printer, resin and build record. Confirm that required washing, complete drying and UV post-curing have been completed according to the current process documentation before dimensional acceptance is recorded.

Check cleanliness and cure condition

Inspect for residue, trapped contamination, incomplete cleaning in cavities and other conditions that make the surface unsuitable for evaluation. Do not continue handling a part as a finished sample if uncured resin is suspected; follow the resin safety documentation and the controlled post-processing procedure.

Inspect the whole part visually

Look for incomplete features, cracks, splits, delamination-like separation, warped regions, blocked openings, damaged edges, support scars, sanding damage and unexpected surface variation. Use stable lighting and inspect the same critical faces each time.

Measure critical geometry

Measure only after defining datums and the correct inspection tool. External dimensions, hole diameters, slot widths, wall thicknesses, step heights, center distances or flatness-sensitive interfaces may require different methods. Record the method with the result.

Check assembly and feature function

Where the project calls for it, verify mating parts, connectors, clips, inserts, fastener access, movement clearance, seal interfaces or other functional relationships. A dimension can be within its target while the assembly still exposes a design or process problem.

Classify and record the result

Use a defined disposition such as pass, rework, conditional acceptance or reject. Photograph relevant defects, record measured values, and link the result to the build and process history so that later changes can be compared with evidence.

Practical Checklist

Resin 3D print quality inspection checklist

Use the items below as a working template, then remove anything that does not apply and add project-specific characteristics from the drawing, model, assembly or validation plan.

01
Correct part and revision

File name, revision, orientation plan and quantity match the released build requirement.

02
Material and process traceability

Resin identity and the relevant process record are available; any required material documentation is current for the application.

03
Post-processing complete

Washing, complete drying, UV post-curing and specified finishing are complete before final inspection.

04
Overall visual integrity

No incomplete build regions, cracks, major deformation, blocked cavities or other defects that invalidate the intended use.

05
Critical surface condition

Support marks, sanding, texture and visible transitions meet the defined requirement for functional and cosmetic zones.

06
Critical dimensions

Specified dimensions are measured from defined references using suitable equipment and compared with project-defined acceptance limits.

07
Holes, slots and thin features

Openings are clear, edges are intact and small features are reproduced well enough for their intended task.

08
Fit and assembly

Mating faces, clips, connectors, fasteners or adjacent parts assemble as required without using force that was not part of the validation plan.

09
Application-specific behavior

Flexible deformation, lattice openness, seating relationship or other functional checks are performed only where the project requires them.

10
Inspection record complete

Measured values, photos, disposition, operator/date and any rework are linked to the printed batch or sample.

Decision Table

Choose the inspection method by the requirement

The inspection method should be selected for the characteristic being controlled. More measurement is not automatically better; the useful question is whether the method can support the acceptance decision consistently.

Requirement Typical check Useful method Common mistake to avoid
Overall appearance Cracks, missing regions, warping, support damage Controlled visual inspection and photos Judging under changing light or from one viewing angle
External dimensions Length, width, height, steps Caliper, micrometer or appropriate dimensional equipment Measuring soft or thin features with excessive contact force
Hole or slot condition Opening size and obstruction Gauge, suitable dimensional tool or project-defined method Assuming nominal CAD size is reproduced without process compensation
Mating relationship Seating, clearance, interference, connector access Assembly check with controlled mating parts or fixtures Using a fit check without recording which mating-part revision was used
Complex freeform geometry Profile, multiple surfaces, overall deviation 3D scanning or coordinate measurement when justified Comparing meshes without a defined alignment and acceptance method
Flexible or lattice parts Open cells, damaged struts, deformation clearance Visual, dimensional and application-specific deformation checks Applying rigid-part inspection force or criteria to a compliant structure

For serial or low-volume work, use the same measurement definition from sample approval through later batches. If the part, resin, orientation, process settings or post-processing method changes, decide whether the validation needs to be repeated before treating old inspection evidence as equivalent.

Application Differences

Adjust the checklist to the type of resin part

Industrial prototypes and engineering parts

Prioritize datums, mating surfaces, fastener locations, wall condition, interfaces and the dimensions that determine assembly. If the part is mainly an appearance model, separate visible A-surfaces from hidden support areas so cosmetic acceptance does not get confused with functional acceptance. The YIDIMU guide on resin 3D printing for appearance prototypes provides a useful companion workflow for surface-focused samples.

Flexible and elastomer parts

A flexible part cannot always be inspected like a rigid housing. Contact force can change the measured value, and lattice structures can deform during handling. Define the part state, fixture condition and measurement method before comparing dimensions. Inspect open cells, thin struts, local damage, trapped residue and intended movement or clearance. Material behavior and post-curing conditions should follow the current technical documentation for the resin.

Dental model workflows

Inspection should be tied to the exact model task, material documentation and downstream workflow. Do not infer suitability for a permanent intraoral restoration, long-term implant use or regulatory compliance from a printed model's appearance. For production planning, the related dental lab production-capacity guide explains why accepted cases—not nominal machine speed alone—matter to workflow output.

Low-volume production

When the same part is printed repeatedly, the inspection plan should distinguish first-piece validation, routine batch checks and investigation after a process change. Track accepted output and rework rather than counting prints alone. See resin 3D printing for low-volume manufacturing for the broader production workflow.

YIDIMU Systems

Relevant YIDIMU systems for representative-part validation

Inspection requirements should be defined around the part first. The systems below represent three different workflow categories where finished-part validation can be used to compare equipment, material and process choices.

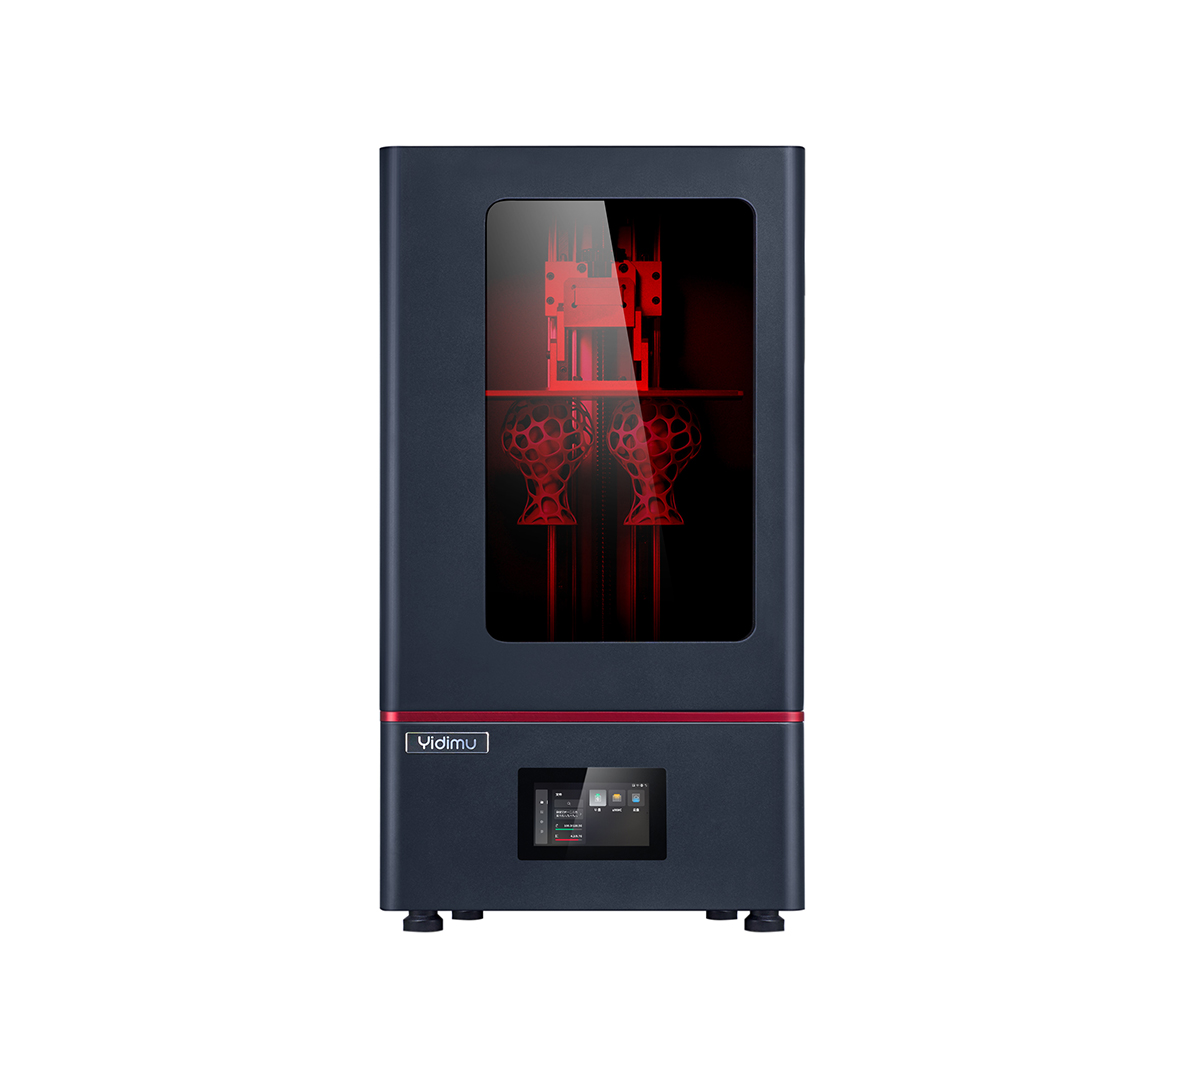
YIDIMU Eternal M1 industrial resin 3D printer

Eternal M1

An industrial light-curing system positioned for engineering prototypes, product-design validation and other professional resin-printing tasks. Evaluate it with the actual geometry, material and inspection criteria required by the project.

View Eternal M1 →
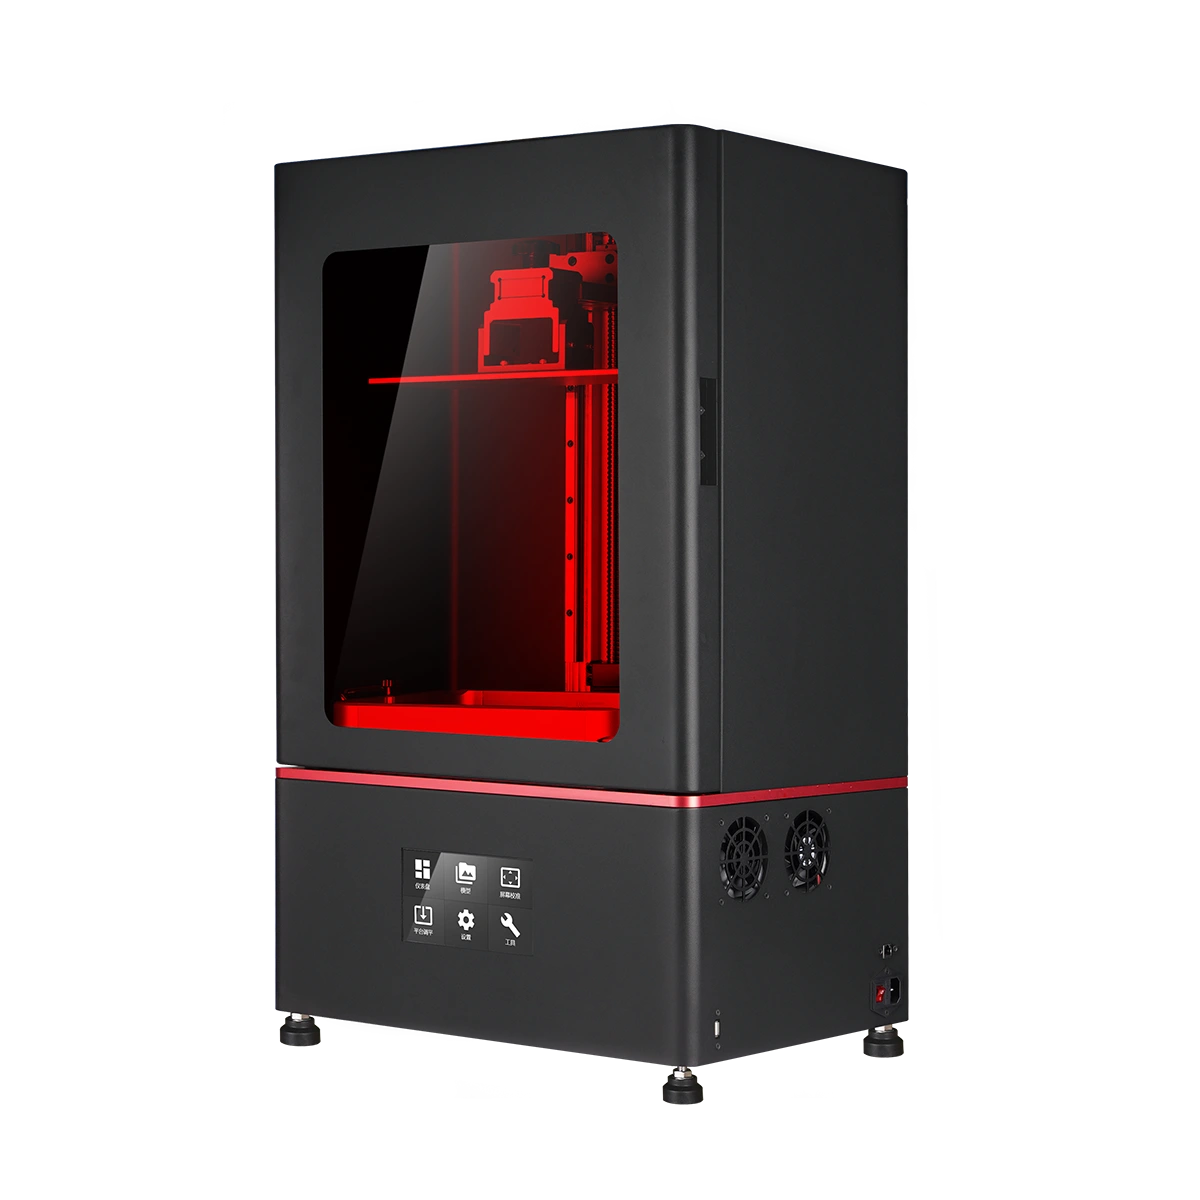
YIDIMU Flex G2 elastomer resin 3D printer

Flex G2

A flexible-material system for complex lattices, cushioning structures, footwear and elastomer components. Inspection should include the geometry and deformation relationships that matter to the flexible part.

View Flex G2 →
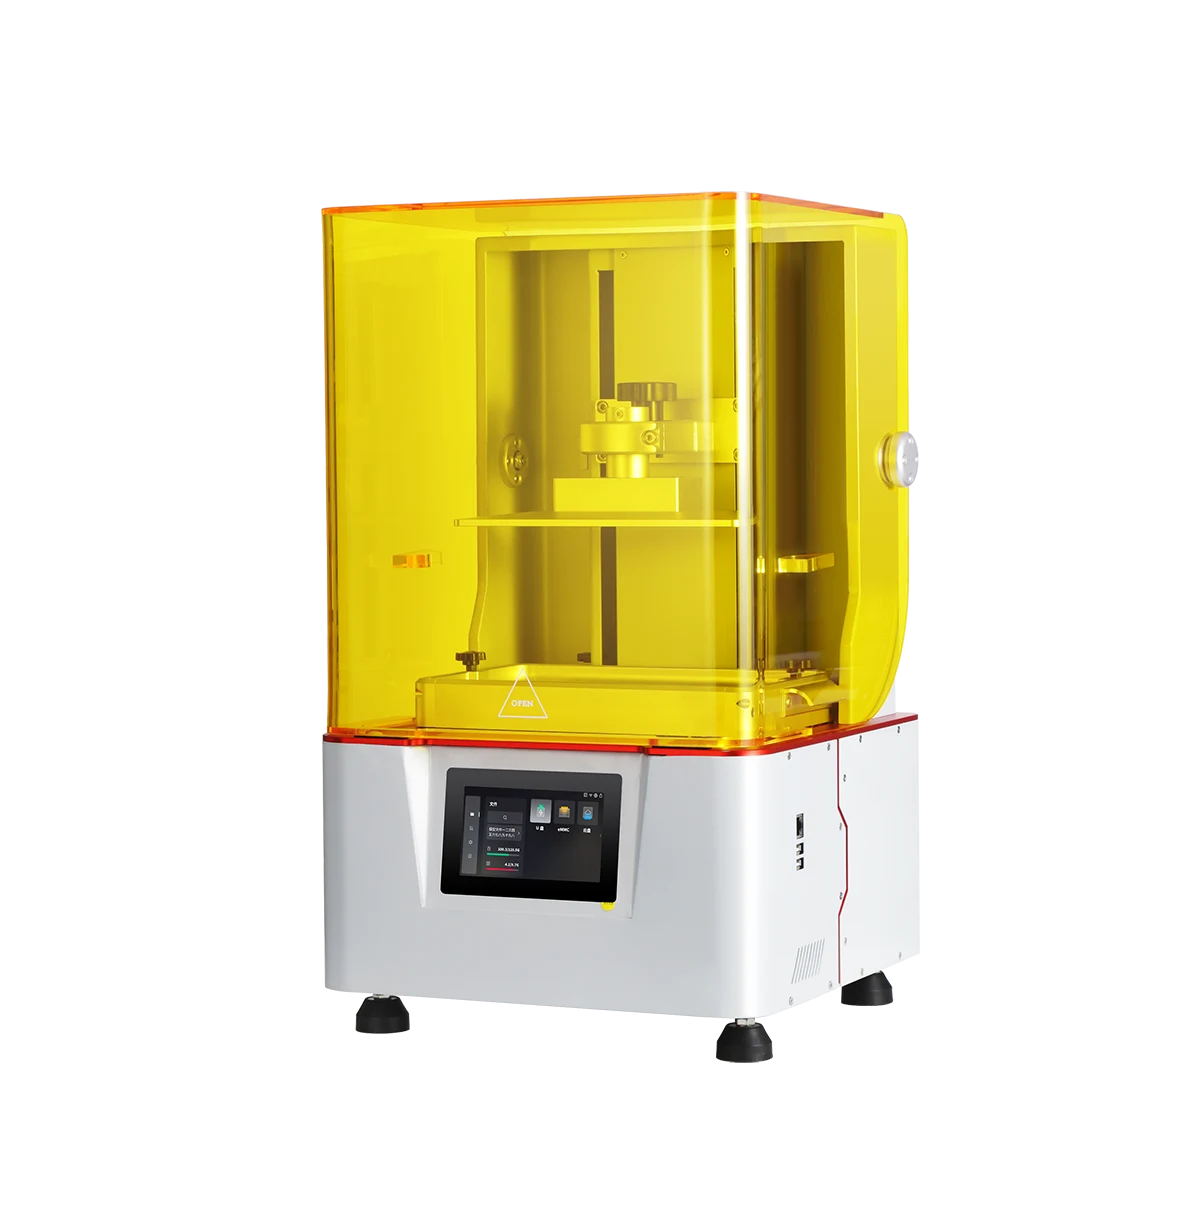
YIDIMU Eternal Y8 dental resin 3D printer

Eternal Y8

A masked vat-photopolymerization system used for detailed dental models and other precision model workflows. Final suitability depends on the selected material, process documentation and representative validation.

View Eternal Y8 →
Limits & Validation

A specification sheet does not replace a representative-part test

Printer specifications can help narrow equipment choices, but they do not establish the acceptance result for a particular finished part. Resin chemistry, exposure settings, orientation, support strategy, build position, temperature, washing, complete drying, UV post-curing, finishing and measurement method can all influence what is eventually inspected.

For equipment selection or process release, print a representative part containing the features that actually control the project. Agree on what will be measured before the build, process the sample to its final inspection state, and compare the result with the same acceptance method that will be used later.

The same principle is useful when diagnosing a quality issue. Change one controlled factor at a time where practical and keep the inspection method stable. Otherwise, a new measurement setup can be mistaken for a printing improvement or deterioration.

For broader equipment qualification, read the industrial resin 3D printer manufacturer evaluation guide. For exposure-related process evaluation, see resin 3D printer light uniformity.

FAQ

Resin 3D print quality inspection FAQ

When should a resin 3D printed part be measured?

For final acceptance, measure the part in the agreed finished condition after required washing, complete drying, UV post-curing and any specified finishing. If measurements are also taken earlier for process study, label them clearly so they are not confused with final inspection.

What dimensions should be checked first?

Start with the characteristics that control assembly or function: datums, interface dimensions, hole and slot locations, mating faces, critical walls and other drawing-defined features. Measuring many noncritical dimensions does not compensate for missing the features that determine acceptance.

Can printer pixel size be used as the dimensional tolerance?

No. Pixel size describes part of an exposure system. Finished-part dimensions are affected by the complete printer, resin, model, orientation, supports, settings, post-processing and measurement method. Use project-defined acceptance limits and representative tests.

How should flexible resin parts be inspected?

Define the measurement state and avoid methods that deform the part unpredictably. Inspect lattice integrity, open features, local damage, fit and application-specific deformation relationships using a repeatable fixture or procedure when needed.

Should every visible support mark cause rejection?

No. Acceptance depends on where the mark is located and what the surface must do. A mark on a hidden nonfunctional face may be acceptable while the same mark could fail a cosmetic, mating, sealing or reference surface.

What information should be sent for sample validation?

Provide the model file, overall dimensions, intended application, material requirement, quantity, critical features, fit or tolerance requirements, surface expectations, post-processing condition and the inspection method you plan to use.

Related Resources

Continue the validation workflow

Industrial Resin 3D Printer Manufacturer EvaluationStructure equipment and sample evaluation around evidence and agreed criteria. Resin 3D Printing for Low-Volume ManufacturingConnect batch layout, post-processing, inspection and accepted-part output. Resin 3D Printing for Appearance PrototypesPlan visible surfaces, supports, finishing and design-review criteria. Resin 3D Printer Light UniformityUnderstand an exposure-system factor that can affect process consistency.

Define the inspection criteria before you compare samples

Share your model file, overall dimensions, application, material requirement, quantity, critical features, surface expectations, fit requirements and planned inspection method. YIDIMU can use that information to discuss printer, resin and representative sample options for the project.

Submit Project Requirements →