
Process & Print Performance
Fast Resin 3D Printing: How to Evaluate Speed, Cycle Time and Throughput
Fast resin 3D printing is usually discussed as a machine specification, but the number that matters in a factory is the time needed to produce an inspected, accepted part. This guide separates the two and explains how to test speed changes without losing control of the process.
- Print time in LCD vat photopolymerization is driven by layer count and per-layer cycle time, not by part volume.
- A nominal print-height figure in mm/h describes the machine under stated conditions, not your build.
- Washing, complete drying and UV post-curing sit inside the delivery clock and often decide real throughput.
- Faster settings shift risk into support failure, incomplete cure and rework, so each change needs a documented trial.
- Resolution and XY pixel size describe sampling, not the dimensional condition of the finished part.
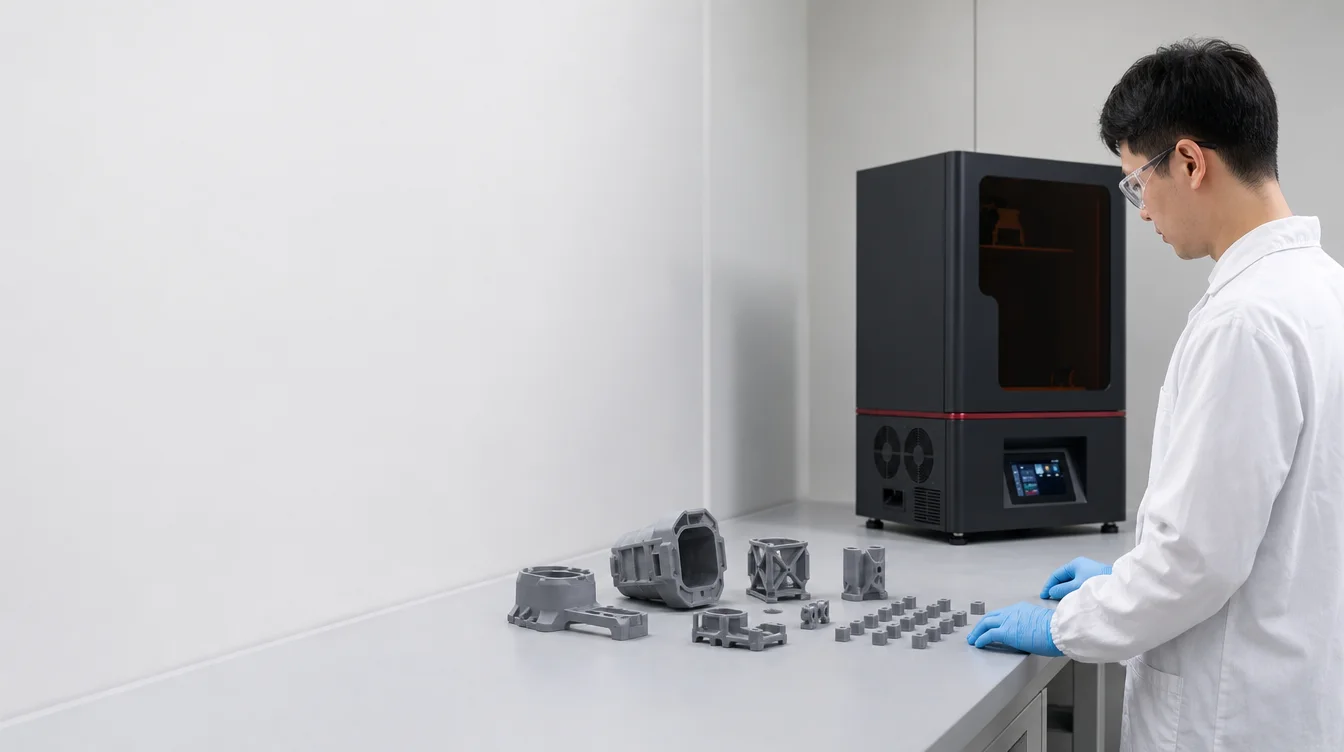
Direct Answer: What Fast Resin 3D Printing Actually Measures
In a masked exposure system, each layer is cured across the whole build plane at once. Print time therefore scales with the number of layers along the Z axis multiplied by the time each layer cycle takes, plus the extended bottom-layer exposures at the start. Adding parts across the platform at the same height adds very little print time; making the same part taller adds time in direct proportion. Fast resin 3D printing means shortening the layer cycle, reducing layer count, or filling the platform more effectively — while still producing parts that pass inspection. A machine's nominal print-height speed is a reference condition. The operational figure is time to accepted part, which includes washing, complete drying, UV post-curing, measurement and any reprints.
Key Takeaways
- Layer count is the dominant variable in print time; oriented part height, not part mass, sets it.
- A per-layer cycle contains exposure, wait, lift and retract. Each has a floor set by the resin and the geometry.
- Nesting multiple parts of similar height is usually the largest legitimate throughput gain available.
- Post-processing capacity, not print capacity, becomes the constraint once builds get denser.
- Speed settings must be validated against the same acceptance criteria used for the production part.
- Display resolution and XY pixel size are sampling descriptions and do not establish accuracy or tolerance.
Five Speed Metrics That Are Routinely Confused
Quotations, specification sheets and internal targets often use the word "speed" for five different quantities. Agreeing on which one is under discussion prevents most disputes later.
| Term | What it describes | What it does not describe |
|---|---|---|
| Nominal print-height speed (mm/h) | Z-axis build rate published for the machine under stated reference conditions | The time your specific build will take with your resin and parameters |
| Layer cycle time (s/layer) | Exposure plus wait plus platform lift and retract for one layer | Whether that cycle produces a fully cured, dimensionally stable layer |
| Job time (h) | Bottom layers plus layer count multiplied by cycle time, plus start and finish handling | Labour, cleaning, curing or inspection time |
| Throughput (parts per shift) | Parts leaving the printer per unit of working time, including build changeover | How many of those parts conform to the drawing |
| Time to accepted part | Full route from file preparation to a measured, conforming part | Nothing else — this is the figure production planning should use |
Terminology: Resolution Is Not Accuracy
Speed discussions frequently drift into accuracy claims, because both are quoted from the same specification sheet. They are separate properties, and the following distinctions should be kept explicit in any internal record.
| Term | Definition as used here |
|---|---|
| Resolution | The smallest increment a system can distinguish or address. A description of sampling capability. |
| XY pixel size | Pixel pitch of the exposure display in the build plane. Sets how the cross-section is sampled. |
| Layer height | Z increment cured per exposure. The main lever on layer count and therefore on print time. |
| Accuracy | Closeness of a measured feature to its nominal or agreed reference value. |
| Precision | Closeness of repeated measurements to one another, independent of the nominal value. |
| Repeatability | Agreement between results under unchanged conditions: same machine, resin batch, parameters, operator, short interval. |
| Reproducibility | Agreement between results when conditions change: different machine, site, operator, batch or period. |
| Tolerance | The permitted range you specify for a feature. An engineering requirement, not a machine property. |
| Deviation | The measured difference between an actual feature and its nominal value. |
Resolution and XY pixel size do not establish accuracy, repeatability or tolerance capability. No accuracy, repeatability or tolerance figure should be derived from pixel size, display resolution, build volume or print speed. Where a dimensional requirement exists, it has to be demonstrated by measuring processed parts.
What Actually Sets Print Time in a Masked Exposure System
Eternal M1 and Eternal M2 use LCD mask exposure, sometimes described as masked SLA. This is not laser stereolithography: there is no galvanometer tracing a path, so the cross-sectional area of a layer does not lengthen the exposure the way path length does in a laser system. That single difference explains most of the behaviour engineers find counter-intuitive.
Layer count dominates
Halving the layer height roughly doubles the number of exposures. A part oriented to a lower Z height finishes sooner even when its footprint grows. Orientation decisions made for surface quality, support access or drainage therefore have a direct and often unnoticed cost in print time.
The layer cycle has a floor
Each layer needs enough exposure energy for the resin to cure and bond to the previous layer, a settling interval so the resin surface recovers, and mechanical lift and retract movement to separate the cured layer from the film. Shortening any of these below what the resin and geometry require produces under-cure, layer separation or support failure rather than a faster part.
Cross-section is close to free, platform area is not
Because the whole layer is exposed at once, adding parts of similar height to the same platform increases print time only marginally. It does, however, increase separation force, resin flow demand, cleaning workload and the consequence of a single build failure. Density is a throughput lever with a risk cost attached.
The Four Levers, and What Each One Costs
There are only a few ways to make a resin build finish sooner, and each transfers risk somewhere else in the workflow.
- Increase layer height. The largest single reduction in layer count. It coarsens the stepping visible on shallow-angle surfaces and changes cure depth behaviour, so it must be re-validated against surface and dimensional criteria.
- Shorten exposure and wait. Depends on the resin's reactivity and on pigment loading. Under-exposure can leave layers weakly bonded and can shift dimensions after post-curing. Confirm against the resin technical documentation.
- Raise lift and retract speed, or reduce lift distance. Effective on small, stiff parts. On large cross-sections or slender supports it raises separation force and increases the chance of detachment mid-build.
- Improve nesting and orientation. Usually the safest lever: reduce oriented height, group parts of similar height in one build, and avoid mixing one tall part with many short ones in the same job.
Results are affected by equipment condition, resin and batch, temperature, geometry, orientation, supports, exposure, layer height, platform condition, washing, complete drying, UV post-curing and the measurement method.
Speed After the Printer Stops
Once a build finishes, the part is not yet a deliverable. It has to be removed, drained, washed, dried completely, UV post-cured and inspected. These stages run at their own pace and often in batches, so a printer that finishes builds faster can simply create a queue in front of the wash and cure stations.
Two practical consequences follow. First, post-processing capacity should be sized against the number and physical size of parts a denser build produces, not against the printer alone. Second, drying must be complete before post-curing and before any dimensional check; residual cleaning liquid interferes with both. Compressing that stage to save time is one of the more common causes of inconsistent measurement results.
Related planning considerations are covered in the guides on resin 3D printing for low-volume manufacturing and large-format resin printing for industrial parts.
Running a Speed Trial You Can Defend
Speed changes are frequently adopted after one successful build, which is not evidence. A short structured trial produces a result you can hand to a customer or a quality department.
- Establish a baseline: current parameters, current orientation, a representative part, and the acceptance criteria that part is actually judged against.
- Change one variable per trial. Combined changes make attribution impossible.
- Repeat each condition often enough to distinguish a real effect from build-to-build variation.
- Record failures and reprints, not only successful builds. A faster setting that adds one reprint in ten is usually slower overall.
- Measure after washing, complete drying and UV post-curing, using one documented measurement method.
- Re-check the accepted condition when the resin batch, environment or platform state changes.
Exposure behaviour can also vary across a large build plane, which is worth reviewing alongside speed work; see the guide on resin 3D printer light uniformity.
Recording Templates
The two tables below are working formats for a speed evaluation. Fill them with your own measured values.
| Build ID | Oriented height (mm) | Layer height (mm) | Layer count | Avg cycle (s) | Print time (h) | Wash + dry + cure (h) | Inspection (h) | Parts accepted |
|---|---|---|---|---|---|---|---|---|
| Trial | Variable changed | Value | Repeats | Print time (h) | Failed / reprinted | Dimensional result | Surface result | Decision |
|---|---|---|---|---|---|---|---|---|
Reading the Results
Compare trials on accepted parts per hour of elapsed workflow time, not on print time alone. A configuration that cuts print time by a fifth but adds a reprint, an extra cleaning pass or a rejected dimension has not improved throughput. If measured deviations move consistently in one direction after a parameter change, treat that as a process shift requiring re-validation rather than as noise. If deviations scatter more widely without shifting, repeatability has degraded, which usually points to supports, separation force or drying rather than to exposure. Where results differ between machines, operators or sites, that is a reproducibility question and should be investigated separately from the speed setting itself.
Common Mistakes
- Comparing machines on nominal mm/h figures produced under different layer heights, resins and motion settings.
- Treating a fast build of a small calibration object as evidence for a tall or large-cross-section production part.
- Shortening drying time to keep a schedule, then measuring parts that still hold cleaning liquid.
- Filling the platform to its limit without checking whether washing and curing capacity can absorb the output.
- Adopting a faster profile without recording the failure rate it produces over repeated builds.
- Quoting a delivery date from print time only, leaving post-processing and inspection outside the estimate.
Limitations and Validation
Speed evaluation is specific to a combination of part, resin, parameter set and post-processing route. A profile validated on one geometry does not transfer to another, and a result obtained with one resin batch should be re-confirmed when the batch changes. Published machine figures describe reference conditions, not project outcomes. Material handling, exposure guidance, washing media, drying and post-curing conditions should follow the corresponding technical data sheet, safety data sheet or instructions for use for the resin in question. Where a dimensional or mechanical requirement exists, it should be demonstrated on representative processed parts before the workflow is committed to production.
Relevant YIDIMU Systems
Eternal M2
Eternal M2 is an industrial LCD vat photopolymerization system. Its published product data lists a 353 × 198 × 400 mm build volume, a 16-inch display at 7680 × 4320, approximately 46 μm XY pixel size, a 0.02–0.10 mm layer thickness range, 405 nm UV, and a nominal print-height speed of 50 mm/h. Supported file formats are listed as STL and OBJ, with ChiTuBox or ChiTuBox Pro for build preparation.
For speed planning, the two relevant characteristics are the layer thickness range, which sets how far layer count can be reduced for a given part, and the build envelope, which determines how many parts of similar height can share one job. The nominal 50 mm/h figure is a machine-level reference and is not a statement about the time your part will take, nor about its finished dimensional condition. Operating cost implications of higher utilisation are covered separately in the guide on industrial resin 3D printer maintenance cost.
Speed Evaluation Checklist
- Defined which speed metric the project is being judged on.
- Recorded a baseline profile with its failure and reprint rate.
- Reviewed orientation for oriented height, not only for surface quality.
- Checked whether parts in one job share a similar height.
- Changed one parameter per trial and repeated each condition.
- Confirmed exposure and cleaning guidance against the resin documentation.
- Allowed complete drying before post-curing and before measurement.
- Sized washing, drying and curing capacity against the denser build.
- Measured processed parts with one documented method.
- Reported results as accepted parts per hour of elapsed workflow time.
FAQ
Does a larger build platform make resin printing faster?
It can raise throughput rather than speed. Because a whole layer is exposed at once, more parts at a similar height add little print time. The gain is real only if cleaning, drying, curing and inspection can absorb the additional parts, and if the denser layout does not raise the failure rate.
Is a higher layer height always faster?
It reduces layer count, which is the main driver of print time, but it changes cure depth behaviour and the visible stepping on shallow-angle surfaces. Whether the result is acceptable depends on the part's surface and dimensional requirements, which should be re-checked after the change.
Why does my build take longer than the nominal mm/h figure suggests?
Nominal print-height speed describes reference conditions. Your job includes extended bottom-layer exposures, the wait and movement time your resin and geometry require, and any slicing settings that differ from the reference. Job time should be estimated from layer count and measured cycle time.
Can I use a fast profile from one resin with another resin?
No. Exposure requirements differ between formulations and between batches, and matching nominal wavelength does not indicate equivalent reactivity. Start from the resin's own technical documentation and validate the profile on the actual part.
Does faster printing reduce dimensional accuracy?
It does not follow automatically, but the parameters used to gain speed — exposure, wait, lift behaviour and layer height — all affect the finished part. The only reliable answer comes from measuring washed, fully dried and post-cured parts against your own tolerances, over repeated builds.
Discuss Your Part and Cycle-Time Requirement
If you are evaluating resin printing against a cycle-time or output requirement, a review based on the real part is more informative than a specification comparison. Send the CAD or STL file together with overall dimensions, the intended application, critical features, required tolerances, material requirements, quantity per period, surface expectations and how the parts will be inspected. That information allows the printer, resin and post-processing route to be discussed against your actual requirement.