
Application Validation · Functional Prototyping
Resin 3D Printing for Functional Prototypes
Functional prototyping with resin 3D printing is useful when an engineering team needs more than a visual model. The printed part may need to fit an assembly, reproduce critical interfaces, carry a temporary load, flex in a controlled way, operate as a housing or fixture, or reveal whether a design is ready for the next development stage.
- Define what the prototype must prove before selecting a resin.
- Evaluate geometry, material behavior and process conditions together.
- Complete washing, drying and required UV post-curing before final evaluation.
- Measure critical features instead of relying on nominal printer resolution.
- Validate representative application parts before making equipment or production decisions.
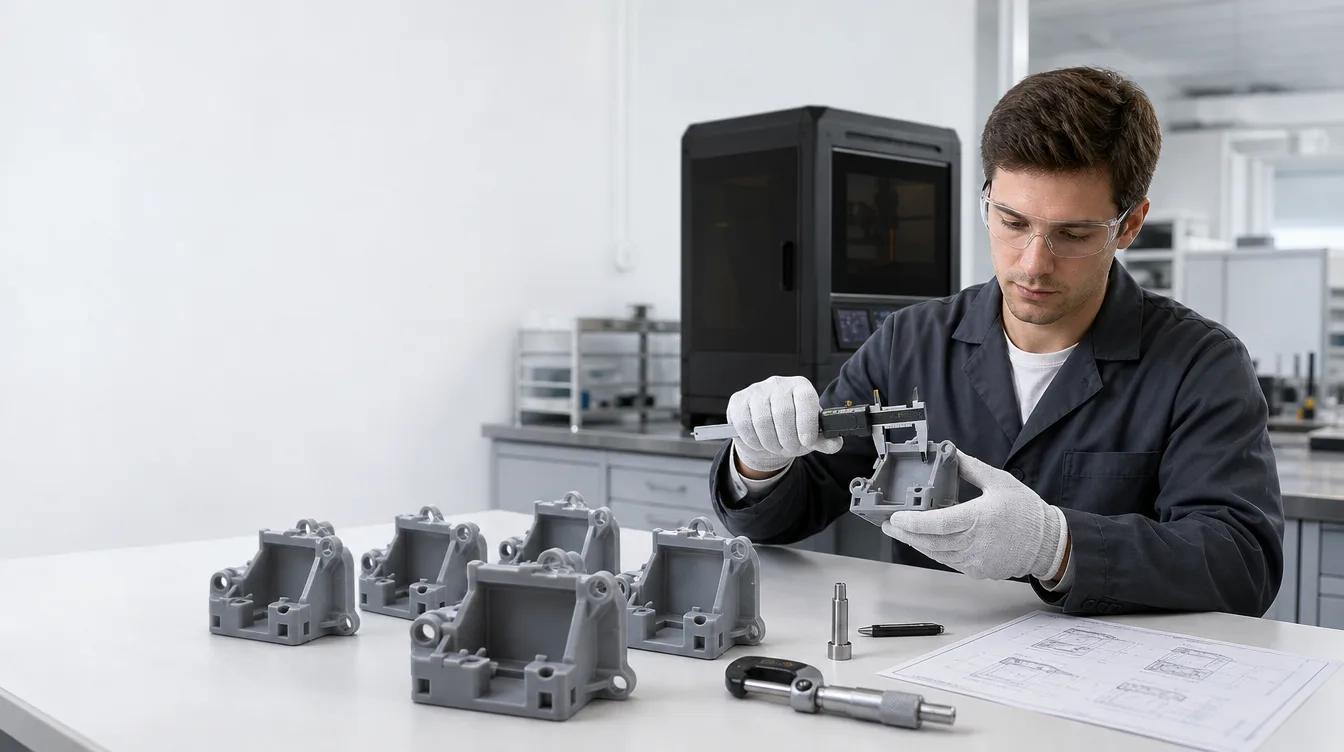
What Does a Functional Resin Prototype Need to Prove?
Resin 3D printing for functional prototypes should begin with a test question, not simply with a CAD file. A useful prototype is designed to provide evidence about something that matters to the product: fit, clearance, assembly sequence, geometry, stiffness, flexibility, access, movement, handling or another application-specific requirement.
This is different from an appearance prototype whose main purpose is to communicate shape, color, surface quality or visual design. YIDIMU has a separate guide to resin 3D printing for appearance prototypes. A functional prototype may still need a good surface, but appearance alone is not enough to validate function.
Key Takeaways for Engineering Teams
- A functional prototype should be designed around a specific engineering question.
- Material selection should be based on required behavior, not resin name alone.
- XY pixel size, display resolution and layer height are printer-process parameters; they are not guarantees of finished-part dimensional accuracy.
- Orientation and supports can change surfaces, interfaces, drainage, deformation risk and how the part is inspected.
- Washing, complete drying and required UV post-curing are part of the manufacturing process.
- A calibration coupon can help isolate process behavior, but representative production geometry is still required for application validation.
Start With the Function, Not the Resin Name
“Functional” can mean very different things. A prototype enclosure may need to demonstrate screw locations and connector access. A bracket may need sufficient rigidity for an assembly trial. A flexible lattice may need to demonstrate deformation behavior. A jig may need to position a component during a temporary shop-floor operation.
Before choosing a material, document what the printed prototype must do and what would cause it to fail the evaluation.
| Prototype Question | Features to Review | Possible Evaluation |
|---|---|---|
| Will the assembly fit? | Holes, bosses, slots, mating faces, clearances | Dimensional inspection and assembly check |
| Can the housing be installed? | Envelope, fastener access, wall sections, interfaces | Fit test with real mating components |
| Does a flexible structure behave correctly? | Lattice geometry, wall thickness, local deformation | Application-specific deformation or fit test |
| Can the part serve as a temporary production aid? | Contact surfaces, positioning features, stiffness and wear areas | Controlled trial under actual service conditions |
Choosing Resin for Functional Prototypes
Resin selection should start from required behavior: rigidity, toughness, flexibility, temperature exposure, surface condition, dimensional stability or another relevant property. A material described as “ABS-like,” “rigid,” “flexible” or “high temperature” still needs to be evaluated using its current technical documentation and the actual application.
Review the applicable TDS, SDS, IFU or other formal material documentation before establishing printing, handling, washing or curing procedures. Mechanical-property values should not be transferred from a different resin, resin version, printer or post-curing condition.
YIDIMU publishes several photopolymer material categories. The current YIDIMU resin materials page can be used as a starting point, but final suitability should be confirmed for the selected printer and representative part.
Do not choose resin only by similarity to an injection-molded plastic
A comparison such as “ABS-like” may help establish an initial direction, but it should not be treated as proof that a printed photopolymer will reproduce every mechanical, thermal, chemical, aging or environmental characteristic of production ABS.
If the prototype must survive a defined load, temperature, chemical exposure or repeated movement, state those conditions explicitly and compare them with verified material documentation and application testing.
Designing a Functional Prototype for Resin 3D Printing
A CAD model designed for molding or machining is not automatically optimized for vat photopolymerization. Functional prototype planning should consider how orientation, supports, drainage, wall sections and post-processing access affect the features that will later be tested.
Protect critical interfaces
Identify mating faces, hole locations, slots, bosses, sealing areas, locating surfaces and other critical features before orientation is selected. Support contact on a noncritical surface may be acceptable; the same support contact on a locating or cosmetic interface may complicate evaluation.
Think about enclosed and recessed geometry
Channels, cavities and deep recesses must be planned so residual uncured resin and cleaning liquid can be removed. A geometry that is difficult to wash and fully dry also becomes difficult to evaluate reliably.
Keep the measurement plan connected to the CAD model
Decide which dimensions will be measured before printing. External dimensions, holes, slots, wall thicknesses and mating features may require different inspection tools and datums.
Functional Prototype Workflow: From CAD to Validation
- Define the test objective. State what engineering decision the prototype must support.
- Identify critical features. Mark dimensions, interfaces, moving features and surfaces that matter to the test.
- Select the material direction. Match required behavior with documented resin capabilities and printer compatibility.
- Plan orientation and supports. Protect critical surfaces while considering printing stability and post-processing access.
- Print under controlled conditions. Record the printer, resin, resin batch where relevant, file revision and major process parameters.
- Wash according to the material process. Remove uncured resin without introducing an uncontrolled cleaning variable.
- Allow complete drying. Do not treat a wet or solvent-affected part as the final inspection condition.
- Complete required UV post-curing. Follow the applicable material documentation rather than using one universal curing recipe.
- Inspect and function-test the part. Compare the final processed prototype with the pre-defined acceptance criteria.
For a more detailed finished-part review, use the resin 3D print quality inspection checklist.
Accuracy, Resolution, Repeatability and Tolerance Are Not the Same
Functional prototype evaluation often becomes unreliable when printer specification terms are treated as interchangeable.
| Term | Practical Meaning | What It Does Not Automatically Prove |
|---|---|---|
| XY pixel size / resolution | A characteristic of the exposure or imaging system | Finished-part dimensional accuracy or tolerance |
| Layer height | The nominal Z increment used in the build process | Universal Z-axis dimensional accuracy |
| Accuracy | How closely a measured result agrees with the intended or reference value | Consistency across multiple builds |
| Repeatability | Consistency when equivalent parts are produced under conditions kept as similar as practical | That the repeated result is centered on the nominal dimension |
| Tolerance | The allowable variation defined by the design or application | The inherent specification of the printer |
A process can be repeatable yet inaccurate if equivalent parts repeatedly deviate from nominal in the same direction. Conversely, one part that happens to measure close to nominal does not establish repeatability.
How to Validate Functional Resin Prototypes
A single successful print can answer some design questions, but it provides limited evidence about process consistency. When the prototype will influence equipment selection, design release or repeated production, build a validation plan around the risks that matter to the project.
Keep the printer, model revision, resin, orientation, supports, layer settings, environment, washing, complete drying, UV post-curing and measurement method controlled as far as practical. If repeated builds are required, record them separately rather than treating multiple parts from one platform as independent process runs.
Where platform position could matter, distribute equivalent test features or representative parts across relevant build locations. Do not prescribe a universal number of builds or samples: the appropriate sample plan depends on project risk, internal quality requirements and any applicable standard or validation procedure.
Example functional prototype test record
| Build | Position | Feature / Test | Nominal or Requirement | Measured / Observed Result | Deviation / Status | Notes |
|---|---|---|---|---|---|---|
| Record build ID | Record platform location | Hole, slot, interface, fit or function | Drawing or test requirement | Record actual result | Calculate or classify | Process and inspection observations |
Calibration Coupon vs Real Functional Prototype
Test coupons are useful because they simplify geometry and make specific variables easier to compare. A coupon containing holes, walls, slots or external dimensions may help identify dimensional trends or process changes.
It cannot reproduce every challenge of the production geometry. A real part may contain large flat spans, asymmetric wall thicknesses, complex support requirements, enclosed cavities, long interfaces, flexible structures or post-processing constraints that do not exist on a small coupon.
Common Mistakes in Resin 3D Printing for Functional Prototypes
- Choosing material from the product name alone. Review documented properties and the final use condition.
- Equating pixel size with part accuracy. Finished dimensions depend on the complete process.
- Changing orientation between comparison builds. This introduces another variable into the result.
- Ignoring support contact on functional surfaces. Support removal can alter an interface that is supposed to be tested.
- Measuring before complete drying or required curing. Define a consistent final measurement condition.
- Changing resin batches without recording the change. Material traceability matters when comparing results.
- Using different inspection methods. Instrument, datum, operator procedure and measurement state can all affect the data.
- Testing only a visually successful model. Appearance does not confirm dimensions, fit or mechanical suitability.
- Assuming a calibration cube proves production readiness. Representative geometry still requires validation.
Relevant YIDIMU Systems for Functional Prototyping
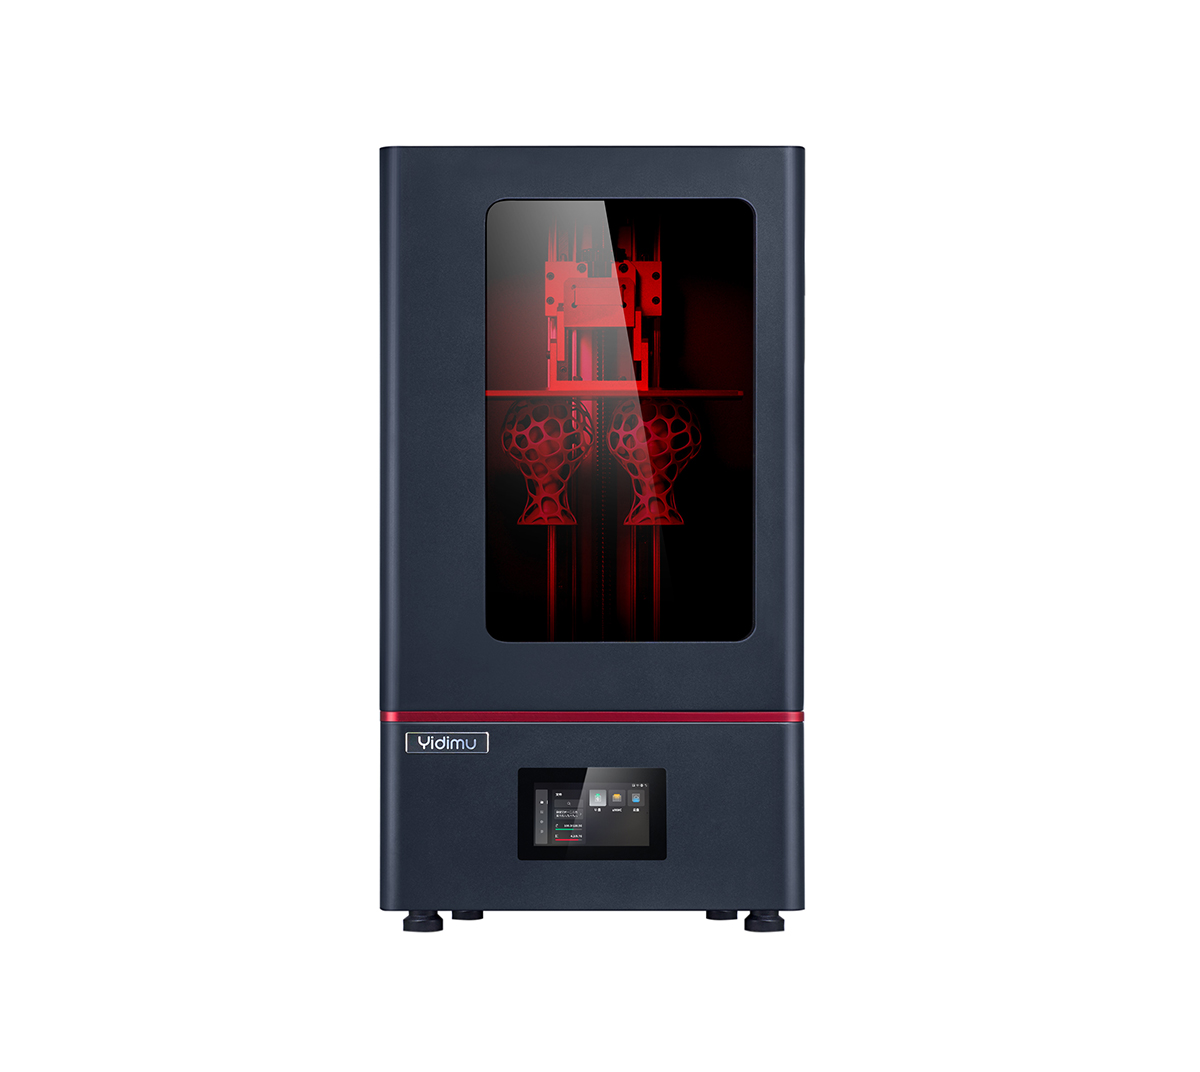
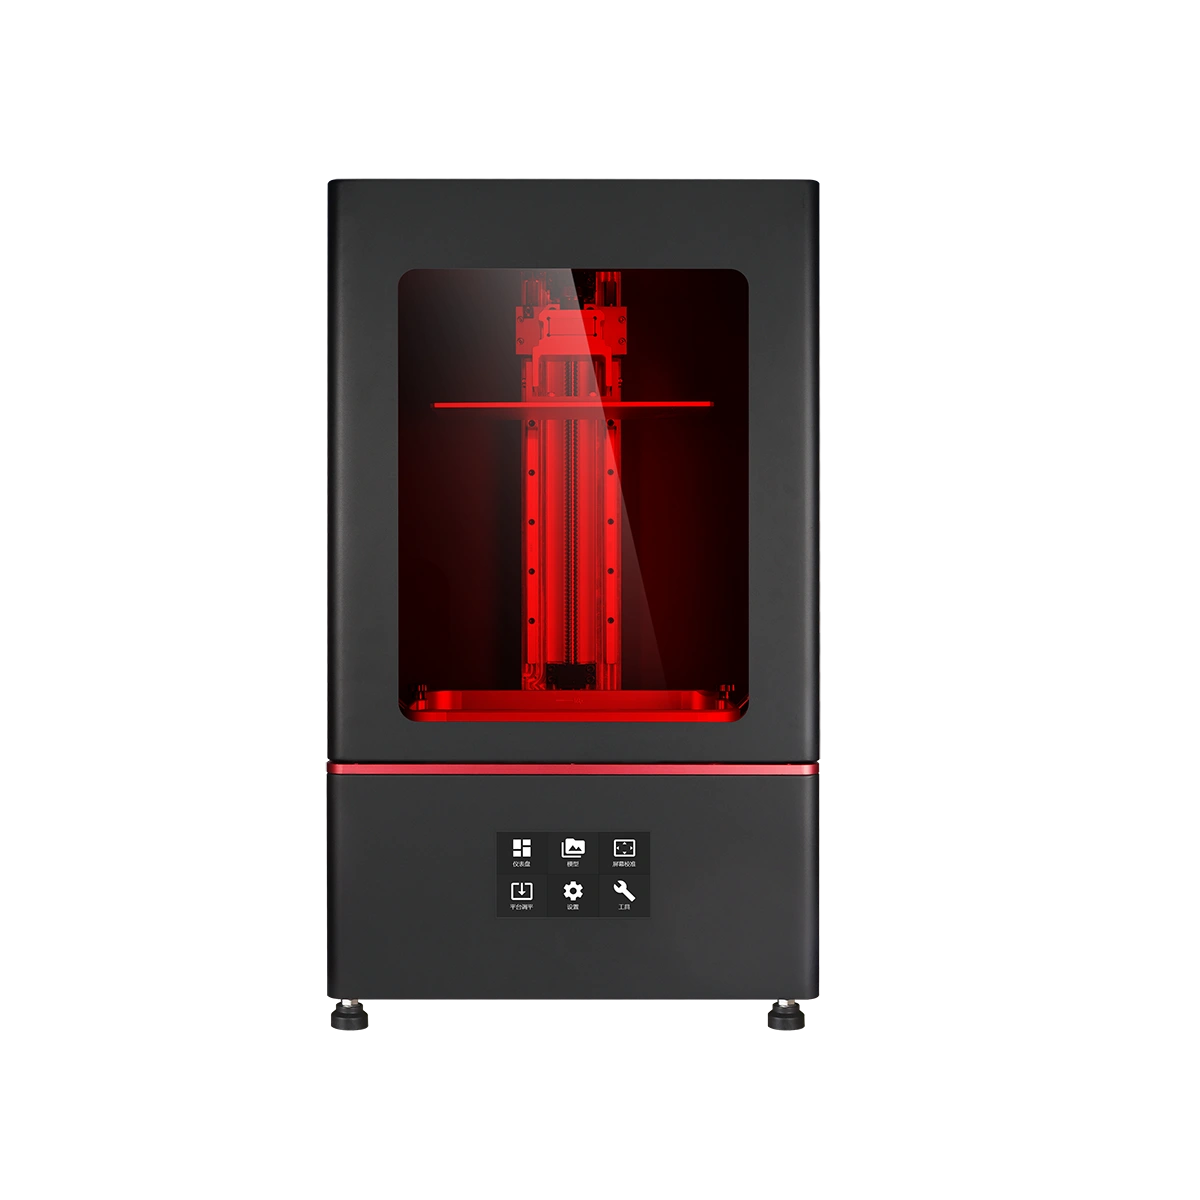
YIDIMU currently positions Eternal M1 and Eternal M2 within its industrial resin printing range. The appropriate system should be selected from the actual part envelope, resin requirement, critical geometry, layout, post-processing needs and inspection plan rather than from display resolution alone.
Practical Functional Prototype Evaluation Checklist
- Intended application
- Engineering question to answer
- Overall dimensions
- Critical dimensions
- Mating features
- Required clearances
- Load or handling condition
- Material requirement
- Resin identification and batch where relevant
- Orientation
- Support strategy
- Build position
- Layer and exposure settings
- Repeated builds where required
- Washing procedure
- Complete drying
- Required UV post-curing
- Measurement timing
- Measurement instrument
- Datums and inspection method
- Fit or assembly test
- Acceptance criteria
- Representative production geometry
Limitations: What a Functional Prototype Cannot Prove by Itself
A resin prototype can provide valuable evidence, but its conclusion should match the test that was actually performed.
- Nominal printer resolution does not establish guaranteed finished-part accuracy.
- One successful print does not establish repeatability.
- A calibration coupon does not validate every production geometry.
- Post-processing can influence the final condition and dimensions of a part.
- Material behavior depends on the specific resin and validated processing condition.
- A prototype produced in photopolymer resin should not automatically be assumed to reproduce the long-term behavior of a different production material.
If the final manufactured product will use another process or material, use the resin prototype to answer the questions it can answer reliably—geometry, fit, access, assembly, selected functional behavior or design iteration—and perform additional validation where the final manufacturing process introduces different risks.
FAQ: Resin 3D Printing for Functional Prototypes
Is resin 3D printing suitable for functional prototypes?
Yes, when the selected resin and complete workflow produce a part suitable for the specific function being evaluated. Define the required behavior first and validate the finished part rather than assuming every resin print is a functional prototype.
How should I choose a resin for a functional prototype?
Start with required behavior such as rigidity, flexibility, toughness, temperature exposure, surface requirements or another application-specific property. Then review the current material documentation, printer compatibility, post-processing requirements and representative test results.
Does XY pixel size determine the accuracy of a resin prototype?
No. XY pixel size describes part of the exposure system. Finished dimensions are influenced by the printer, resin, geometry, orientation, supports, settings, environment, washing, drying, post-curing and measurement method.
When should a functional resin prototype be measured?
Define a consistent final inspection condition. For workflows requiring washing, complete drying and UV post-curing, dimensional evaluation should normally be performed after those required steps rather than on a freshly printed or solvent-wet part.
Do I need multiple prints to validate a functional prototype?
It depends on the decision being made. A single part may answer an early fit question, while process consistency, equipment qualification or repeated production requires broader evidence. Sample size should be based on project risk, quality requirements and applicable validation methods rather than a universal number.
Can a calibration cube prove that my production part will work?
No. A simple coupon can reveal useful process information, but it does not reproduce every geometry, support, orientation, post-processing or functional condition of the real part. Validate a representative application part before making a production decision.
Evaluate a Functional Prototype Around Your Real Part
For a project-specific discussion, provide enough information to evaluate the printer, resin, build strategy, post-processing and inspection requirements together.
- CAD, STL or representative model file
- Overall dimensions
- Application and intended function
- Critical features and interfaces
- Tolerance or fit requirements
- Material behavior requirements
- Expected quantity
- Surface requirements
- Inspection or functional test requirements
Submit your model and functional prototype requirements to YIDIMU for printer, material and workflow evaluation based on the actual project.