
Commonly associated with a horizontal pixel count near 7,680. It can support either fine-detail compact systems or larger industrial build areas with coarser pixels.
Resin Printer Selection
8K vs 12K vs 16K Resin 3D Printer: What Really Matters
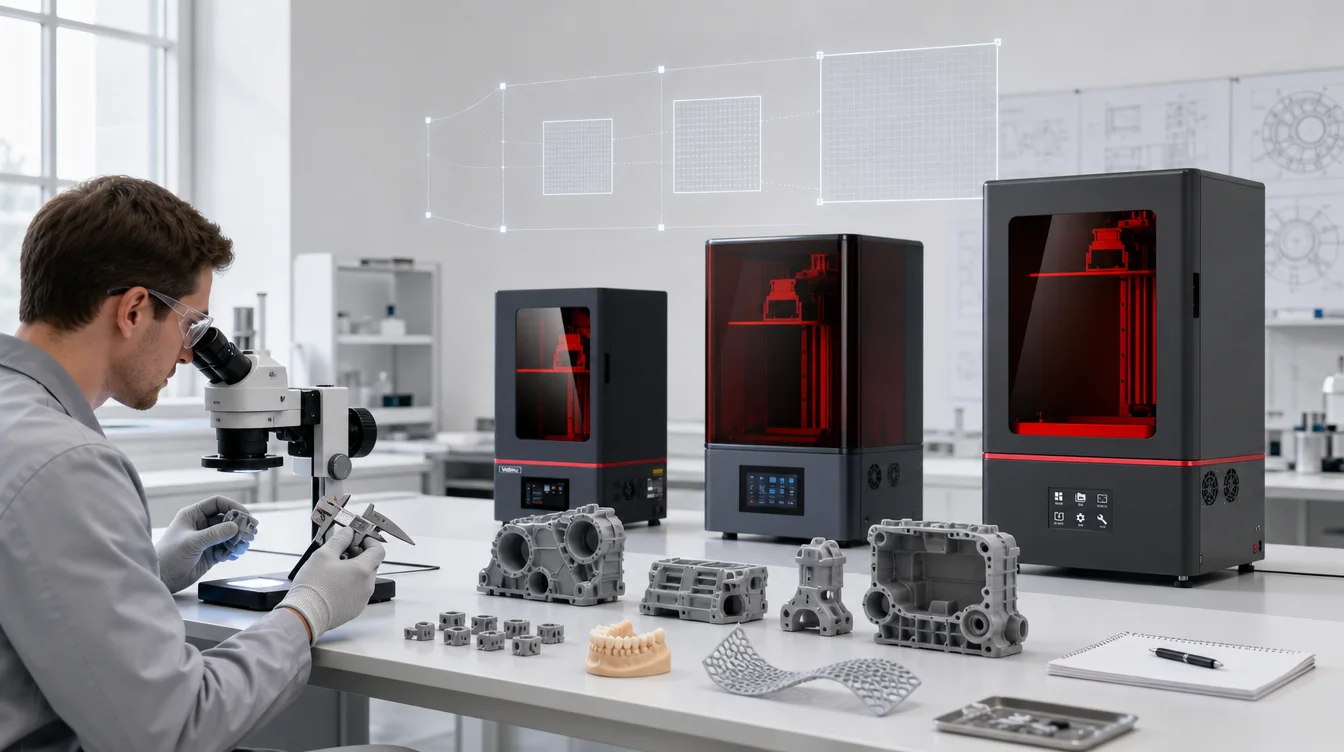
A higher K number can reduce nominal LCD pixel size when the build area is comparable, but it does not automatically deliver more accurate, stronger or more reliable parts.
01 · Resolution labels
What 8K, 12K and 16K Mean on an LCD Resin Printer
The K rating normally describes the approximate horizontal pixel count of the masking LCD. It is a screen-resolution label, not a complete statement of printer accuracy or minimum printable feature size.
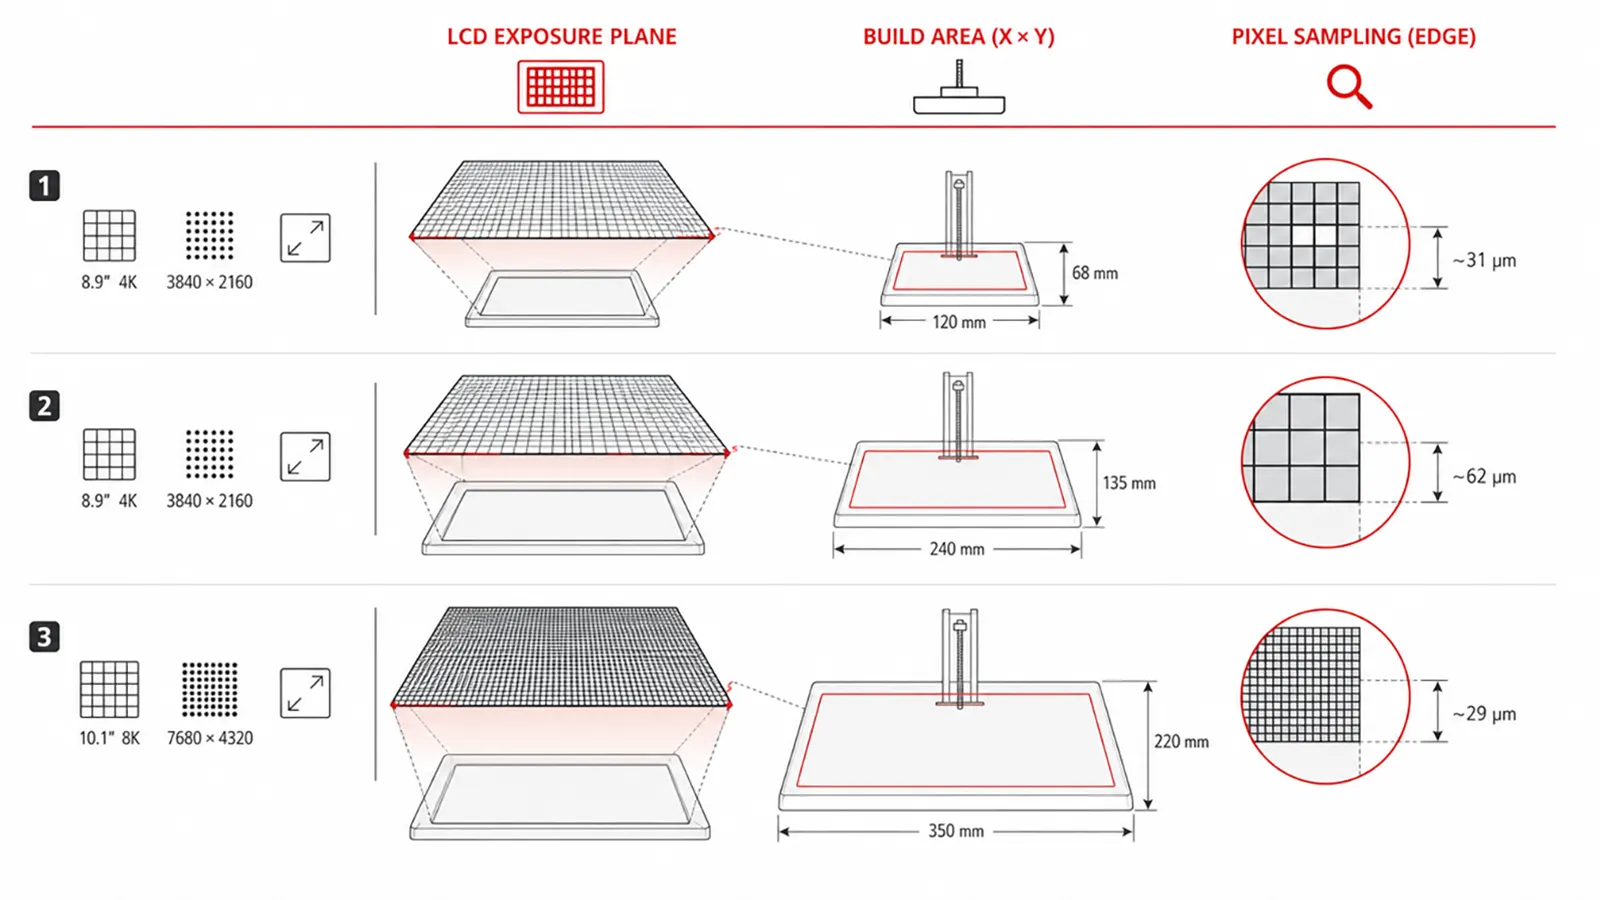
In masked vat photopolymerization, the LCD controls which areas of a resin layer receive ultraviolet light. A denser pixel matrix can represent a finer digital edge, provided the printable area is not increased by the same proportion. The important engineering value is therefore the physical size represented by each pixel on the build plane, usually stated in microns.
The K labels are also rounded marketing categories. Two printers carrying the same label may use different pixel matrices, aspect ratios and printable areas. A 12K or 16K panel can provide a smaller nominal pixel pitch than an 8K panel, but the improvement must be evaluated together with optical focus, light collimation, exposure compensation and the resin’s ability to reproduce the digital pattern.
Commonly associated with a horizontal count near 11,520. It can improve digital edge sampling when screen size and optical conditions remain comparable.
Commonly associated with a horizontal count near 15,120. It offers a high nominal pixel density, but practical gains depend on the entire printing system.
X pixel size = printable X width ÷ horizontal pixel count
Y pixel size = printable Y width ÷ vertical pixel count
This calculation explains why screen resolution must always be read beside build area. It also reveals rectangular pixels: when X and Y pixel sizes differ, edge reproduction may vary slightly with model orientation. The printer specification should therefore state both axes when they are not equal.
02 · Real specifications
Why the Same K Rating Can Produce Different XY Pixel Sizes
Current YIDIMU specifications provide a clear example: two 8K systems use the same 7,680 × 4,320 matrix but distribute those pixels across different build areas.
| Example system | Display resolution | Printable XY area | Listed XY pixel size | What the comparison shows |
|---|---|---|---|---|
| Eternal Y8 dental printer | 7,680 × 4,320 | 228 × 128 mm | 29.7 μm | A compact 8K build area can provide relatively fine XY sampling. |
| Eternal M2 industrial printer | 7,680 × 4,320 | 353 × 198 mm | Approx. 46 μm | The same 8K matrix is used to cover a much larger industrial build area. |
| Flex G2 elastomer printer | 15,120 × 6,230 | 302 × 162 mm | X 19 μm / Y 26 μm | A 16K system can combine a larger platform with finer, non-square XY sampling. |
These figures describe the listed display and build-plane geometry. They do not guarantee that every printed feature will match one pixel or that final dimensional error will equal the pixel size. Actual results depend on the complete printer, resin, slicing and post-processing workflow.
03 · System performance
Six Factors That Can Matter More Than 8K, 12K or 16K
Nominal pixel density establishes a digital sampling grid. The finished part is created by optics, photopolymer chemistry, mechanics and process control working together.
Actual XY pixel size and shape
Compare microns in both X and Y. Smaller pixels can represent finer boundaries, but rectangular pixels, compensation and model orientation influence how those boundaries appear.
Light uniformity and collimation
The exposure field should deliver consistent energy across the usable build area. Light spread can enlarge cured regions, soften corners or create location-dependent dimensions.
Resin and exposure calibration
Underexposure can weaken or reduce features; overexposure can close gaps and enlarge dimensions. Resin color, viscosity, formulation, temperature and layer thickness require validated settings.
Motion, release and platform stability
Z-axis alignment, platform rigidity, release-film condition, peel force and movement settings affect layer registration and deformation, especially on large cross-sections.
Orientation, supports and layer height
XY sampling and Z layer thickness describe different directions. Orientation changes the staircase pattern, support contact locations, drainage, peel area and distortion risk.
Washing, drying and UV post-curing
A part should be evaluated after the complete approved workflow. Residual resin, excessive washing, incomplete drying or unsuitable post-curing can change surfaces and dimensions.
04 · Selection method
How to Choose Between an 8K, 12K and 16K Resin 3D Printer
Start with the part and production requirement, then work backward to the printer specification. This prevents the display label from replacing a proper process evaluation.
- Define the smallest meaningful features.
List wall thicknesses, holes, slots, text, lattice struts, edge radii, fit interfaces and surface regions that affect acceptance. Do not use decorative detail as the only benchmark when the real requirement is dimensional fit or batch consistency.
- Confirm the required build envelope.
A larger platform may reduce model splitting, bonding and repeated setup. For large industrial prototypes, a suitable 8K large-format system can be more valuable than a smaller 16K machine that cannot accommodate the part.
- Compare equivalent technical metrics.
Request the LCD matrix, usable XY area, X and Y pixel size, layer-height range, wavelength, supported materials, environmental requirements and current technical documentation. Avoid comparing one printer’s K label with another printer’s claimed “precision” unless the terms are defined.
- Review the complete material workflow.
Confirm resin compatibility, validated exposure profiles, mixing and storage requirements, washing liquid, drying, post-curing and safe handling. A fine display cannot compensate for a material-process mismatch.
- Print a representative validation model.
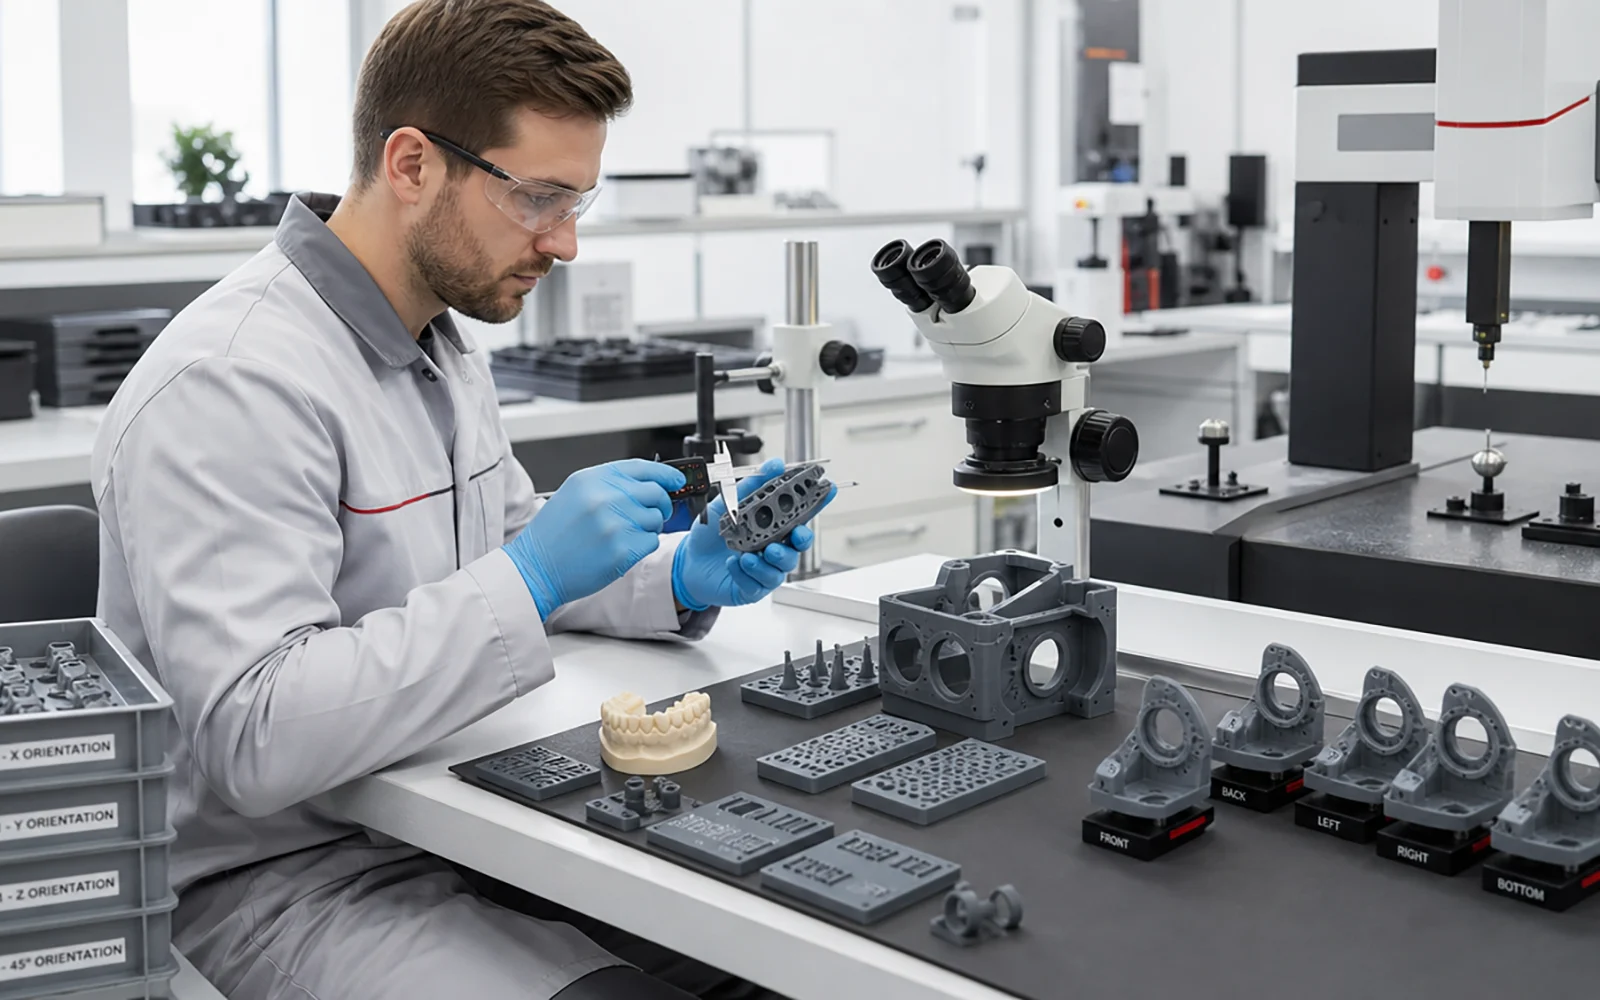
Use your own geometry or a test part containing the actual features, orientations and wall sections that matter. Measure it after the complete workflow and inspect the surface under the lighting and magnification used in production.
- Evaluate repeatability and operating effort.
For production decisions, repeat the test across positions on the platform and across multiple builds. Record failures, cleanup, support removal, finishing, consumables and operator time—not only the best single sample.
05 · Application fit
Which Resolution Class Fits Different Professional Uses?
There is no universal winner. The right class balances feature scale, build volume, material behavior, workflow control and production economics.
Large industrial prototypes
Build capacity, stable mechanics and fewer split parts may matter more than the highest nominal K rating. Check interfaces, wall sections and surface zones on a full-scale sample. Explore industrial resin 3D printers and industrial prototyping applications.
Dental models and fine parts
Smaller XY pixels can help reproduce margins, grooves and small text, but dimensional validation, approved materials and the complete cleaning and curing process remain essential. Review the Eternal Y8 specification as one 8K example.
Flexible lattices and footwear
High pixel density can support intricate lattice boundaries, while resin rheology, open-channel cleaning, support strategy and deformation control may dominate real performance. See the Flex G2 16K elastomer printer.
When an 8K printer may be enough
An 8K printer may be the correct choice when its build area, pixel size and validated process meet the part requirements. This is especially true when the project values large-format capacity, robust handling, easier part placement or lower system complexity more than extremely fine digital sampling.
When 12K or 16K may be justified
A higher-resolution panel becomes more relevant when the printer maintains an appropriate build volume while reducing pixel size enough to improve the application’s critical features. The benefit should be demonstrated on representative models, not assumed from a benchmark figurine or a cropped macro image.
06 · Avoidable errors
Common Mistakes in a Resin Printer Resolution Comparison
- Assuming that 16K is automatically twice as accurate as 8K.
- Comparing K labels without comparing printable XY dimensions.
- Confusing XY pixel size with Z-axis layer thickness.
- Treating one-pixel digital sampling as a guaranteed printable feature.
- Ignoring light uniformity, exposure calibration and compensation.
- Judging a raw print before washing, complete drying and post-curing.
- Using a decorative test model that does not represent production geometry.
- Ignoring build volume, repeatability, consumables and operator workflow.
07 · FAQ
8K vs 12K vs 16K Resin Printer FAQ
Is a 16K resin 3D printer always better than an 8K printer?
No. A 16K panel has a higher nominal pixel count, but the practical result depends on build area, pixel size in both axes, optics, exposure, resin, mechanics and post-processing. An 8K machine can be the better system for a larger part or a workflow that it has already validated.
Does 12K print faster than 8K?
The K rating does not determine print speed. In layer-exposure systems, speed depends on layer thickness, exposure, lift and retract behavior, wait times, resin flow, cross-sectional area and the printer’s release mechanism. Request speed data under defined conditions and validate it with your geometry.
What specification should I compare first?
Start with the usable build area and the actual X and Y pixel size in microns. Then review light uniformity, material profiles, Z-axis structure, layer settings, environmental requirements and the complete post-processing workflow.
Can a printer reproduce a feature equal to one pixel?
Do not treat one pixel as a guaranteed minimum feature. Light spread, resin response, exposure compensation, orientation, supports, peeling and post-processing can enlarge, soften or remove very small features. Confirm the limit using a representative test.
Do I need special “8K” or “16K” resin?
Resin labels may indicate intended detail performance, but compatibility should be based on wavelength, exposure behavior, material documentation and tested printer settings. The screen’s K rating alone does not establish material compatibility.
How should I validate a printer before purchase?
Submit a model that includes your critical features, print it in the intended resin and orientation, complete the specified washing, drying and UV post-curing, then measure and inspect the part. For production, repeat the test across the build area and over multiple cycles.
Compare the Printer Around Your Part, Not the K Label
Share your model dimensions, resin requirements, critical features, quantity and surface expectations. YIDIMU can review suitable equipment, material and sample-testing options for the application.